Introduction
A then and now video maker can turn old and current images into a clear story about place. Each pair should show the same spot. You should also record the image rights and explain what changed. Start with three to seven places. Find one trusted older image for each stop, add a current view, and show clear dates. This guide covers image sources, location matching, time order, captions, and a simple AlbumMap workflow.
What the AlbumMap video shows
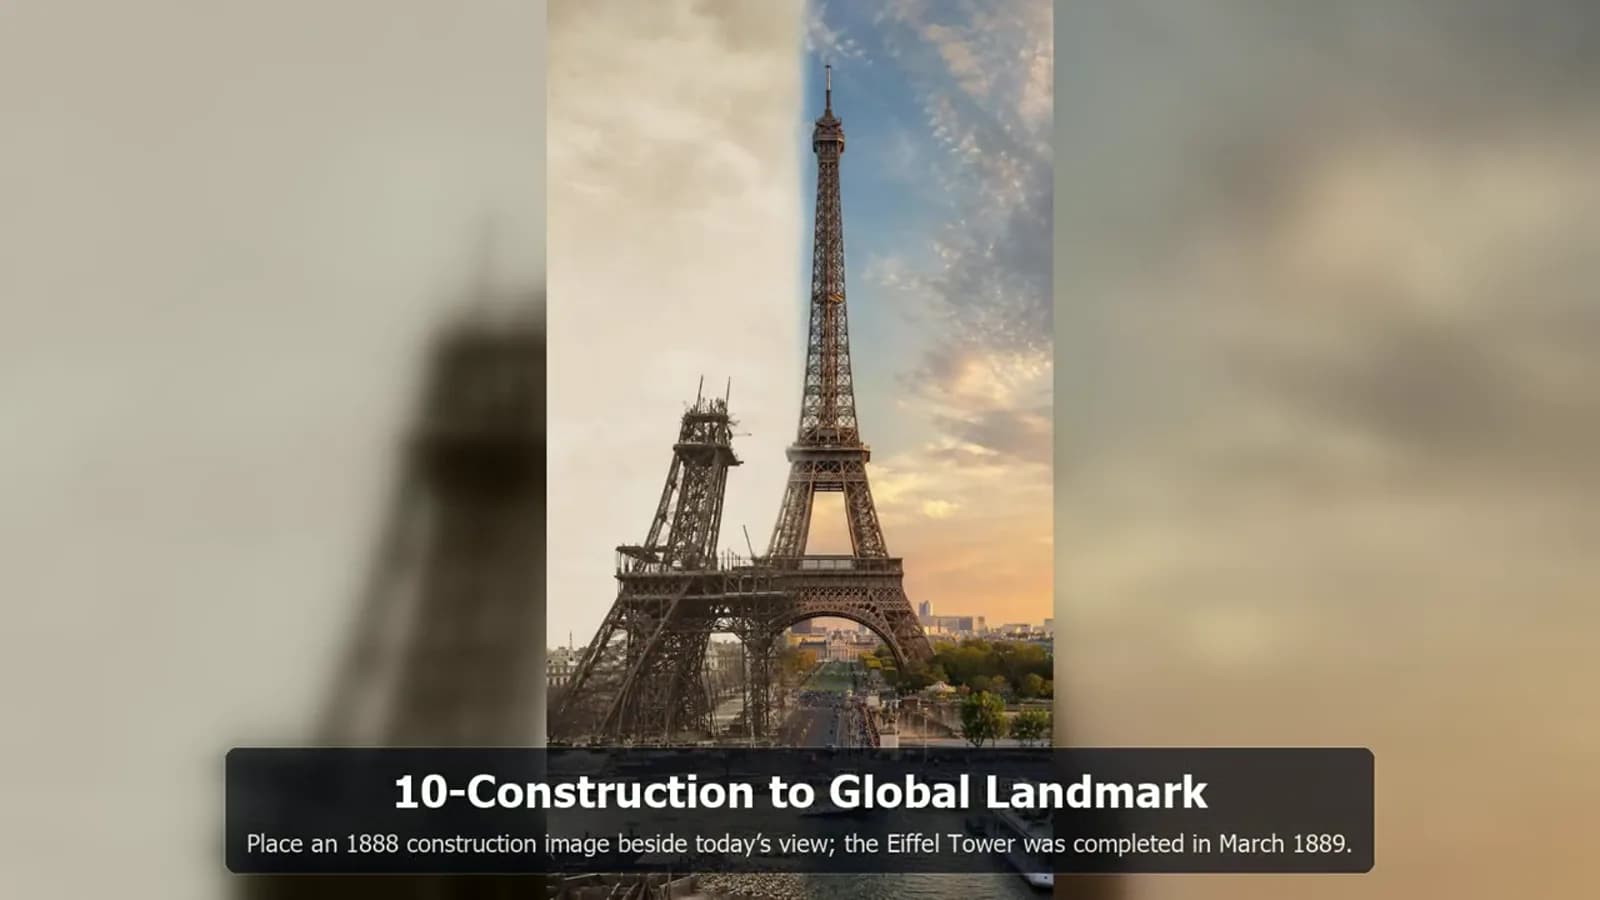
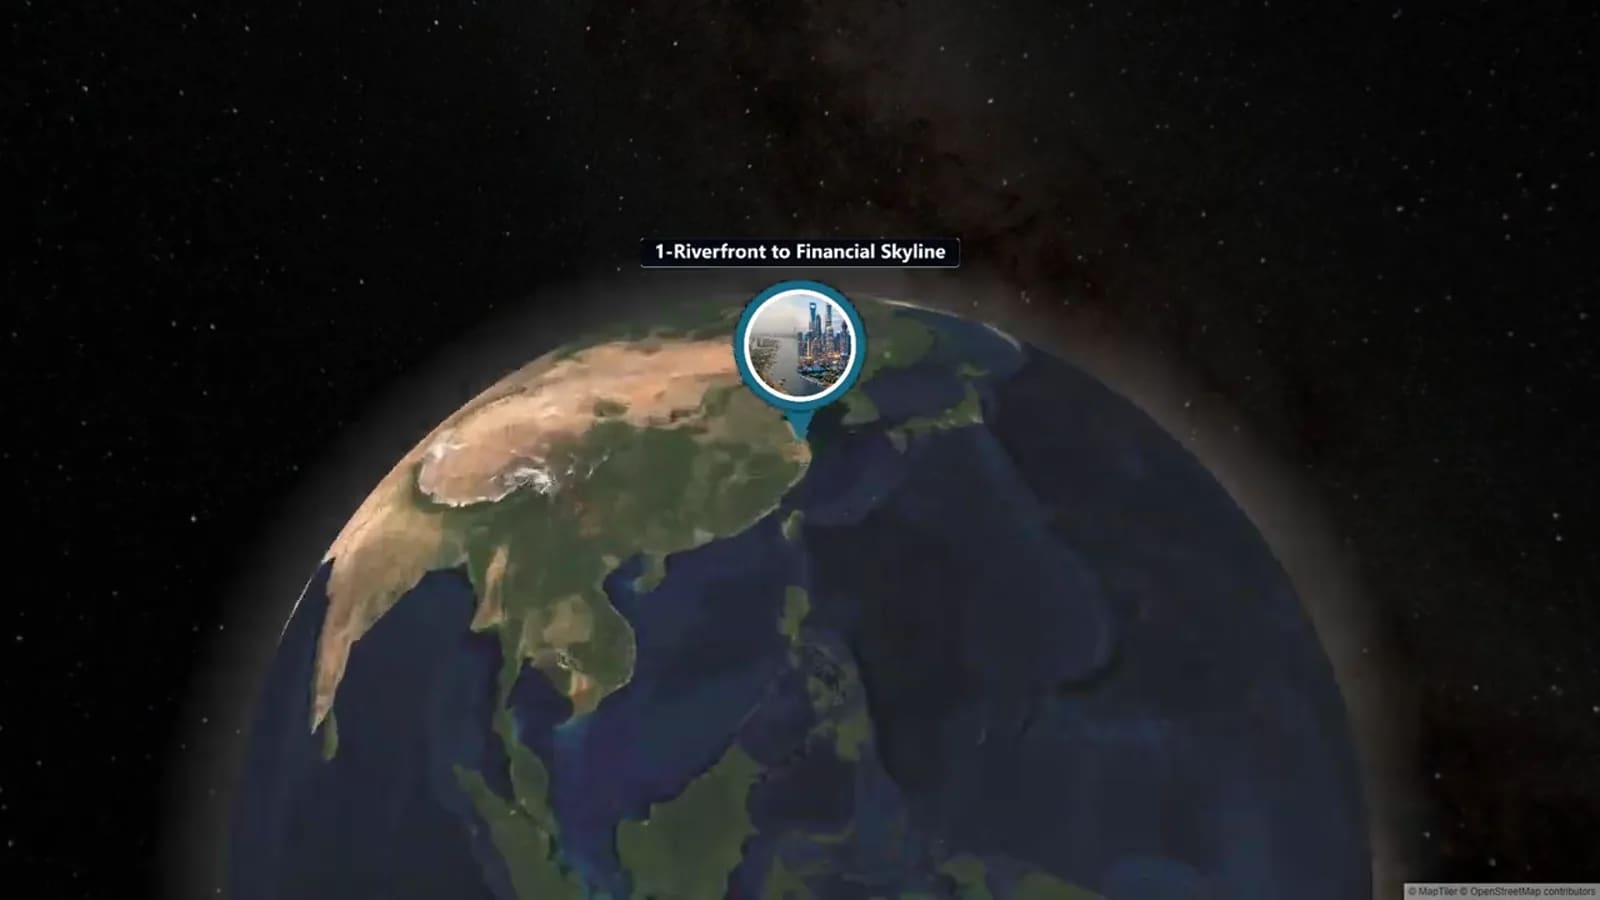
The video visits ten named places in short before-and-after segments. The route crosses Asia, Europe, the Middle East, and North America. Its stops include waterfronts, riverfronts, transit areas, skylines, squares, and a landmark.
This range shows that change is not limited to new towers. A river can be restored. A transit area can be rebuilt. A waterfront can gain a new use. A public square can change while a landmark stays in place.
Each stop also has one clear visual job. A matched pair, a place label, and enough viewing time can say more than a busy montage. The full video analysis appears above this guide.
Start with one clear comparison question
Decide what viewers should notice. You might ask how a waterfront changed, how a district grew, or what stayed near a landmark. A clear question guides each image choice.
Write a one-sentence promise before you collect files. For example: “This video follows five public places from their earliest photos to views made in 2026.” That line sets the subject, dates, and size of the project.
Keep the first project small. Three to seven matched places are enough for a useful city comparison video. A short route gives people time to study each pair. It also makes rights checks easier.
Choose a then and now video maker workflow
Build a simple record before you open an editor. Give each place a stop number, current name, old date, new date, source link, creator, license, and credit line. Note any unsure date or view.
Save the best file that you may use. Keep its original name and a copy of the item page. An image search screen is not a source record. Save the page from the archive, library, group, or artist that hosts the item.
Create one folder for each stop. Keep the old image, new image, notes, rights record, and draft caption together. This helps stop files from losing their source details.
Source historical images ethically
An old photo is not always free to use. Photos may still have copyright. Owning a print may not give you the copyright. Use your own work, ask for consent, or pick material whose terms allow your planned use.
Public collections can help. The Library of Congress offers Free to Use and Reuse sets. The New York Public Library has a public-domain filter. Wikimedia Commons lists terms on each file page. Check the record for each item.
For Creative Commons work, read the exact license. Record the creator, title, source URL, license, and any edits. The terms for credit, commercial use, changes, and sharing are not the same. Choose a work that fits your planned use.
Do not remove a watermark or cut out a credit. Do not treat a social post as free media. Use the platform's official embed when a post adds useful context. If the rights are unclear, skip the file or ask the rights holder.
Match the old and current location
Start with fixed points. Look for a bridge, road, monument, hill, shore, window, or building edge in both views. These points help prove the place and line up the frame.
Record the old view as well as you can. Note its direction, height, distance, and clear landmarks. The new photo need not be exact, but it should make a fair match.
Some old viewpoints are gone or unsafe. Do not trespass or stand in traffic to copy an angle. Use the nearest safe public view and label it “approximate viewpoint.” Explain the change in a caption.
Seasons, weather, trees, and time of day can change a scene. Match them when you can. If they differ, say so. Do not use crops or color edits to make the change look larger.
Put every pair in chronological order
Show the older image first and the current image second. Use that order for every stop. A steady pattern makes each new pair easier to follow.
Then sort the stops by date or route. A historical map video may run from the earliest image to the latest. A city route may link nearby places. Pick one rule and state it at the start.
Do not show a rough date as exact. Use labels such as “circa 1910” or “photographed between 1905 and 1912.” Follow the source wording when you can.
Choose side-by-side visuals or a simple reveal
Side-by-side views work well when people need to compare small details. Keep both images large and give them equal space. Place a fixed landmark near the center.
A wipe can work when the frames match well. Its moving edge helps viewers track roads, roofs, and shores. Avoid it when the angles differ because it can suggest a false match.
A simple old-then-new cut is easier to use. Hold the old image, cut to the new one, and end on both views. This adds a reveal and time to study the pair.
Do not stretch an image to fill the screen. Crop only when key details and credits stay intact. Use padding if its shape matters. Label any restored, colorized, mixed, or AI-assisted image.
Add labels and captions that explain the evidence
Each pair needs a place label and two date labels. Use a set form such as “Potsdamer Platz, Berlin,” “circa 1930,” and “2026.” Do not use color alone to mark the older image.
Add one short note about the visible change. Name facts that viewers can check in the images. Avoid broad claims unless a trusted source backs them.
A second line can explain a limit. You might write “view moved 20 metres east,” “new photo taken in winter,” or “old image colorized by archive.” Clear limits make the work more honest.
Keep each caption short and easy to read. Use strong contrast and enough screen time. Add speech or sound only when it gives useful context. Check the music rights before use.
Build the map around the comparison stops
Use a map to show where each pair belongs. Start with the full area, move to one stop, show its pair, and return to the route. Repeat this pattern for each place.
Use current place names for travel on the map. Add an old name when it helps. If a street, border, or district name changed, explain it with care. Respect local and community names.
End on the full route. This view can show whether change followed a river, coast, rail line, city center, or wider area. It joins separate pairs into one story.
Make the then-and-now story with AlbumMap
First, choose whether to work alone or invite others. A group link helps when relatives, residents, travelers, or local history groups hold different images and memories.
Next, add each approved photo, clip, note, and place. Treat each pair as a map stop. Keep the full source log in your records. Put any needed credit in the video or final credits.
Place the stops in your chosen route or timeline. Show the old view before the new view. Use short messages for dates, source facts, and notes about the camera position.
Choose the map style, music, video shape, and pace. Preview the full route. Make sure the map moves slowly enough for people to track each place.
Watch the full video with your rights log. Check that each file is approved and credited. AlbumMap is useful when one story joins locations, media, and notes from several people.
Review accuracy, dignity, and access
First watch without sound. The order, labels, and pairs should still make sense. Then listen without looking closely. The spoken words should match the images and sources.
Review how people appear in old photos. Do not mock their clothes, homes, health, culture, or community. Ask if a family photo, home address, or image of a child should be public.
Ask someone who knows the place to check names and claims. They may spot a flipped image, wrong street, new district name, or false match. Fix errors before export.
Test the video on a phone and a large screen. Check text size, contrast, captions, sound, and credits. Save the source log so a later update will not need fresh research.
Sources and verification
Last verified: 2026-08-09. Rights and reuse rules can vary by work, license, country, and use. This is practical publishing guidance, not legal advice.
For photo rights basics, see the [U. S. Copyright Office](https://www. copyright. gov/engage/photographers/). For license terms, see [Creative Commons](https://creativecommons. org/share-your-work/use-remix/cc-licenses/) and [Wikimedia Commons reuse guidance](https://commons. wikimedia. org/wiki/Commons%3AREUSE).
For old material, start with the [Library of Congress Free to Use and Reuse portal](https://www. loc. gov/free-to-use/) or [NYPL Public Domain Collections](https://www. nypl. org/research/resources/public-domain-collections). Open each item record and save its rights note.
Then-and-Now Production Checklist
Use this checklist for every comparison stop. Keep the proof column in your private project records even when the public video uses a shorter credit.
| Stage | Check | Done when | Public note | Proof to keep |
|---|---|---|---|---|
| Story scope | Define one comparison question and three to seven locations | Every stop helps answer the same question | One-sentence opening promise | Outline with stop list |
| Older image rights | Verify creator, source, date, and reuse terms | The planned public use is permitted or written permission is saved | Required credit or public-domain note | Item URL, rights statement, permission |
| Current image rights | Use your photo or secure permission and releases where needed | Photographer approval and privacy review are complete | Current date and creator credit | Original file and permission record |
| Location match | Confirm the place with stable landmarks | At least two anchors support the match | Exact or approximate viewpoint | Research notes and reference map |
| Frame alignment | Match distance, height, direction, and crop without distortion | The comparison is honest and key details remain visible | Viewpoint difference if material | Unedited originals |
| Chronology | Place older before current and choose a clear stop order | Dates and route follow one stated rule | Year or circa labels | Timeline worksheet |
| Comparison style | Choose side-by-side, wipe, or sequential cut | The style fits the strength of the match | Before and now labels | Preview export |
| Labels | Add place, older date, and current date | Labels are consistent and readable on a phone | Place and dates | Caption sheet |
| Context caption | Describe visible change and limits | Claims are supported and uncertainty is clear | One or two short lines | Source notes |
| Alterations | Disclose restoration, colorization, composites, and AI assistance | Every material change is marked | Short alteration label | Edit history |
| Audio and access | Clear music rights and add captions or narration where useful | Sound, captions, contrast, and timing pass review | Captions and credits | Music license and accessibility check |
| Final review | Check rights, names, route, privacy, and export | A second reviewer approves every stop | Final source list | Signed review copy and final source log |
Examples You Can Copy
Archive contribution request
We are making a then-and-now map video about [place]. Please send one older photo, the location, the approximate date, the photographer or source, and any permission or license details. Add one sentence about what changed. Please upload by [date]: [link]
On-screen comparison label
King's Cross, London — older view: [year or circa date] | current view: 2026 | approximate viewpoint 15 metres north of the original position.
Source credit
Older image: [work title], [creator], [year], [collection], [license or public-domain statement], [source URL]. Cropped for alignment; no other changes.
Change caption
The rail district remains recognizable through the station roofline, while streets, buildings, and public space around it have changed.
Final Thoughts
A strong then-and-now map video is careful before it is dramatic. Start with one clear question. Use images you have the right to share. Match each place with fixed points, show the old view first, and label dates and limits. Side-by-side frames help people study change. A map shows how the places connect. When several people hold the media and local facts, AlbumMap can bring their work into one route-led story. Keep the source log so the video can be checked and updated.
Helpful answers
Frequently asked questions
Can I use any old photograph in a then-and-now video?
No. Age alone does not prove that a photo is free to use. Check the item's rights note, follow its license, ask for consent, or use a clear public-domain source. Save the source and rights record.
Do the old and current photos need the exact same camera angle?
An exact match helps but is not required. Use fixed landmarks to get close. If the old viewpoint is gone, private, or unsafe, use a nearby public view and mark it as approximate.
Is side-by-side better than a wipe reveal?
Use side-by-side when people need to compare details or when the frames differ. Use a wipe when the views align well. A simple old-then-new cut is safer when the match is weak.
How many locations should a city comparison video include?
Start with three to seven places. That is enough to show a pattern without rushing the research, credits, map moves, or image pairs. A larger project can use short chapters.
How should I label restored or colorized images?
Mark the change on screen with words such as “digitally restored,” “colorized,” or “AI-assisted reconstruction.” Keep the original credit. Do not show an altered image as an untouched record.
Can several people contribute to an AlbumMap project?
Yes. A shared project helps when photos, clips, notes, and local facts are spread across a group. Ask each person to include the place, date, source, and rights details.