Introduction
A hiking route video turns a finished walk into a story people can follow. The map shows where you went. Photos and short clips show what each part felt like. You do not need footage from every step. Start with five clear stops: the trailhead, a viewpoint, the summit, a campsite, and the finish. Then give each stop a job, a few strong images, and one short caption. This guide will help you set the order, add useful safety notes, and choose a pace that feels calm.
Plan the route before you open an editor
Begin with the hike as you remember it, not with the order of your camera roll. Write the main stops on paper. Put them in the order a viewer would reach them. This gives the recap a clear spine before you choose any media.
Five stops are enough for many day hikes or short overnight trips. They show a beginning, progress, a high point, rest, and a close. If your route had no campsite, use a lunch stop or a quiet rest point. Keep the label honest.
Check your recorded track against your own notes if you have one. A GPS file can help with the path. It should not decide the story for you. The strongest stop may be a small viewpoint that meant more than the highest point.
Build your hiking route video around five stops
Open at the trailhead. Show the sign, boots, packs, or the group before the climb. A wide photo helps the viewer understand where the day began. Keep this part short so the story starts moving.
Move next to the viewpoint. This stop proves that the landscape is changing. Use one wide image and one photo of a person reacting to the view. A short map move can show the climb between the first two stops.
Let the summit hold the main reward. Do not fill it with every summit photo. Pick the clearest view, one group image, and one brief clip if you have it. A simple caption can name the feeling without turning it into a speech.
Use the campsite as a change in mood. Evening light, food, wet socks, a tent, or a quiet note can slow the story. End at the finish with tired faces, the final sign, or the ride home. The last stop should feel like an ending, not another highlight.
Choose photos that show change
Sort your media by stop before you edit. Make five folders or labels. Place each photo, clip, and note under the location where it belongs. Remove duplicates and blurred files unless a rough image holds an important moment.
Choose a lead photo for every stop. It should explain the place at a glance. Then add one detail image. At the trailhead, that detail may be a muddy boot. At the summit, it may be hands around a warm drink.
Mix wide and close views. Five wide landscapes in a row can feel distant. Five selfies can hide the route. The mix helps viewers see both the land and the people moving through it.
Photos from different hikers can make the recap richer. Ask each person for one favorite image, one short clip, and the location. You will get more useful files when the request is small and clear.
Write captions that add what the photo cannot
A good caption names the place, the moment, or the reason it mattered. It does not need to describe what viewers can already see. “Big mountain” adds little. “First clear view after two hours of fog” adds context.
Keep most captions to one or two lines. Read them aloud before adding them. If the words take longer to read than the image stays on screen, shorten the text or hold the image longer.
Use the same style at every stop. You might use place plus moment, such as “North Ridge viewpoint — the clouds finally opened.” You could also use time plus detail, such as “6:40 p. m. — soup before the rain.”
Check every place name. Remove private details that do not belong in a public post. Exact campsite coordinates, vehicle plates, permit numbers, and personal contact details can stay out of the video.
Add safety notes without taking over the story
A recap records a past trip. It is not a live trail guide. Add a short note if route conditions, closures, weather, or access could be misunderstood. Keep the wording clear and place it near the relevant stop.
Use past-tense facts. For example: “The bridge was washed out during our visit, so we used the marked detour.” Do not tell future hikers that the same detour is still safe. Conditions may have changed.
If a photo shows a choice that needs context, add it. A helmet, guide, permit, or signed route may matter. Keep the note factual. Avoid dramatic warnings that the image does not support.
Before sharing, check whether a sensitive campsite or fragile place should be named. You can use a broad area instead. The final video should celebrate the hike without acting as a substitute for current maps, local advice, or official alerts.
Set a pace that feels like the hike
Give the trailhead about eight to twelve seconds. Use that time for the title, first image, and first map move. The viewer only needs enough detail to know who went and where the route starts.
Let the viewpoint and campsite breathe. Hold a strong photo for four to six seconds. A short clip can run a little longer if it has useful motion or sound. Trim repeated walking clips.
The summit can have the longest pause, but keep it focused. A few strong items often feel bigger than a crowded montage. Let the music or natural sound settle before moving on.
Close more slowly than you opened. The finish may include one final photo, the full route, and a short line about the day. A trail recap video often feels complete when the map pulls back and the viewer can see the whole path.
Build the map animation around the memories
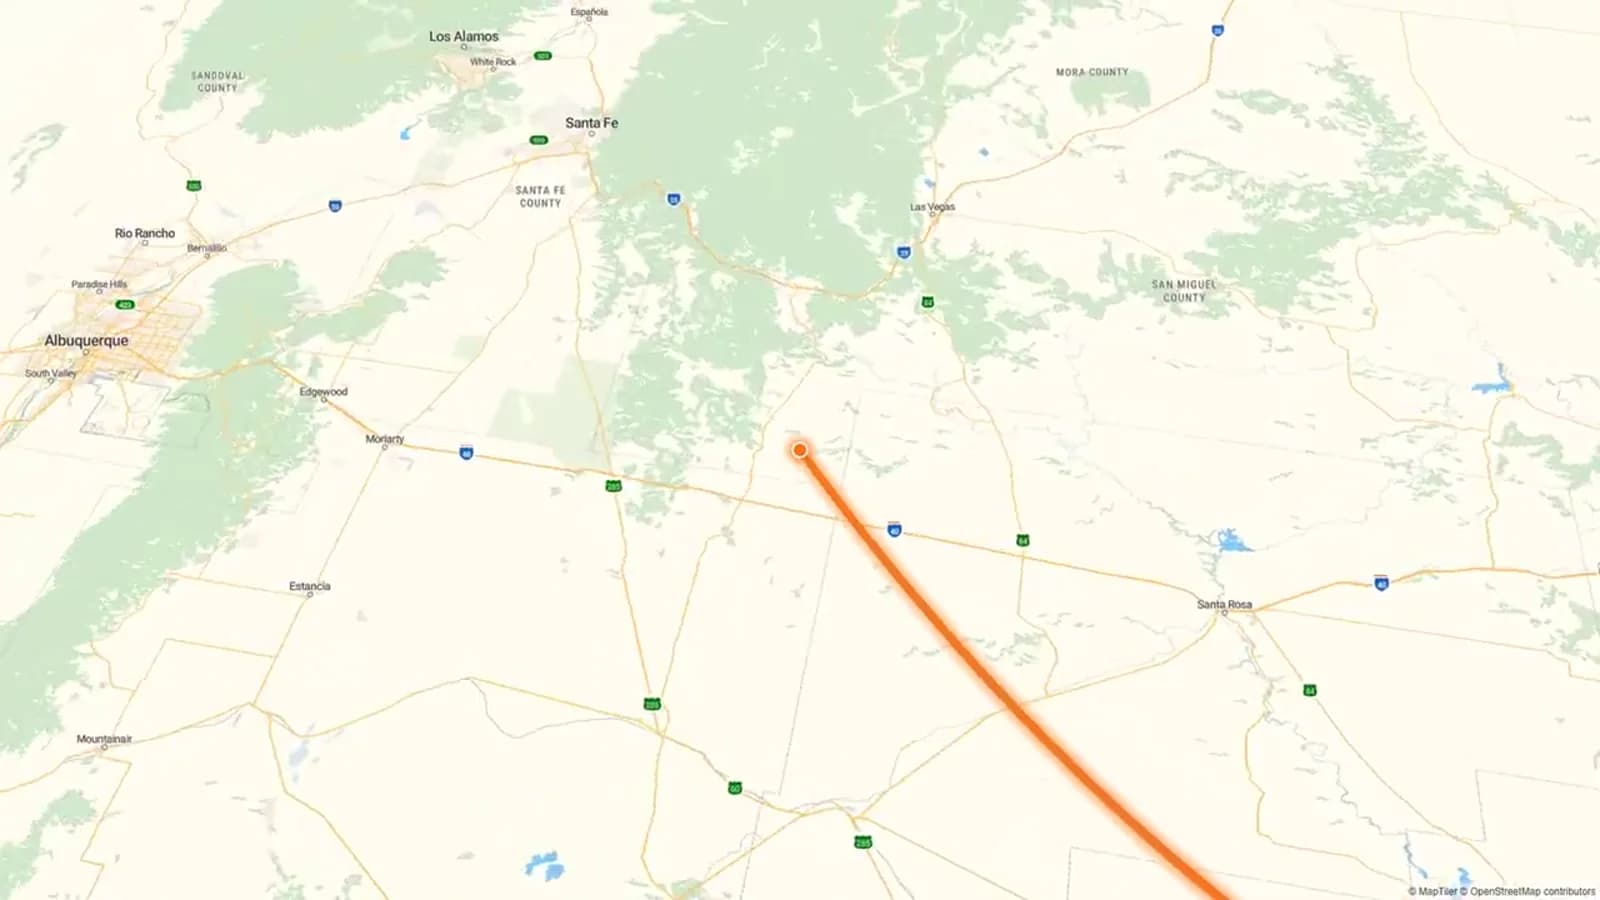
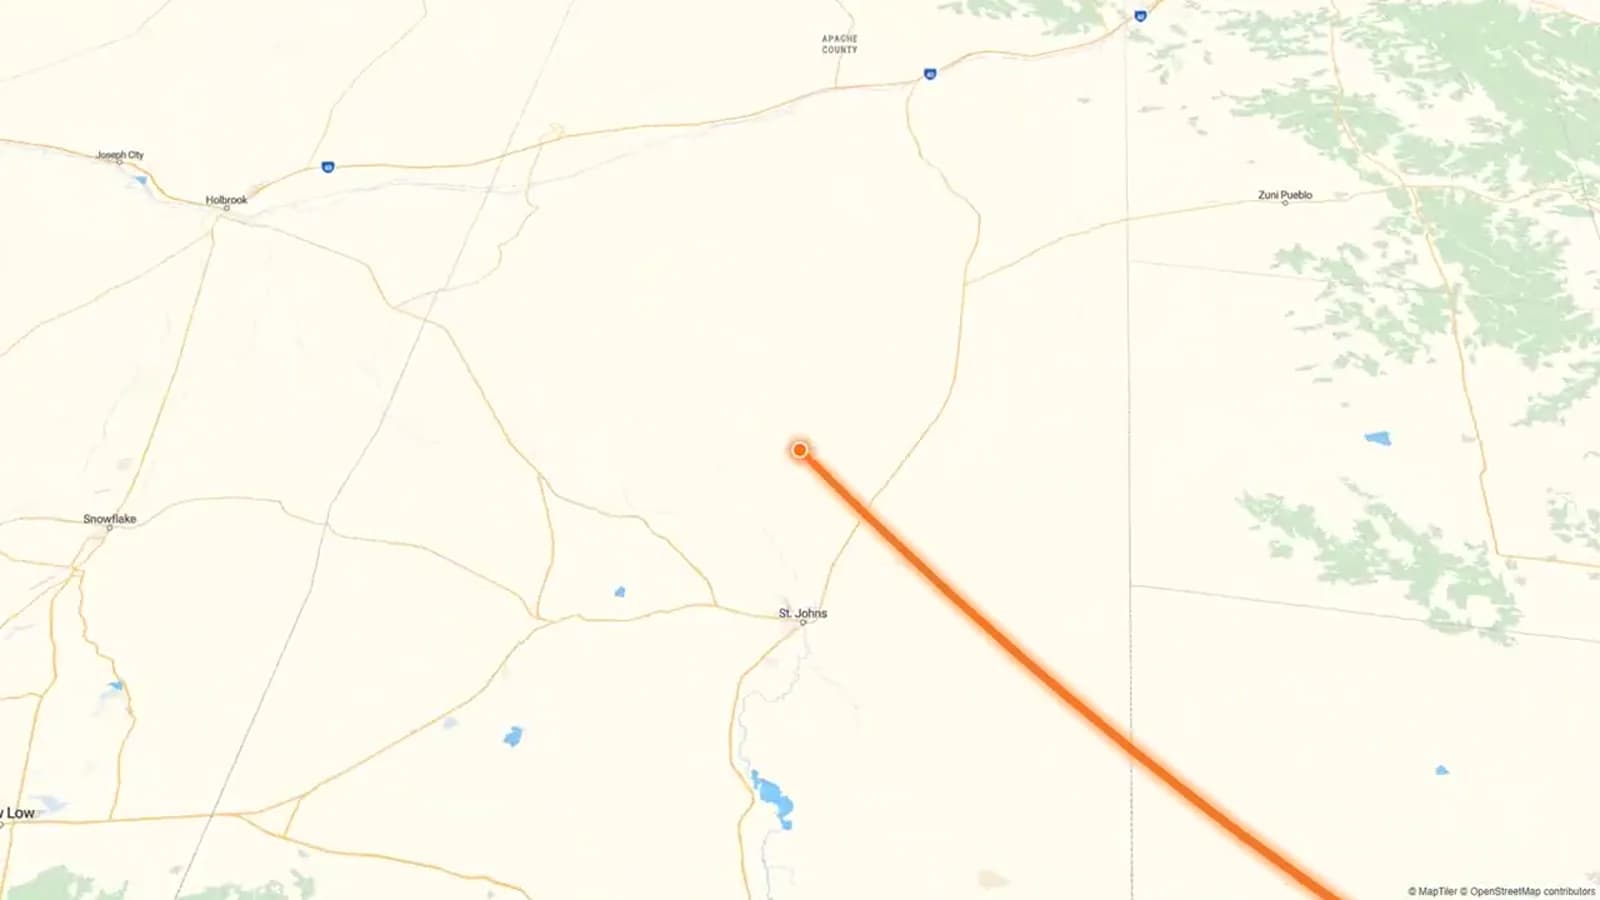
Keep each map move brief. Its job is to show progress from one stop to the next. A hiking map animation should guide the viewer, not compete with the photos.
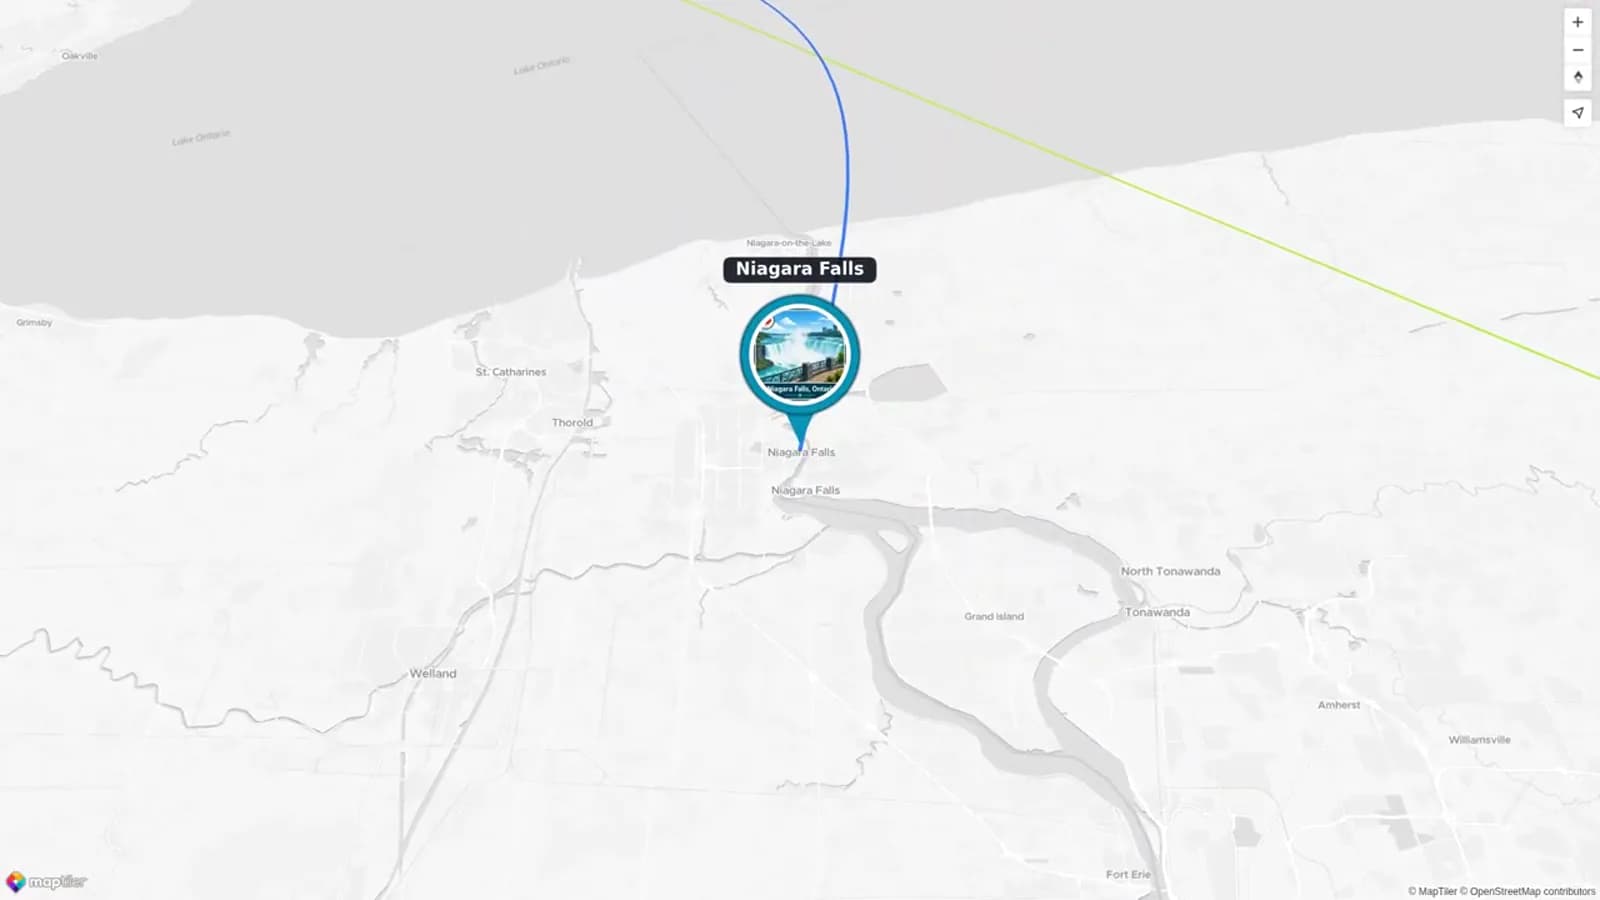
Use clear labels for the five stops. Keep the map style and route color steady. Sudden changes in color, camera angle, or scale can make the trail harder to follow.
Do not force every phone photo onto an exact coordinate. A named viewpoint or broad campsite area may be enough. Accuracy matters, but so does privacy. Use only locations you are comfortable sharing.
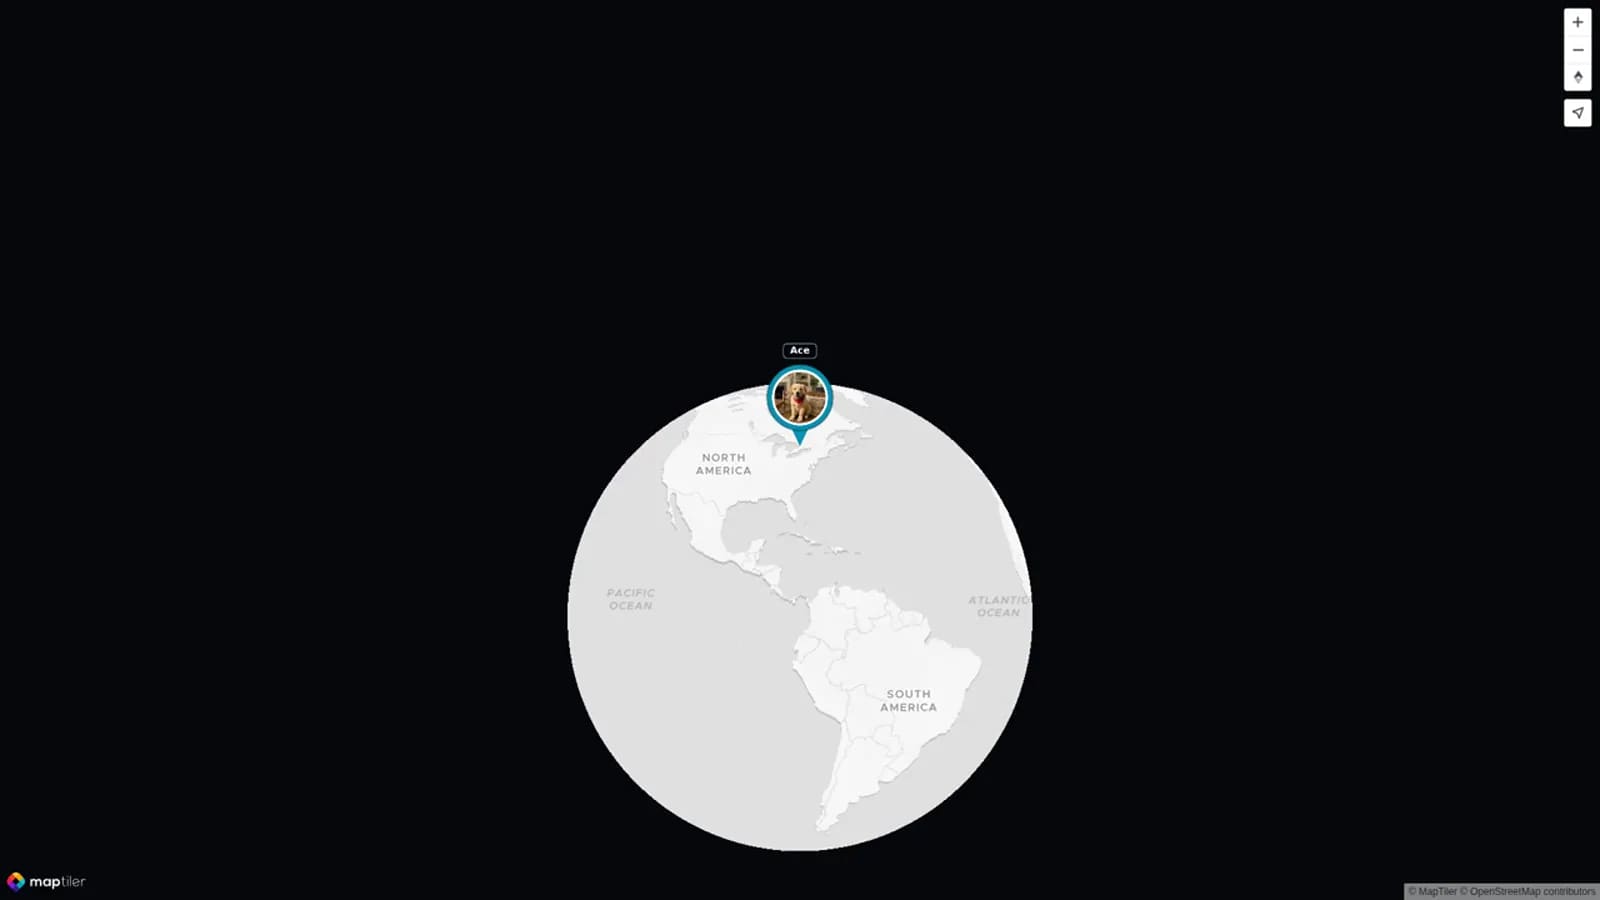
AlbumMap can help when the trip includes photos, short videos, written notes, and places from several hikers. One shared project can hold the files and shape them into a route-led story. That is useful when the best moments are spread across several phones.
Collect files from the group with one simple request
Send one link and one deadline. Ask people to include the stop name with each upload. If they do not know the name, let them choose trailhead, viewpoint, summit, campsite, or finish.
Give contributors limits. One favorite photo and one clip under 15 seconds is often enough. Add one sentence about what happened. These limits reduce repeated shots and make the edit easier.
Save original files before you resize or trim them. Keep a simple backup outside the editor. Ask permission before using a person's face, voice, private message, or location in a public video.
Five-Stop Hiking Route Template
Use this five-stop hiking route template to plan the order, media, captions, safety notes, and pacing before you edit.
| Stop | Story job | Media | Caption prompt | Pace | Safety note |
|---|---|---|---|---|---|
| Trailhead | Open the route and introduce the group | Trail sign, packs, boots, short starting clip | Where did we begin, and what was the mood? | 8–12 seconds | Show access facts only if they were true on the hike date |
| Viewpoint | Show progress and a change in the land | Wide view, reaction photo, brief pan | What changed when the view opened? | 10–15 seconds | Do not present old weather or trail conditions as current |
| Summit | Hold the main reward | Clear vista, group photo, short sound clip | What did reaching this point mean? | 15–20 seconds | Add context for guides, permits, or gear only when relevant |
| Campsite | Slow the pace and show a small detail | Tent, meal, evening light, written note | What quiet detail do we still remember? | 12–18 seconds | Use a broad area if the exact site is sensitive |
| Finish | Close the story and reveal the full route | Final sign, tired faces, ride-home photo | What stayed with us after the last step? | 10–15 seconds | Remind viewers that the recap is not a current navigation guide |
Examples You Can Copy
Opening card
Pine Ridge Loop — one long day, five stops, and the photos that brought the trail back.
Viewpoint caption
North Ridge viewpoint — after two hours of fog, the valley appeared for less than a minute.
Summit caption
Summit, 2:15 p. m. — tired legs, cold wind, and the quietest group photo of the day.
Group upload request
We are making a mapped recap of our hike. Please add one favorite photo, one clip under 15 seconds, and the stop where it belongs: trailhead, viewpoint, summit, campsite, or finish. Upload by Friday: [link]
Safety caption
Route note — this video records our visit on [date]. Check current maps, weather, closures, and official trail advice before planning your own trip.
Final Thoughts
A strong hiking route video does not need every photo or every bend in the path. It needs a clear order and a reason for each stop. Start at the trailhead. Let the viewpoint show progress. Give the summit room. Slow down at the campsite. End at the finish. If the memories are spread across several phones, AlbumMap can bring the photos, clips, notes, and locations into one route-led keepsake.
Helpful answers
Frequently asked questions
How many photos should I use for each hiking stop?
Start with two or three items per stop. Choose one image that shows the place and one detail that adds feeling. Add a short clip only when it brings useful motion or sound.
Do I need a GPX file to make the video?
No. A recorded track can help shape the route, but you can also use the five named locations. The story depends on clear stops, not on perfect GPS data.
How long should the finished recap be?
One to three minutes works well for many day hikes. A longer overnight trip may need more time. Cut repeated walking shots before you shorten a unique memory.
What safety note should I add?
State that the video records a past trip and is not a current navigation guide. Mention old conditions in the past tense. Point viewers to current maps, weather, closures, and official trail advice.
Can several hikers add photos and clips?
Yes. Ask each person for a small set and the matching stop name. AlbumMap can help collect shared photos, videos, notes, and locations in one route-led project.