Introduction
A Canada travel map video can turn a long trip into one clear story. It gives each part of the route a place, a date, and one memory worth keeping. Use this twelve-stop plan to shape a cross-country trip into a calm, easy-to-follow recap. Start with the route, choose the moments that matter most, and let each map stop carry one small part of the journey.
Start with a twelve-stop route plan
A long trip can create hundreds of photos and clips. Do not begin by trying to use them all. Begin with a map and mark the places that changed the trip. A coast, a town, a long road, a meal, a mountain view, or the final arrival can each earn a stop.
Twelve stops give a cross-Canada route enough shape without making the story feel crowded. They also leave room for different kinds of memories. One stop may show the people. Another may show the road. A third may hold a short written message that explains why a simple photo still matters.
Think of the route as the frame. Your photos, clips, and notes fill that frame. This makes it easier to choose what belongs in the final story and what can stay in the shared album.
Use the same fields for every stop: location, date or day number, media, caption, screen time, and transition. A small repeatable system saves time later. It also helps everyone in the group send useful material from the start.
Plan a Canada travel map video with one clear memory per stop
Pick one strong item for each location. It may be a photo, a short clip, or a note from a friend. One good item is easier to watch than six similar ones. It also gives the map time to move between places.
Add a caption in plain words. Say what happened, what the group felt, or why the stop still matters. A date or day number helps the viewer see where the moment fits. Keep most captions to one sentence.
For example, a road photo from Northern Ontario may need only a day label and a short line about the long drive. A Banff clip may need no extra detail beyond the location, the day, and one honest reaction from the group.
If a stop has many good files, choose one main image and one supporting clip. Let the strongest item appear first. The second item can add motion, sound, or a different point of view.
Give the route a simple beginning, middle, and end
Open with a wide route view. Show where the group began and where it hopes to end. Keep this first view short. Its job is to set the path, not explain every detail.
In the middle, let the land change the pace. A city stop can move fast. A long road can use a quiet photo and a slow fade. A big view can stay on screen a little longer. The change in pace keeps the story from feeling flat.
Save the final stop for the arrival and the people. Add one group message, one last image, or a short note about what the trip meant. Then pull back to the full route. That last view lets the viewer see how far the group came.
If the trip has gaps, do not force a stop for every day. Use a map move between key places. The line can show travel time while the video saves its space for the memories that matter.
Use day labels to make a long trip easy to follow
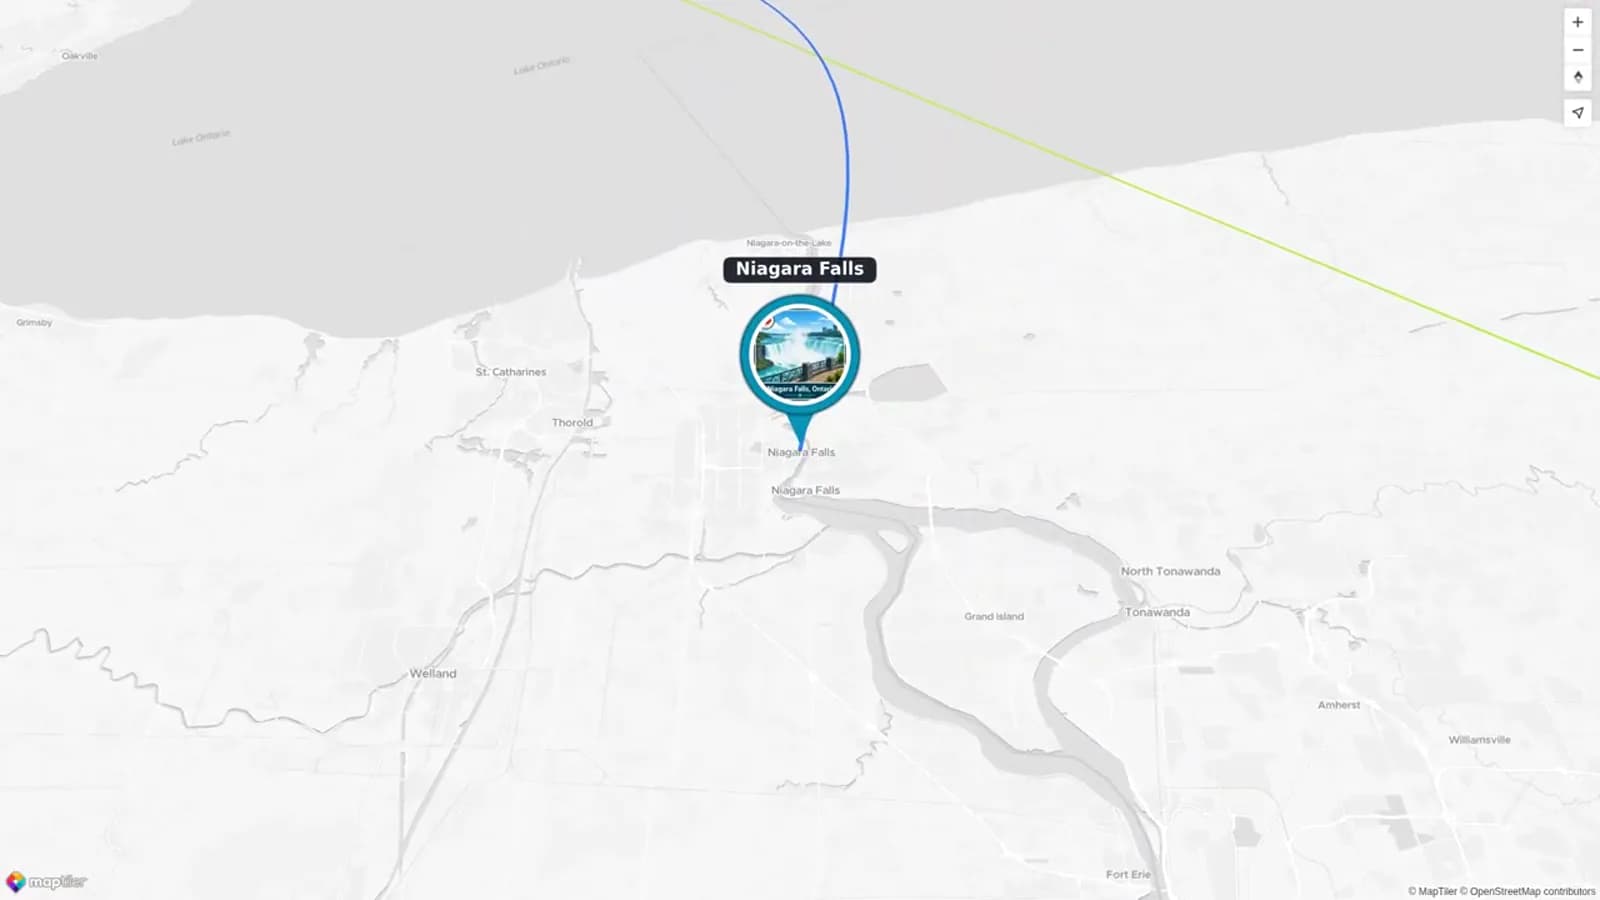
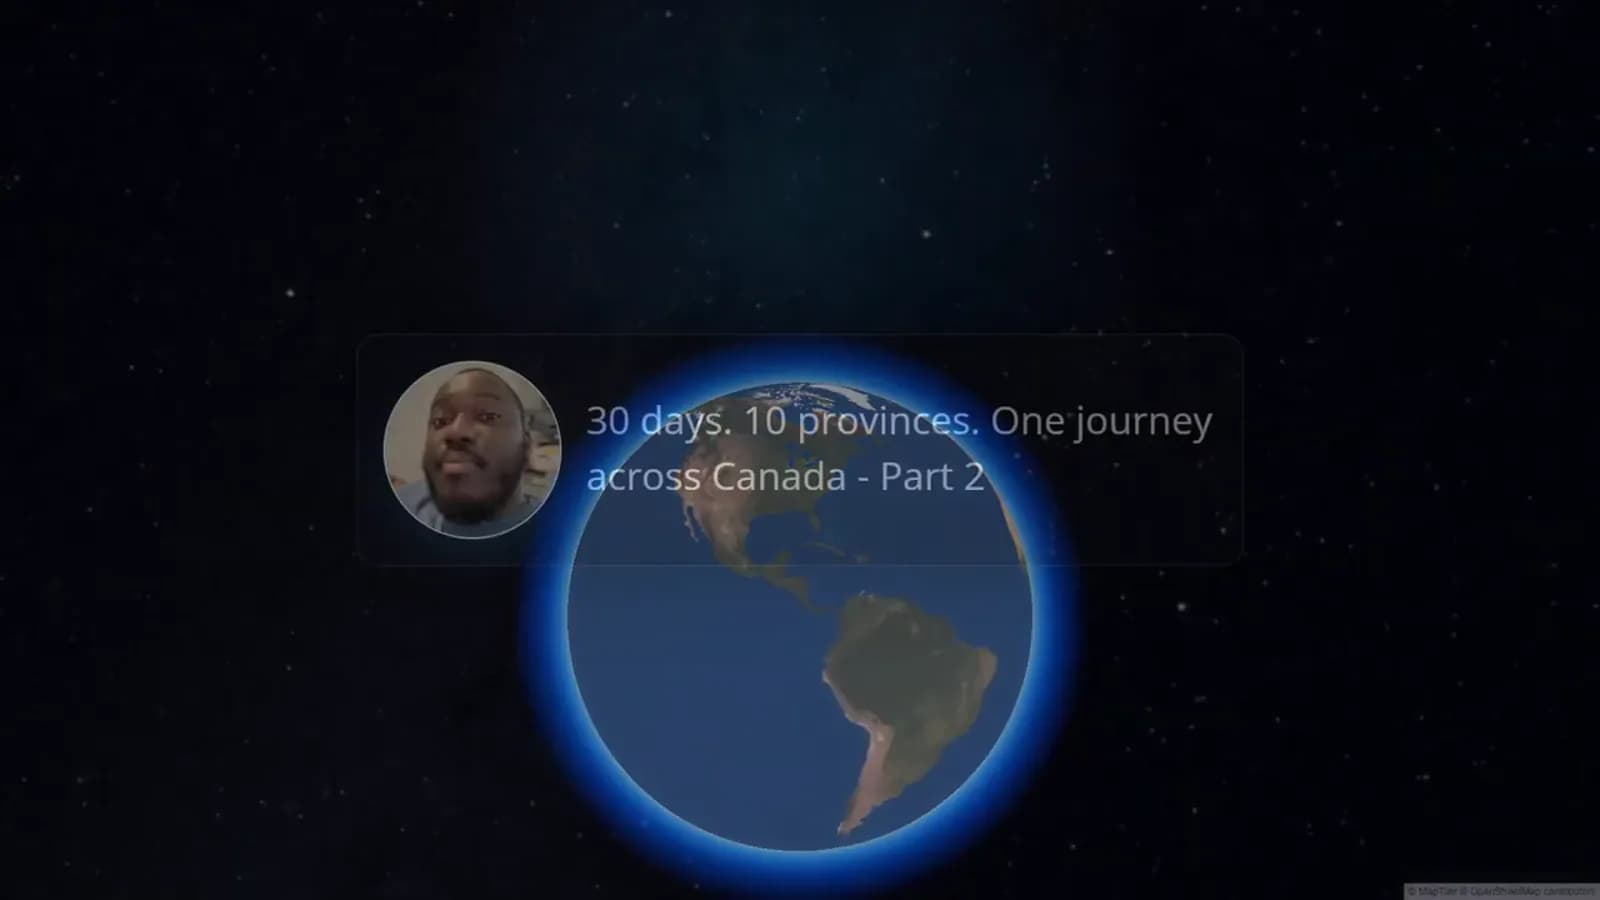
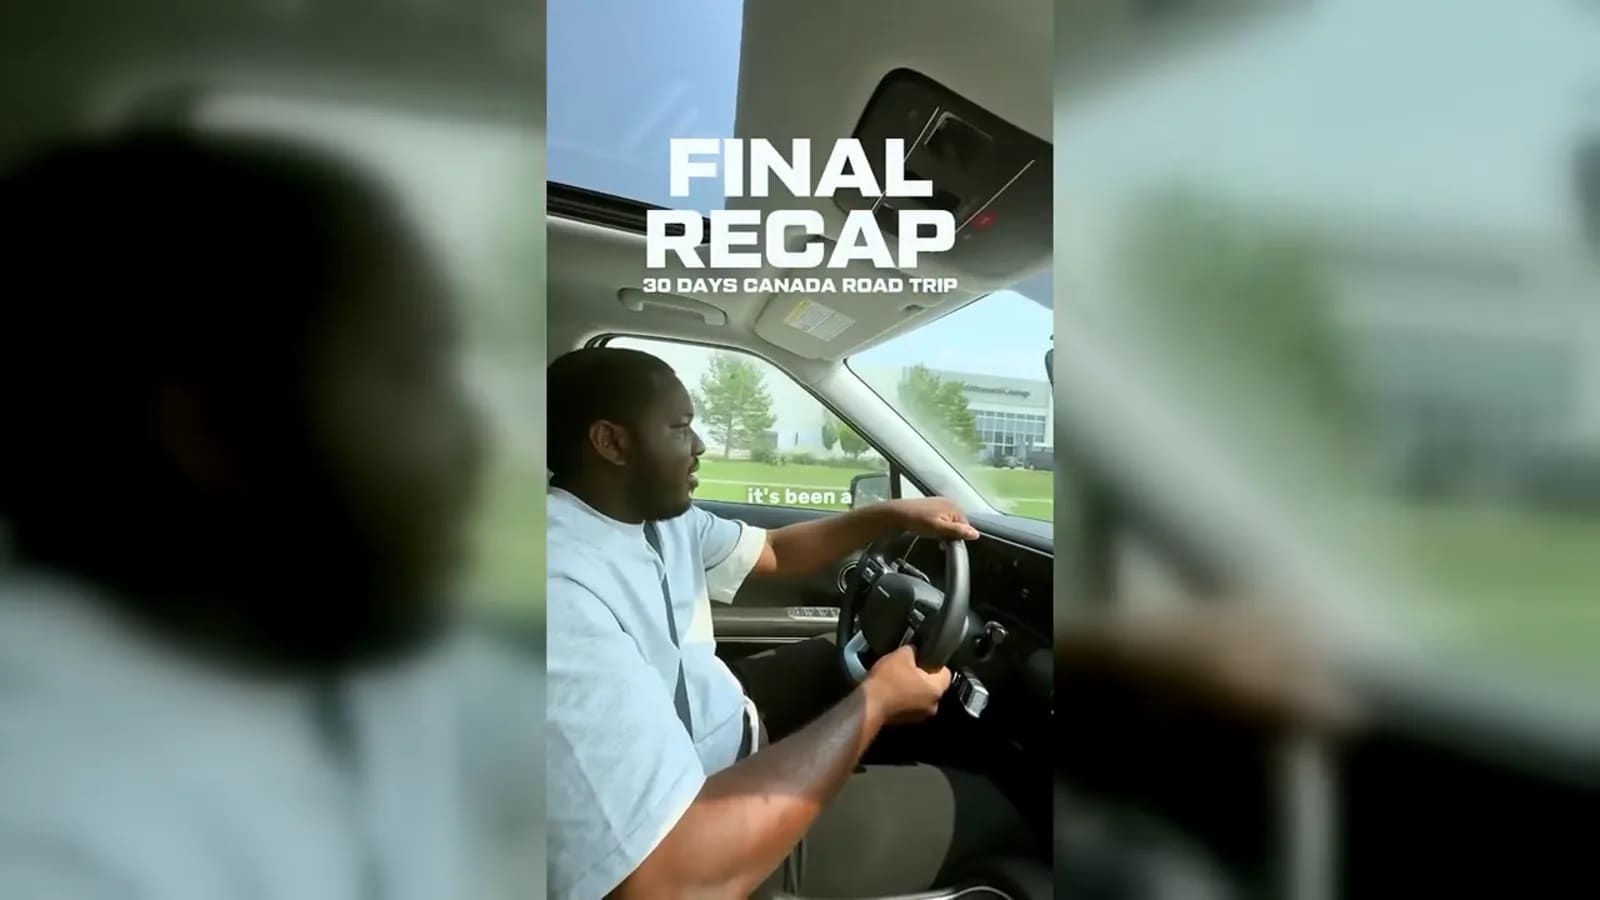
The AlbumMap video uses day numbers to guide a 30-day journey. That is useful for a long trip because it gives the viewer a steady clock. A simple label such as “Day 15 — Northern Ontario” can do more than a long title card.
Use day labels at the start of a new part of the route. Place the label over a map view, a road photo, or a plain background. Keep the text large and brief. The viewer should be able to read it in one quick look.
You do not need a label for every clip. Use one when the route enters a new area or when several days have passed. This gives the story shape while keeping the edit light.
Day labels also help when the trip includes many travelers. They give each person a shared reference point. A friend can send a photo marked “Day 20” even if they do not remember the exact town name.
Build the cross-Canada map in a group
Ask each traveler for one favorite photo or clip from a stop. Give them a simple form or shared list with the location and day. Ask for one short note as well. A note can explain a joke, a hard day, or a small surprise that the image cannot show.
Choose one person to check names, dates, and place pins. This does not need to be perfect. It only needs to be clear enough that the route makes sense. If two people remember a day in a different way, use both views in a short caption or message.
AlbumMap can bring those shared items into one map-led story. The route holds the order. Photos, clips, and written messages add the feeling. That mix works well for a trip that belongs to more than one person.
Set a simple deadline for contributions. Ask people to send their files in the same order as the route table. This avoids a last-minute pile of unlabeled media and gives the final story a more even rhythm.
Keep timing short and transitions quiet
Most stops work in six to eight seconds. Give a key view, such as Banff or the final arrival, a little more time. Short timing helps the route keep moving.
Use one simple transition at a time. A fade works well for calm scenes. A map line or map pan works well when the group travels far. Avoid fast effects that pull attention away from the place.
Watch the full draft once with no sound. If you can still tell where the trip begins, where it changes, and where it ends, the map is doing its job. Then add sound, messages, and small details only where they help.
End with the full route rather than one more busy montage. The recap gives every earlier stop a place in the same journey. It is a quiet way to show the distance, the changes in the landscape, and the people who made the trip memorable.
Twelve-Stop Canada Memory Map Table
Reusable planning table for an approved cross-Canada map-video section. Each row includes the required location, date, media, caption, duration, and transition fields.
| Stop | Location | Date | Media | Caption | Duration + transition |
|---|---|---|---|---|---|
| 1 | Your Atlantic start | Day 1 | Opening route image and one arrival clip | We started with a full map and a simple plan. | 7 sec; map line draws into first photo |
| 2 | First coast or town stop | Day 2 | One landscape photo and one short video | The trip felt real when we reached the water. | 6 sec; soft dissolve |
| 3 | Quebec stop | Day 4 | Street photo, food clip, or message | A small stop gave us a story we still repeat. | 7 sec; map pan west |
| 4 | Ottawa area | Day 6 | Landmark photo and group selfie | Halfway through the east, everyone found their rhythm. | 6 sec; quick fade |
| 5 | Toronto area | Day 8 | City clip and one caption card | Big city energy, then back to the road. | 7 sec; route line moves north-west |
| 6 | Northern Ontario | Day 15 | Road clip and wide landscape photo | Long roads made the day feel bigger than the map. | 8 sec; dissolve into day label |
| 7 | Manitoba stop | Day 17 | Sky photo and short spoken message | The view kept changing, and so did the conversation. | 6 sec; map slide west |
| 8 | Across the Prairies | Day 20 | Driving clip and one group photo | The wide horizon gave the trip room to breathe. | 8 sec; slow crossfade |
| 9 | Alberta approach | Day 23 | Road sign photo and voice note | The mountains were getting closer with every mile. | 6 sec; route line rises toward mountains |
| 10 | Banff | Day 25 | Mountain photo and short video | We stopped talking for a minute and just looked. | 8 sec; gentle dissolve |
| 11 | The Rockies | Day 27 | Moving road clip and one caption | The route became part of the memory, not just the way through. | 8 sec; map move toward final stop |
| 12 | Calgary | Day 30 | Arrival photo, group message, and full route view | Thirty days later, the whole trip fit into one story. | 10 sec; pull back to final route recap |
Examples You Can Copy
Copy-ready caption
Day 15 — Northern Ontario: Long roads, quiet views, and the snack stop that kept us going.
Copy-ready transition
Fade from the road photo into a simple map move west, then begin the next stop with the day label.
Final Thoughts
A long trip does not need a long video. Pick the stops that hold the feeling of the route. Use clear day labels, simple map moves, and one final route recap. This Canada-specific plan gives a cross-country journey a repeatable structure while leaving room for the group’s own photos, clips, and messages.
Helpful answers
Frequently asked questions
What is a Canada travel map video?
It is a map-led trip recap that follows a route through selected stops using locations, dates, photos, short videos, captions, and transitions.
How many stops should a cross-Canada memory map include?
Twelve stops give a useful structure for a long trip. Use fewer if the route has less material, but keep one clear moment at each stop.
What should each stop include?
Use a location, date, media item, short caption, duration, and transition. This makes the story easier to follow and easier to edit.
How do day labels help a long trip video?
Day labels show the order of the journey without long title cards. Use them when the route enters a new area or when several days have passed.