Introduction
A GPX file can be a useful starting point for an animated route video when you want to show where a recorded activity went. The route supplies the shape of the journey; your photos and captions explain what it felt like.
Start by checking the file, choosing a tool that explicitly supports GPX import, and testing a short export. Do not assume a map-video tool accepts GPX just because it can display routes.
This guide separates two jobs: replaying a track and telling a story. Sometimes you need both. Sometimes a few location-linked photos are a clearer result than a detailed trace.
Understand what the file contains
Topografix's GPX documentation describes GPX as an XML format for exchanging GPS information, including waypoints, routes, and tracks. A waypoint represents a location; route points and track points serve different ways of describing a journey.
A file extension does not tell you whether the contents represent a planned route or a recorded activity. Before presenting the result as “where we went,” establish what was actually exported.
For the story, make the distinction visible. “Our recorded walk” and “our planned walking route” communicate different levels of certainty. Do not use one label for the other.
Choose between a track replay and a memory video
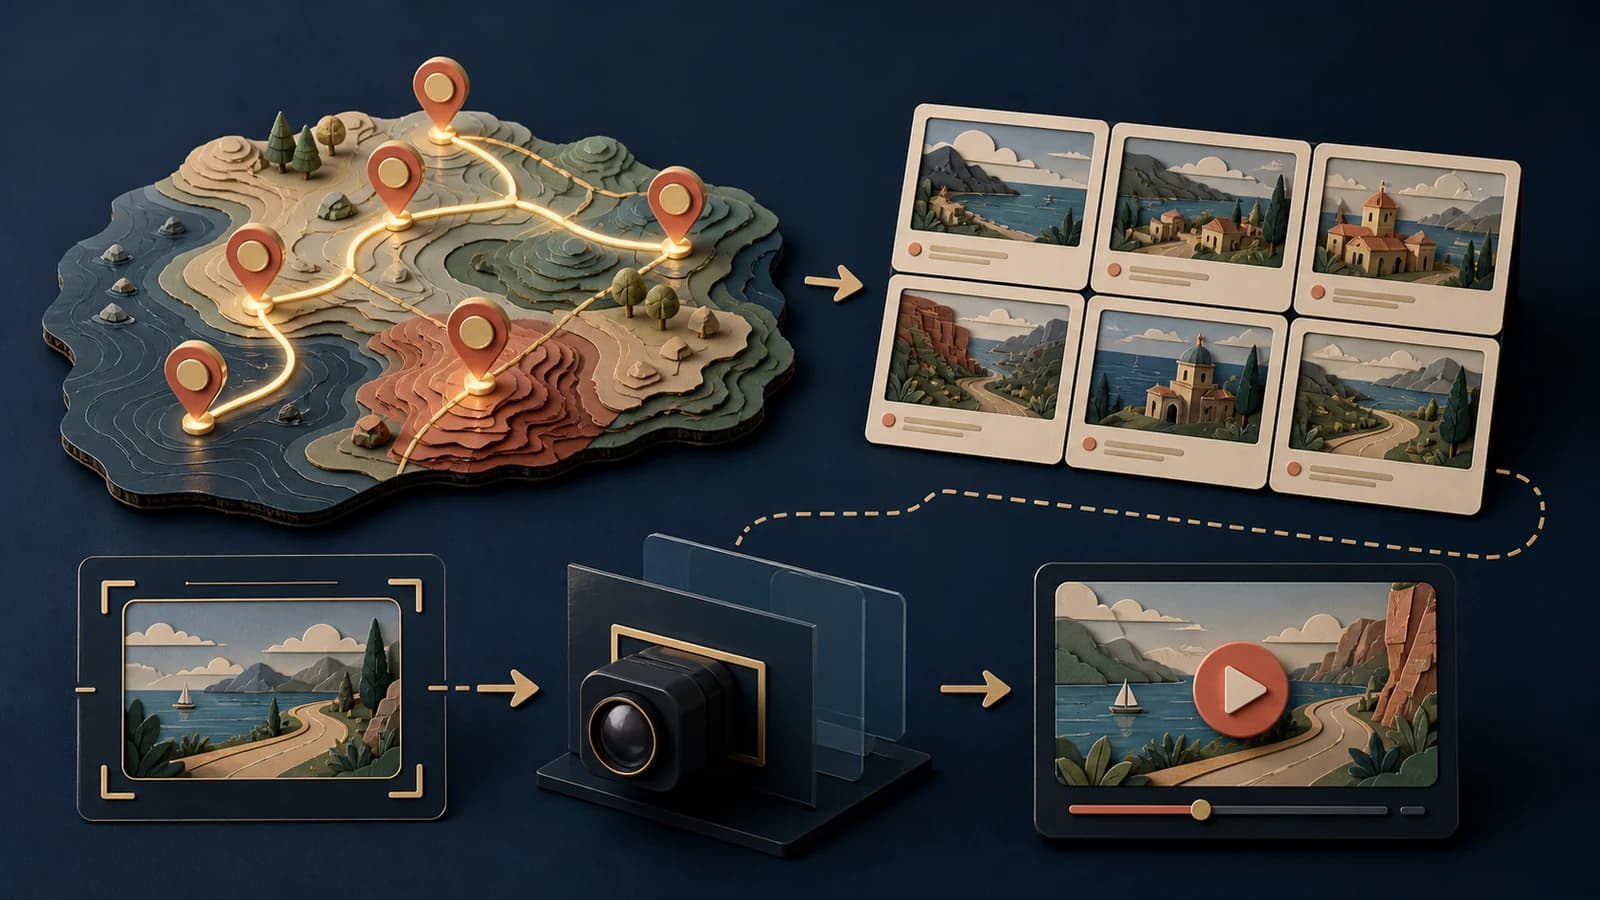
A track replay makes sense when the shape of the activity is central: a loop, a multi-stage journey, or progress toward a finish. A memory video makes sense when the important material is a handful of scenes along the way.
| Main purpose | Starting material | Editorial approach |
|---|---|---|
| Explain where the activity went | A checked GPX track | Make the route easy to follow. |
| Remember a day with friends | Photos, clips, and a few locations | Give each meaningful stop a scene. |
| Show a trip with activity highlights | Track plus selected media | Use the route as a bridge between moments. |
AlbumMap's travel video workflow centres on media and places. This article does not claim that AlbumMap imports GPX files. Use a GPX-capable tool for the track-specific step, or create a location-led story without importing the file.
Get the correct export from your recording source
Use the export instructions for the device or service where the activity was recorded. Account options and export formats differ, so confirm that the result is a GPX file rather than an activity image or a link to a public page.
Keep an untouched original and work from a copy. Give the files names that distinguish the raw record from the version prepared for a public video.
For a group activity, confirm whose track you are using. It may begin earlier, end later, or follow a slightly different path from the section the video is intended to describe. Do not quietly present one participant's complete route as an exact shared record.
Inspect the route before choosing the visual style
Open the file in a compatible viewer or the animation tool's preview. Compare the displayed path with your own record of the activity.
Look for a start point that reveals more than you intend, an unexplained straight connection, a section that belongs to a different day, or an ending beyond the part of the journey you want to share. Treat those as issues to investigate rather than automatically smoothing them away.
Avoid adding impressive-looking distance or speed figures unless you have verified what they represent. A decorative animation is not evidence that every measurement in the file is accurate.
When a line has been simplified for presentation, say so where that distinction matters. A recap should not be mistaken for current navigation advice.
Choose a tool with documented GPX support
One example is MapAnim's GPX route-animation tool. Its official page describes importing a GPX file, adjusting the visual presentation, adding media or text, and exporting the animation.
That is an example of a documented workflow, not a hands-on comparison or an endorsement of every claim on the product page. Check the current export options, account requirements, and handling of uploaded data before using it.
Test a copy of a small, non-sensitive track first. Confirm that the import keeps the route understandable and that the final output suits the place where you intend to share it. A successful upload is not the same as a finished, useful video.
Protect the beginning and end of the journey
Make a sharing decision before uploading the full file. A precise starting point may identify a home, accommodation, or routine meeting place that does not belong in a public recap.
Consider preparing a version that begins at a public landmark or shows only the main activity area. Removing a visible opening scene is not necessarily the same as removing sensitive information from a source file you upload or share separately.
Check the tool's actual controls rather than assuming a “private project” label solves every concern. For other people's routes or images, ask permission and agree on who will see the result.
The purpose is straightforward: share the journey, not unnecessary personal detail.
Choose a pace that makes the route understandable
Do not feel obliged to preserve real elapsed time. Decide whether the animation is meant to show geography, effort, or the sequence of memorable stops.
For a short recap, an original structure might look like this:
| Section | Approximate example length | What it explains |
|---|---|---|
| Route overview | 4 seconds | The general shape of the activity |
| First section | 6 seconds | How the journey begins |
| Photo pause | 5 seconds | A moment worth remembering |
| Main section | 8 seconds | The important change in location |
| Finish and closing image | 7 seconds | What completing the journey meant |
This thirty-second structure is a production example, not an optimal duration claim. Give a complicated route more explanation, or show fewer sections instead of accelerating everything.
Add photos at meaningful points
Choose photos because they explain the experience, not because they happen to be available. An ordinary image of a shared snack may tell more of the story than a fifth similar landscape.
When the tool supports attaching media to locations, check the placement manually. Do not assume every file contains usable location information or that the software has matched it correctly.
Keep captions specific and short. “The point where we decided to keep going” creates a chapter. “Amazing adventure memories” could describe almost any trip.
For a photo-first approach, see how to make a hiking route video. A detailed track is optional when the story can be told honestly with a few meaningful places.
Review the exported video as a viewer
Watch once without looking for technical flaws. Can you understand where the activity begins, what the main route does, and where it ends?
Then watch again for privacy, labels, misplaced photos, and any movement that appears to show an impossible or unexplained connection. Review the final file on the intended screen size before sharing.
Keep the underlying GPX separate unless you specifically mean to share it. A video recap and a downloadable navigation file are different deliverables with different information in them.
Let the track support the memory
The line tells viewers where the activity went. The photo, voice, or caption tells them why it mattered.
When the personal moments are the main story, build a place-based travel video with AlbumMap. When the recorded path itself is essential, begin with a checked GPX file and a tool that explicitly supports it.
Helpful answers
Frequently asked questions
Can I make a route video without GPX?
Yes. A manually planned route or a location-led photo story can work. Do not describe the result as a recorded GPS replay when it is an illustration.
Does GPX automatically include my photos?
Treat the track and your media as separate inputs. The format describes geographic information; the way photos are attached depends on the application and your files.
Should every point remain visible in the final animation?
Not necessarily. Decide what the audience needs to understand, but do not hide a meaningful change or invent route accuracy for a cleaner-looking result.
Can I use the finished recap as a hiking guide?
A recap is not a substitute for current route information and appropriate navigation. Present it as a record or illustration of the trip, not a promise that conditions or access remain the same.