Introduction
A national park road trip video works best when it follows the trip the way you remember it: one stop, one feeling, then the road to the next place. You do not need every clip from the car or a long list of landmarks. You need a simple loop, a few useful labels, and a small memory at each stop. This template helps you make a park trip recap that feels complete without becoming a travel guide. It is for shaping memories after the drive, not for planning park travel.
Start with one loop, not every mile
Choose a loop that starts and ends in the same broad place. It can be a day loop, a two-park loop, or a longer trip with one return point. Your video does not need to show every road segment. It only needs enough stops to make the journey easy to follow.
Aim for five to seven stops. Give each stop one job. A trailhead can set the scene. An overlook can show the big view. A lunch stop can add a human moment. A campsite or final sunset can give the story a quiet ending.
If the route was not a true loop, make one for the video. Start at the first overnight town and end at the final one. The viewer needs a clear path more than a perfect map record.
National park road trip video timing that stays watchable
A good first draft is about 90 seconds to three minutes. That leaves room for the road and the memories without asking viewers to watch every clip. Use about three to five seconds for a map move, then eight to fifteen seconds for the memory at that stop.
Build in a short opening and close. The opening can name the trip and show the first map pin. The close can return to the loop shape, show the final view, or use one sentence about the trip. Keep the middle focused on the stops.
Vary the material. Put a wide view beside a close detail, a short driving clip beside a still photo, and a funny group moment beside a calm landscape. The contrast keeps the recap moving.
What to capture at each stop
You can make this road trip video template with what you already have. At each stop, look for one location image, one people image, and one small detail. The location image tells viewers where they are. The people image makes the trip personal. The detail can be boots, a trail sign, a packed lunch, a wet jacket, or a hand holding a map.
Short clips are useful, but they do not need to be polished. A five-second pan, a laugh from the car, or a quick look at a view can carry more feeling than a long recording. If you only have photos, use two or three per stop and add a short caption.
Ask fellow travelers for one favorite item from each stop. A shared drive can work, but a clear request works better: send one photo or clip, name the place, and add one sentence about what happened there.
Make map labels do the organizing
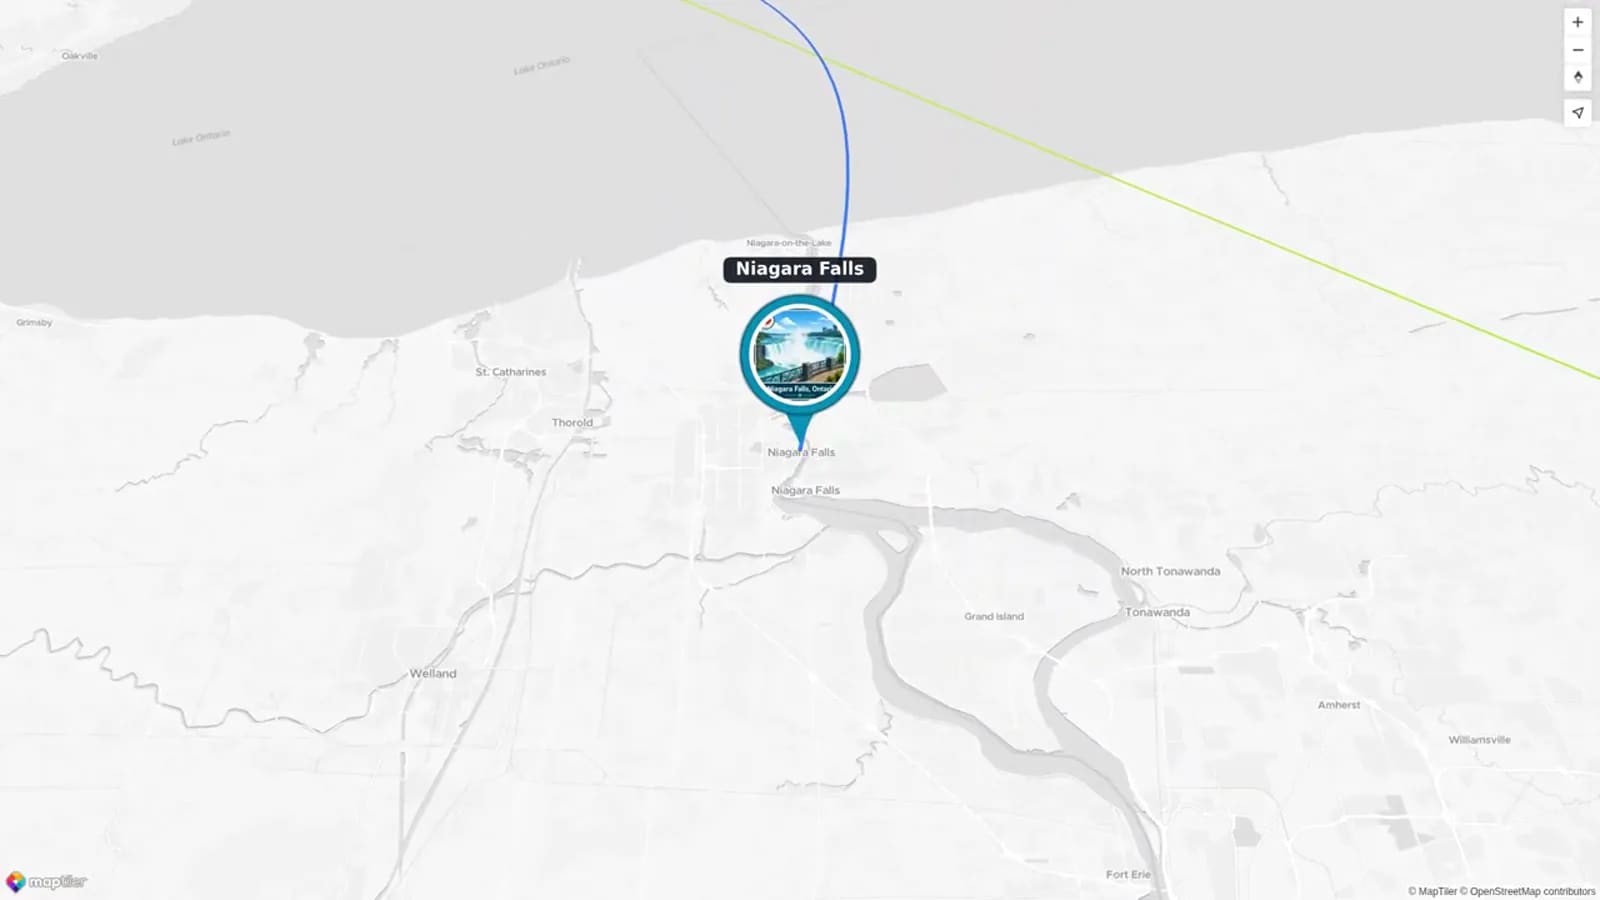
Map labels should help the viewer, not fill the screen. Use the park name, a simple stop name, and a short memory phrase. Avoid labels that try to explain the full history of a place or list every activity.
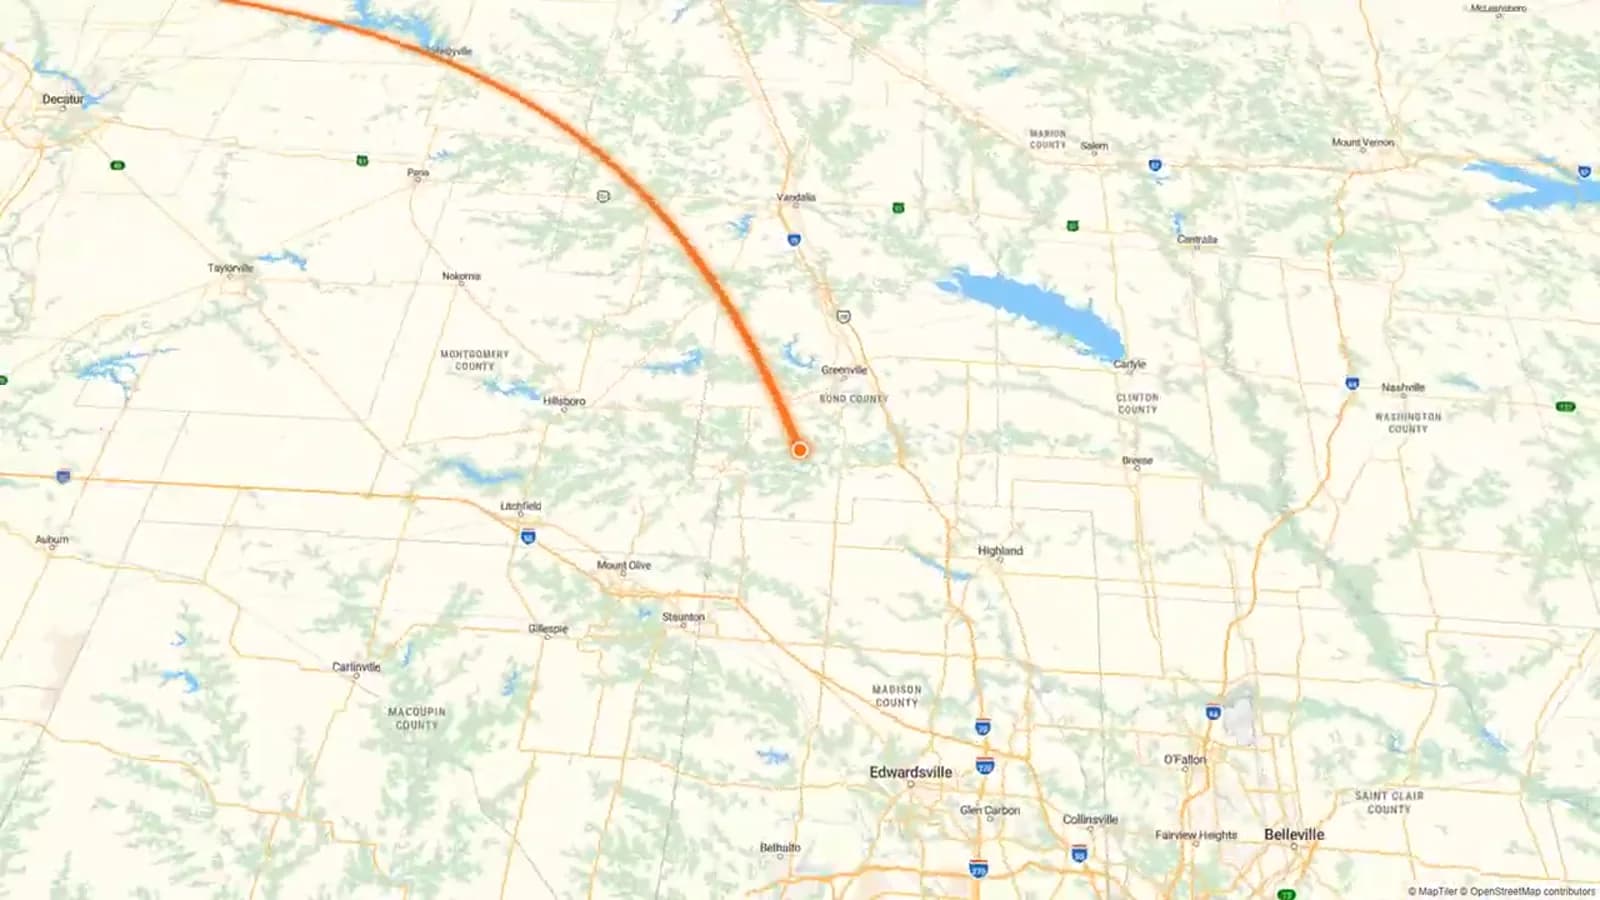
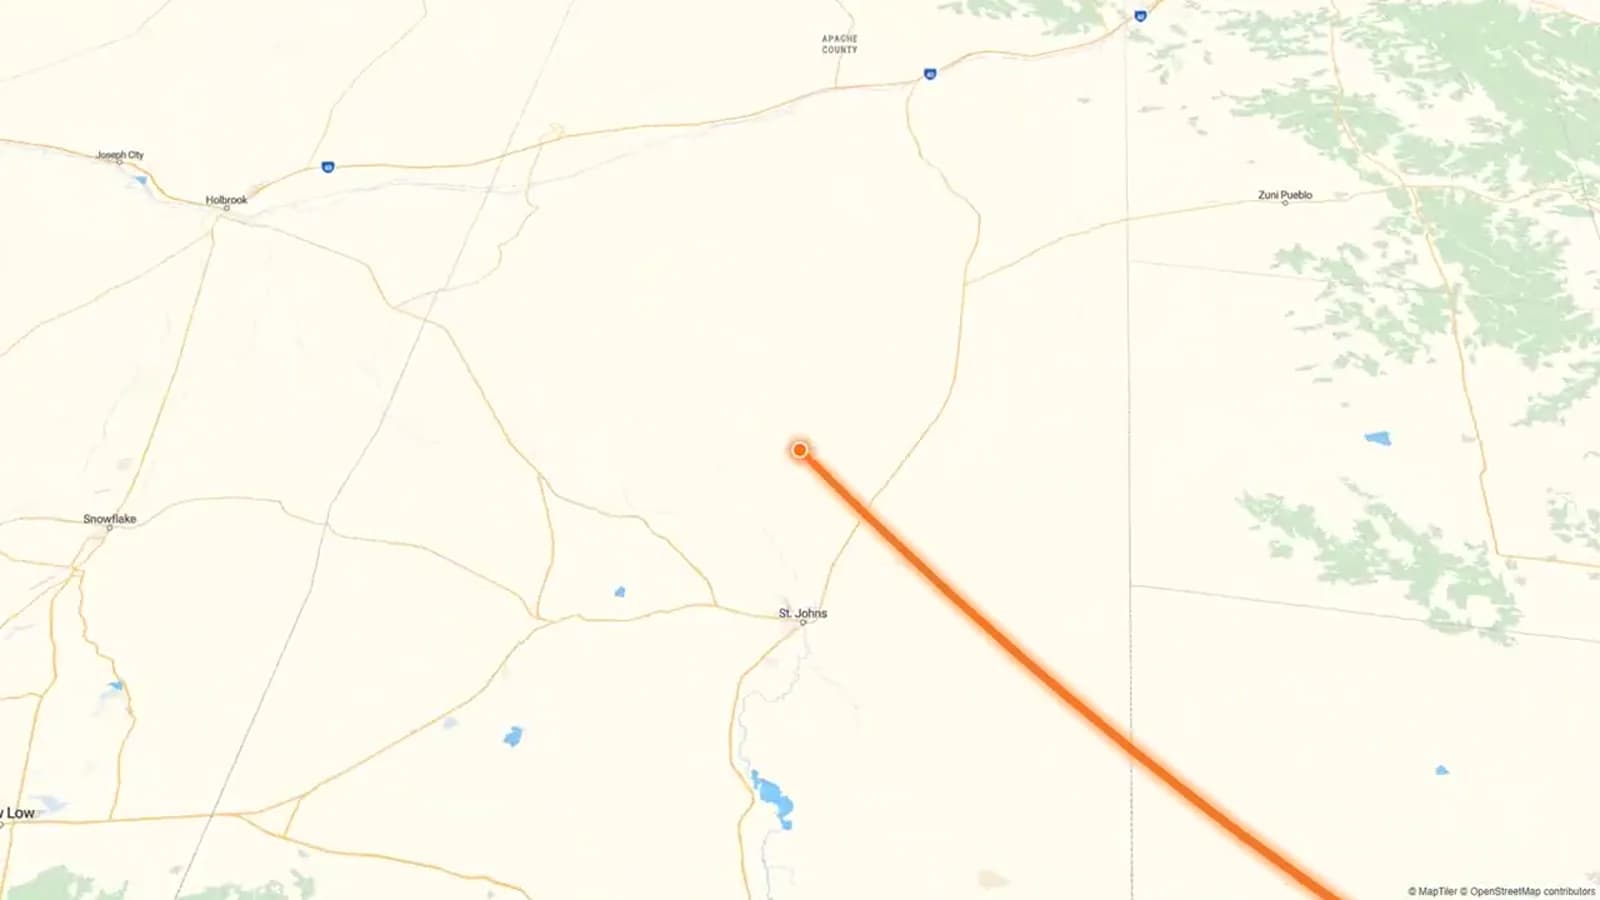
Keep the pattern the same at every stop. For example: "Stop 3 — Lake overlook" followed by "Windy lunch, warm coffee." A repeated pattern makes a national park route map feel calm and clear.
Use a label for the road between major sections when it adds meaning. "Rainy drive north" or "Back through the pines" can explain a change in mood without needing more footage.
Reusable national park loop storyboard
Copy this storyboard before you sort files. Replace the bracketed text with your own stops. If your trip was shorter, remove a row. If it was longer, repeat the middle-stop pattern rather than making each stop more crowded.
The suggested timing is flexible. It is there to help you trim choices, not to make the recap feel rigid. Keep the strongest memory when two items do the same job.
| Video moment | Map label | Use this media | Memory prompt | Suggested timing | Transition |
|---|---|---|---|---|---|
| Opening | [Trip name] loop begins | One wide road or entrance image | What were you most excited to see? | 0:00-0:08 | Globe or wide map view to first pin |
| Stop 1 | [Trailhead or first view] | One arrival shot and one group photo | What changed when you arrived? | 0:08-0:25 | Map move along the road |
| Stop 2 | [Overlook, lake, or landmark] | Wide view plus one close detail | What tiny detail do you still remember? | 0:25-0:42 | Photo card back to map |
| Stop 3 | [Lunch, town, or rest stop] | Food, car, or candid photo | What made this stop feel like your trip? | 0:42-0:58 | Short road clip |
| Stop 4 | [Main hike or big moment] | Best short clip and one still photo | What happened that the camera barely caught? | 0:58-1:18 | Map pin grows into memory card |
| Stop 5 | [Final view, camp, or sunset] | Quiet landscape and one people image | What did the last stop leave you feeling? | 1:18-1:35 | Slow return route |
| Closing | Back to [start or final town] | Final group image or road-away clip | What will you say when you remember this trip? | 1:35-1:48 | Map settles on the completed loop |
Turn the route into an AlbumMap video
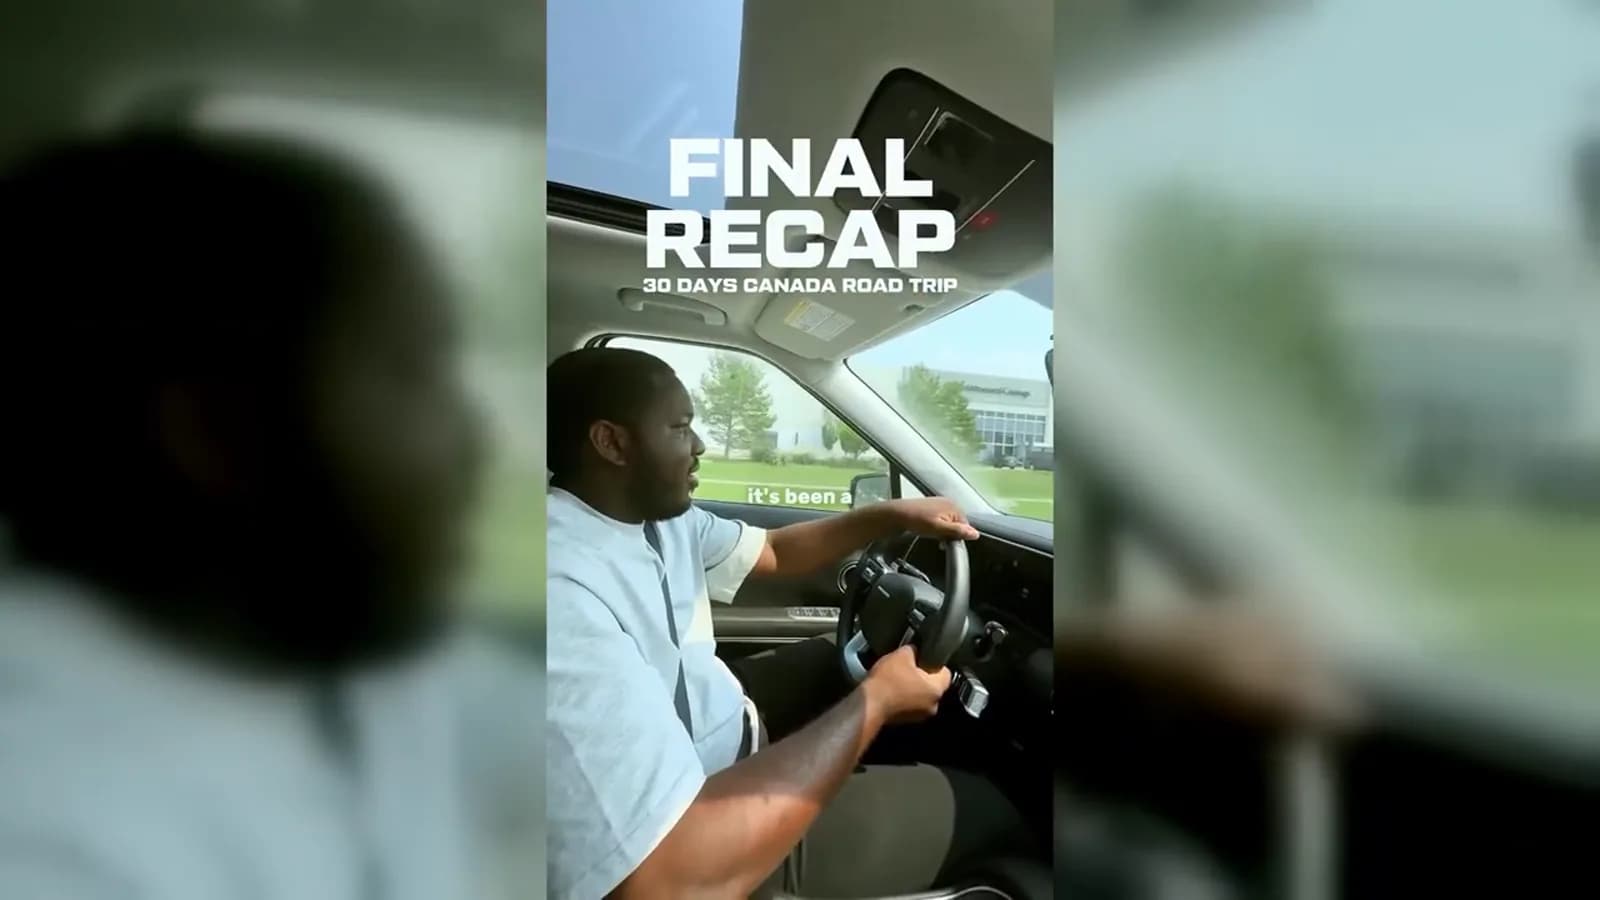
AlbumMap is useful when your park trip lives in several phones and group chats. Create a project, add the route stops, and collect photos, short clips, and written notes. Each memory can be tied to the place where it happened, so the finished story can travel from stop to stop instead of playing as a flat slideshow.
Start by making a list of your five to seven stops. Then give each traveler a simple prompt: send one photo or clip, choose the nearest stop, and write one line about why it mattered. A small request makes it easier for people to take part.
Choose a simple order, preview the route, and trim repeats. The goal is not to prove you saw everything. It is to make the people who took the trip feel the shape of it again.
Copy-ready captions and contributor prompts
Use one short caption per stop. Write in the voice of the trip, not the voice of a brochure. Specific details are stronger than broad claims. "The view that made us stop talking" says more than "Beautiful overlook."
When someone cannot send video, invite a photo and a note instead. A written line can become the memory card for that stop. This keeps the recap open to every traveler, even if they only took one good photo.
Sources and verification
Last verified: 2026-08-09. Content cutoff: 2026-08-09. This article draws on the AlbumMap video above and page research completed on that date. Recheck product pages, embeds, and linked articles before a future update.
This is a creative recap template. It does not provide current park operations, route conditions, permits, reservations, or safety guidance. Check the official source for the specific park when you need travel information.
Examples You Can Copy
Copy-ready map label
Stop 2 — Cedar Ridge Overlook. We pulled over for five minutes and stayed for forty.
Copy-ready contributor request
I am making our park trip recap. Please send one photo or short clip from a stop, the place name, and one sentence about what you remember. Keep the clip under 10 seconds if you can.
Copy-ready ending card
One loop, six stops, and a lot more stories than fit in the car.
Final Thoughts
The best park trip recap is not a catalog of views. It is a small route with real moments attached to it. Pick the stops that changed the day, add one clear label to each, and let the road connect them. If your group has photos, clips, and notes in different places, AlbumMap can help turn those pieces into one mapped story.
Helpful answers
Frequently asked questions
How long should a national park road trip video be?
Start with 90 seconds to three minutes. Give the opening and closing a few seconds each, then use about eight to fifteen seconds for every main stop.
What should I label on a national park route map?
Use the park or stop name and one short memory phrase. Labels such as "Lake overlook — coffee in the wind" are clearer and more personal than long descriptions.
Can I make a park trip recap with photos only?
Yes. Use two or three photos per stop, add a short caption, and let the map move between locations. A few still images can tell a strong route story.
How do I collect memories from everyone on the trip?
Ask each person for one photo or short clip, the nearest stop, and one sentence about why it mattered. A short request gets better responses than asking people to send everything.