Student Welcome Video Ideas for Schools and Colleges
A student welcome video can make a new school feel less unknown. It lets students meet friendly faces, see useful places, and learn what will happen next. It can help a child preparing for a first school day, a teenager changing schools, or a college student arriving from another city or country. The best welcome videos are not long speeches. They are short, warm, and useful. They answer the questions students may feel shy about asking. They also show that real people are ready to help. This guide offers practical ideas for schools, colleges, admissions teams, teachers, and student leaders. You will find formats for different age groups, a simple production plan, and scripts you can adapt. You will also learn how to include many voices without making the project hard to manage.
Start with one audience and one clear purpose
Before filming, decide who needs the welcome. Incoming kindergarten families need different details from first-year college students. Transfer students, international students, online learners, and students joining midyear may also have different concerns.
Choose one main result for the video. You might want students to recognize key staff, find important services, feel calmer about arrival, or understand the first week. Write that purpose in one sentence. Use it to remove any scene that does not help.
If you serve several groups, make a short core video and add smaller versions for each audience. A two-minute general welcome can link to separate clips about residence life, accessibility services, online learning, or family questions.
9 student welcome video ideas to make newcomers feel included
1. A friendly staff hello. Ask the principal, dean, teachers, office staff, librarians, counsellors, and support workers to share brief greetings. Give each person a different role. One can offer reassurance, while another explains where students can get help.
2. A student-led campus tour. Let current students show the entrance, main office, library, cafeteria, classrooms, transit stop, and quiet spaces. Use clear labels and a simple route. Avoid showing restricted areas or details that could create a safety concern.
3. A first-day preview. Show what happens from arrival to dismissal. Include check-in, orientation, breaks, lunch, and pickup. College teams can cover residence check-in, student cards, course access, and welcome-week events.
4. A welcome from peers. Current students can share one thing they wish they had known. Ask for specific, reassuring advice. Useful topics include finding a club, asking a teacher for help, meeting people, managing a timetable, and taking breaks.
5. A meet-your-support-team video. Introduce the people behind academic advice, accessibility support, counselling, technology, financial aid, health services, and student success. Tell viewers how to reach each service and what kind of question is welcome.
6. A clubs and community montage. Invite student groups, teams, arts programs, cultural groups, and volunteer leaders to record quick invitations. A wide mix helps more students see a possible place for themselves.
7. A day-in-the-life story. Follow one student through a normal day. Keep the day realistic rather than perfect. Show small moments such as finding a room, eating lunch, speaking with a teacher, studying, and joining an activity.
8. A family welcome. For younger students, include practical guidance for parents and caregivers. Cover arrival, communication, meals, supplies, and where to ask questions. Keep student-facing information in the main video and place longer family details in a linked guide.
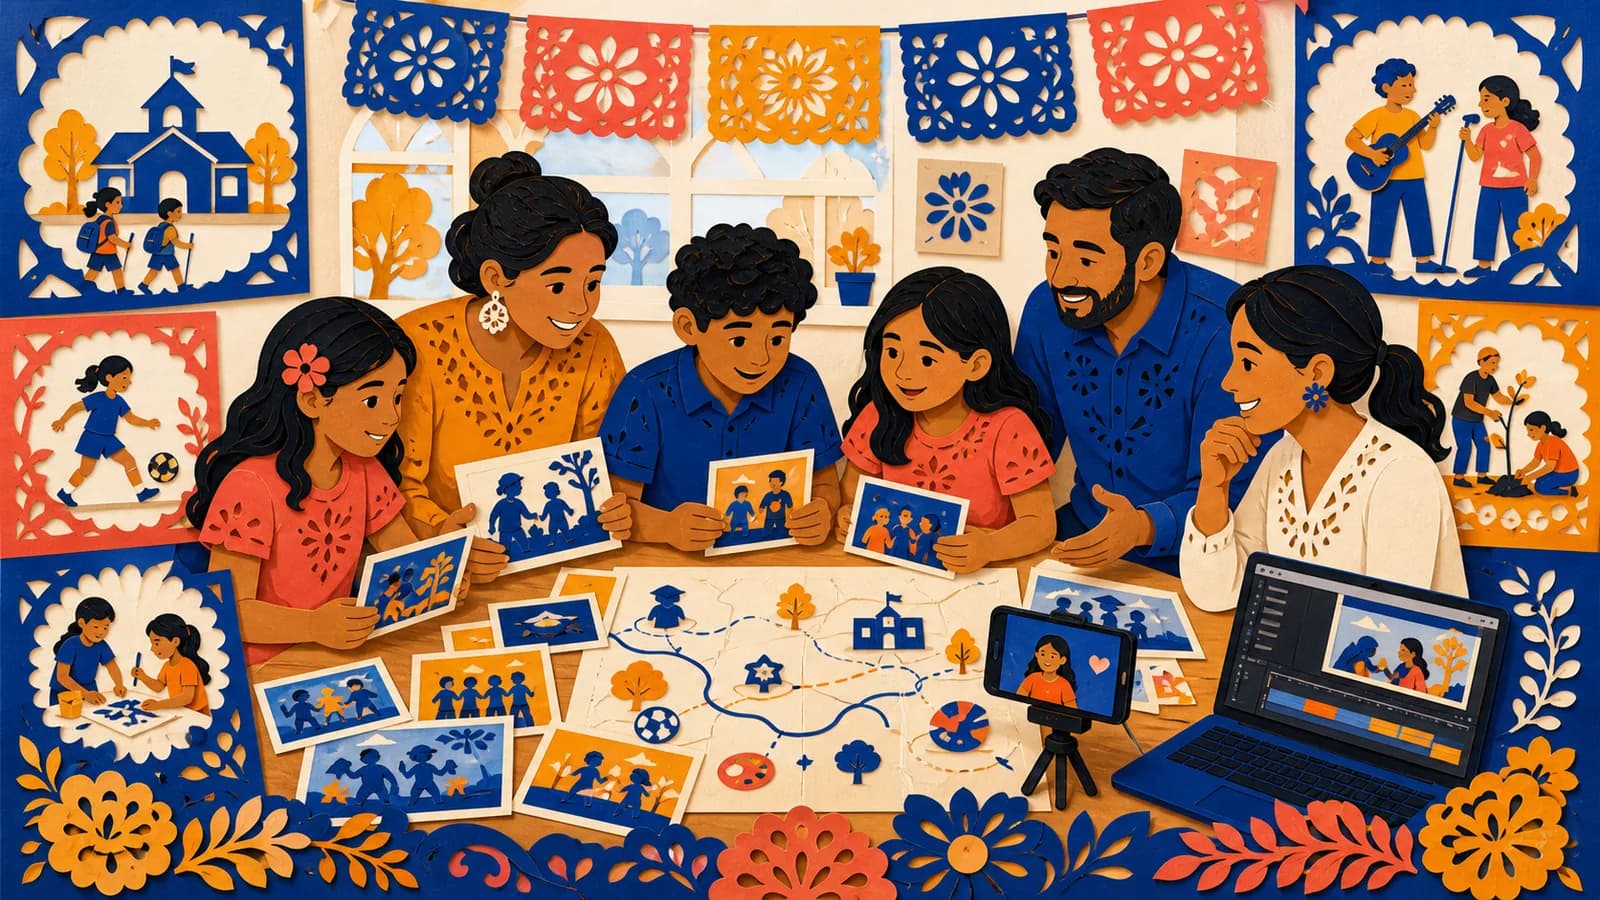
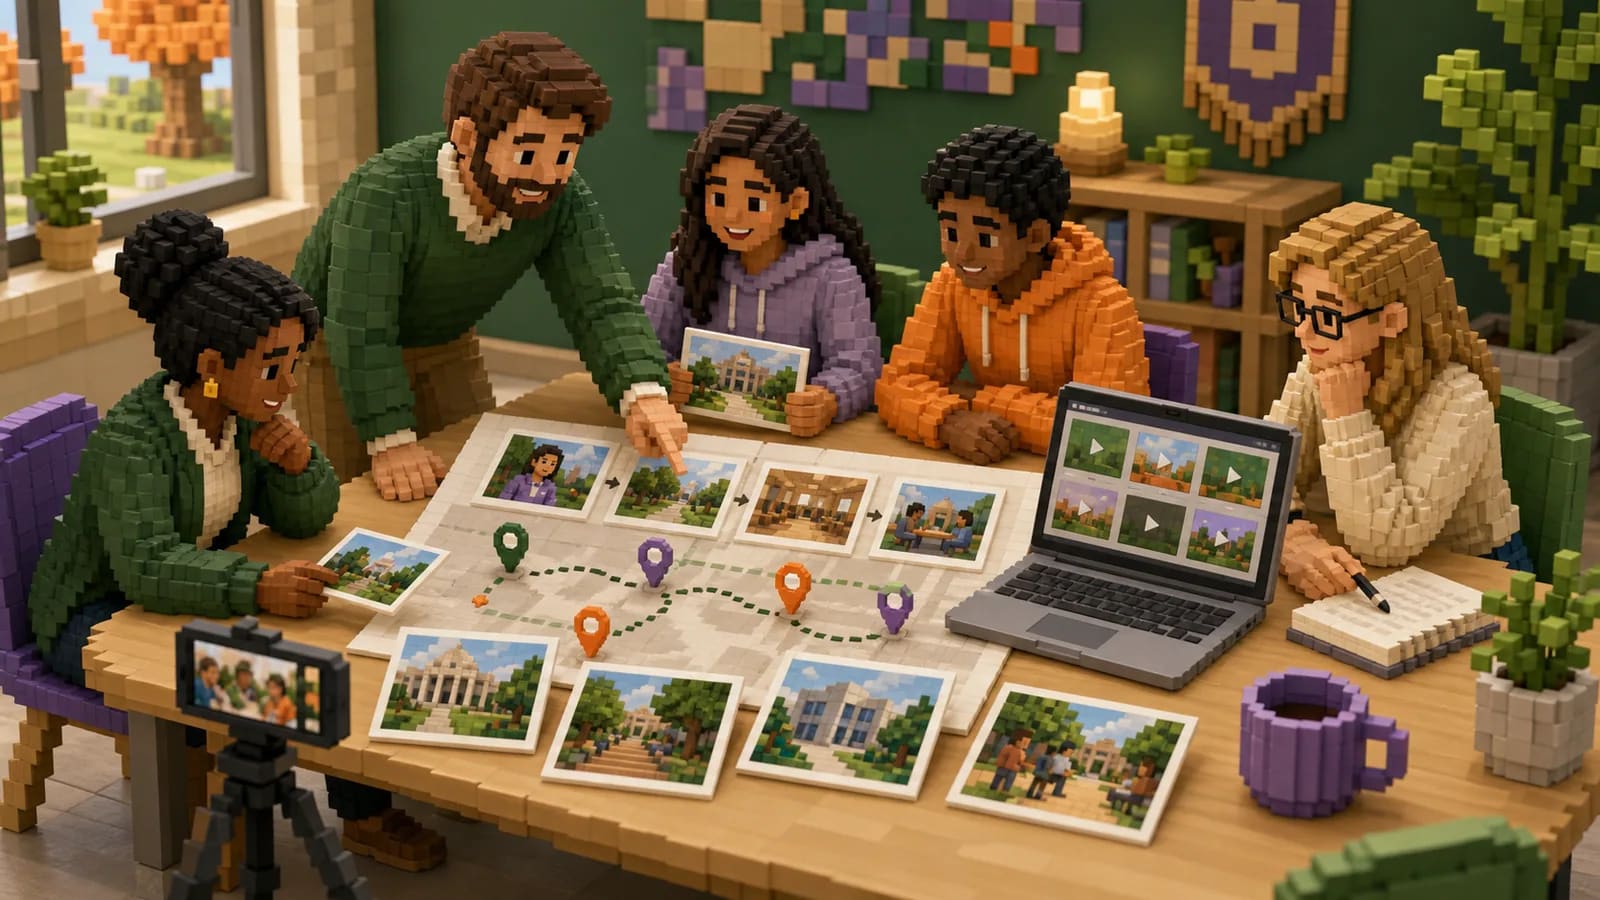
9. A journey through meaningful places. Connect feeder schools, the main campus, residence buildings, community landmarks, or study locations in a simple map-based story. This works well when students are arriving from many towns or countries. Each location can introduce a photo, greeting, or helpful message.
Choose a format that fits your school
A single presenter is the fastest format. It works for a course welcome, a principal's greeting, or a short update. Add campus footage so the screen does not stay on one speaker for too long.
A group montage feels more communal. Give contributors one prompt and a short time limit. A host can connect their clips with a few lines of narration. This format works well for staff introductions and peer advice.
A guided tour is best when students need to understand a place. A map-led story can connect several buildings or campuses. A question-and-answer format is useful when the same worries appear every year.
Do not choose a complex style only because it looks impressive. Pick the format your team can update, caption, and review without stress.
Build a simple beginning, middle, and end
Open with a direct welcome and name the audience. In the first 15 seconds, tell viewers what they will learn. Show people and places early so the video feels active.
Use the middle for three to five useful points. Group similar details together. For example, show arrival first, learning spaces next, and support services after that. Use short on-screen labels instead of crowded slides.
End with one next step. Ask students to check a welcome page, attend orientation, contact a support office, or complete a simple task. Finish with a calm reminder that questions are expected.
Write a welcome video script that sounds human
Write for the ear, not for a formal report. Use “you” and “we.” Read every line aloud. If a sentence is hard to say, shorten it. Staff should sound like themselves, while still using the school's approved facts and terms.
Avoid listing every rule, date, and department. Those details can change and make a video feel heavy. Put full schedules and policies on an updated web page. Use the video to explain what matters and where students can find current details.
Aim for one useful idea per speaker. Ask people not to repeat the same welcome. A teacher might explain what happens when someone needs help. A student leader might describe an easy way to meet people. A librarian might show a quiet study area.
Collect clips from staff and students without creating a mess
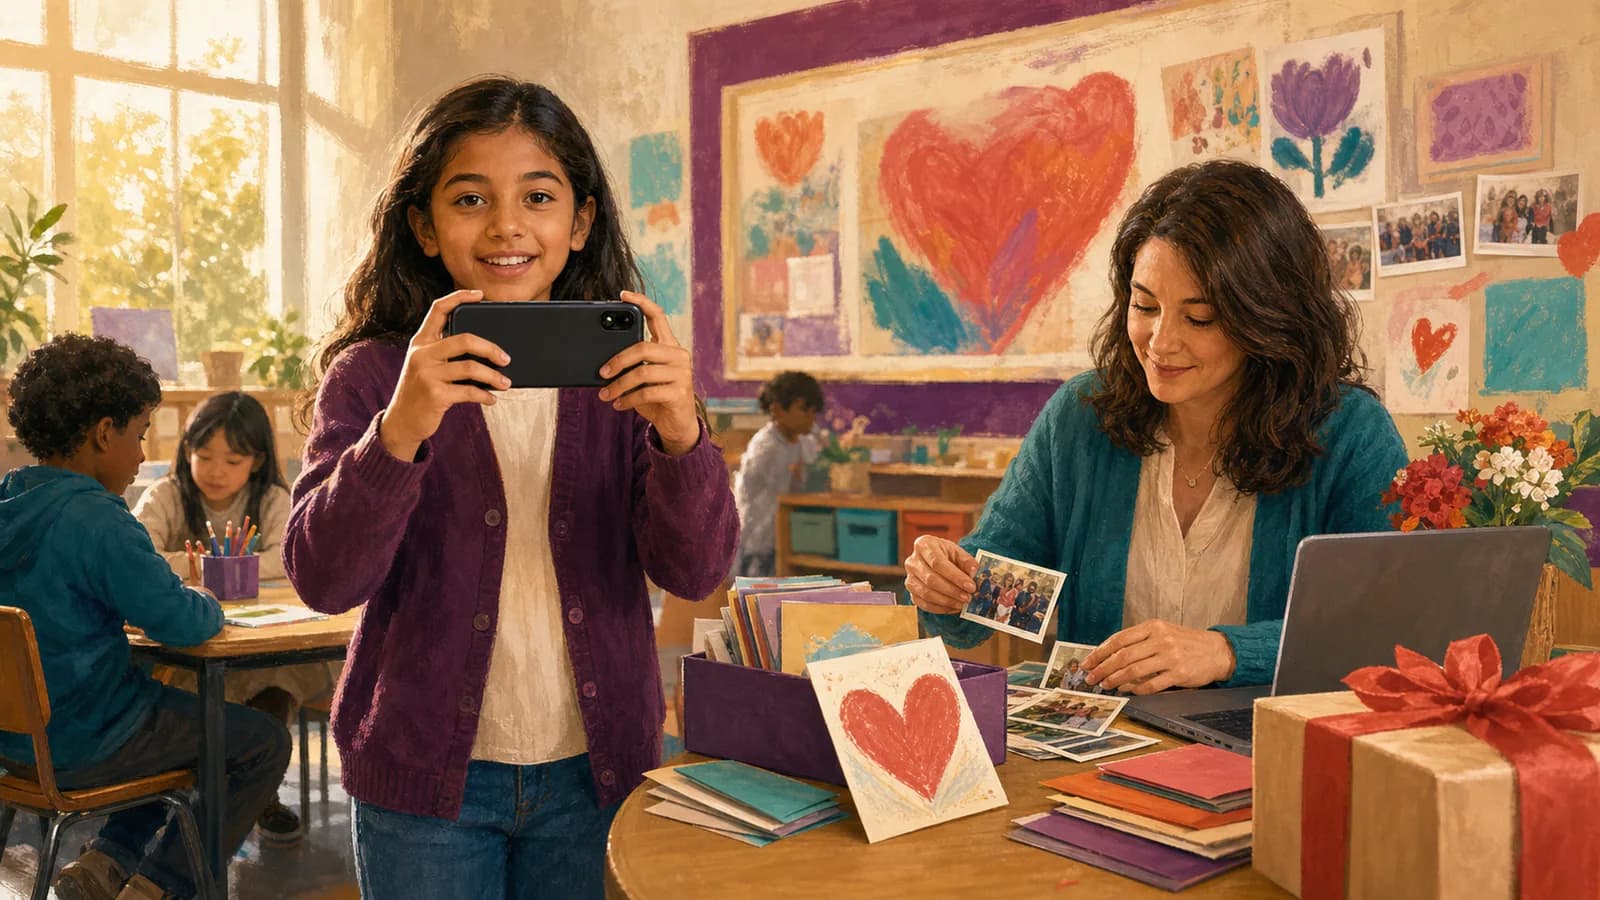
Choose one coordinator who can approve the outline, track consent, and make final decisions. Create a contributor list with each person's role, prompt, deadline, and permission status.
Send one clear request. State the audience, clip length, recording direction, deadline, and upload method. Ask contributors not to email large files. A single private collection link can reduce lost clips and confusing file versions.
Request clips earlier than you think you need them. Set the contributor deadline several days before editing begins. Send one friendly reminder. If an important person cannot record, accept a written greeting, photo, or voice note when school policy allows it.
AlbumMap can be useful when many people are contributing photos, videos, written messages, and locations. A school could organize those pieces around a route through campus or the places students are arriving from. Use this approach only when a map adds meaning to the welcome.
Film clear clips with simple equipment
A modern phone is often enough. Clean the camera lens and record in a quiet place. Put the phone at eye level. Face a window or soft light, but do not stand with a bright window behind you.
Choose horizontal or vertical video before anyone records. Horizontal footage often works well for websites, assemblies, and learning systems. Vertical footage may suit social channels. If you need both, leave enough space around the speaker for cropping.
Ask each speaker to pause before and after talking. Record a second take when possible. Check the audio before leaving the location. Clear sound matters more than a perfect background.
Capture short supporting shots of the entrance, classrooms, library, student spaces, signs, and activities. Avoid filming personal records, computer screens, access points, or students without the required permission.
Edit for clarity, pace, and comfort
Start with the strongest welcome, then move quickly into useful information. Remove repeated greetings, long pauses, and details that belong on a web page. Keep music low whenever someone speaks.
Use readable labels for names, roles, buildings, and actions. Keep text large and on screen long enough to read. Use the same fonts, colors, and logo rules throughout the video.
Most general welcomes are easier to watch when they stay focused. If your draft becomes long, split it into a short main video and topic-based follow-ups. Students can then choose the details they need.
Make the video accessible and safe to share
Add accurate captions and review them by hand. Names, course terms, and building names are common caption errors. Offer a transcript when possible. Describe important visual information in the narration instead of relying only on text or images.
Use plain language and explain school-specific terms. Avoid flashing effects, rapid cuts, tiny text, and music that competes with speech. Check color contrast and make sure links can be used without relying on color alone.
Follow your institution's rules for consent, privacy, child safeguarding, and media use. Confirm permission before showing a student's face, voice, work, or name. Give students a way to take part without appearing on camera.
Do not show private schedules, identification numbers, door codes, health details, or security procedures. Consider whether public posting is appropriate. Some videos belong in a protected student portal or a private family message.
Publish the welcome where students will find it
Place the video on the page students already use for next steps. That may be an admissions page, learning system, orientation portal, or family hub. Do not rely on a social post alone.
Write a short introduction above the video. Tell students what it covers and how long it takes to watch. Add captions, a transcript, and links to current schedules or support pages below it.
Send the video before the first day, then share it again near arrival. Teachers can also play it during orientation. Keep a dated review note so your team checks names, links, locations, and services before the next intake.
Use this one-week production plan
Day one: choose the audience, purpose, format, and coordinator. Day two: write the outline and gain approval. Day three: send prompts and record the main host.
Day four: gather contributor clips and supporting campus footage. Day five: build the first edit. Day six: check facts, consent, captions, sound, branding, and accessibility. Ask a student or staff member outside the project to watch it once.
Day seven: fix unclear points, publish in the right channel, and test the page on a phone. Save the source files, script, permissions, and review date so the next update is easier.
Measure whether the welcome helped
Success is not only a view count. Ask whether students found the video, understood the next step, and felt more prepared. A short survey can ask what was helpful and what remained unclear.
Admissions and support teams can also track repeated questions. If many students still ask where to arrive or how to get help, revise that part. Keep useful scenes and replace outdated details.
Invite feedback from students with different access needs and backgrounds. Their comments can reveal confusing terms, missing captions, poor pacing, or information that staff assumed everyone knew.
Examples You Can Copy
Copy-ready request for a staff clip
Hello [Name], we are creating a short welcome video for incoming [students or class name]. Please record a 15- to 20-second horizontal clip by [date]. Introduce your role, share one way you can help, and end with a warm welcome. Record in a quiet, well-lit place and upload your clip here: [private link]. Please do not include private student information.
Copy-ready request for a student leader
Hi [Name], would you add a short message to our new-student welcome? In 20 seconds or less, share one thing you wish you had known on your first day and one friendly tip. You can appear on camera, send a voice note, or provide a written message. Please submit it by [date] through [private link].
Copy-ready opening script
Welcome to [school or college name]. Starting somewhere new can bring excitement and questions. In the next two minutes, you will meet a few people who are ready to help, see the places you will use most, and learn what to do before your first day. We are glad you are joining us.
Copy-ready closing script
You do not need to know everything on day one. Start with [next step], and contact [office or person] if you need help. Questions are always welcome. We look forward to meeting you and helping you become part of the [school or college name] community.
Copy-ready location prompt
Please choose one campus or community place that new students should know. Tell us its name, what happens there, and one reason it may help them. Add a photo or short clip only if you have permission to share it.
Final Thoughts
A good welcome video does not need a large budget or a perfect performance. It needs a clear audience, friendly voices, useful details, and a safe way to share them. Start with the questions students ask most. Show the people and places that can help. Then give viewers one simple next step. When a welcome includes contributions from several campuses, schools, or communities, a map-based story can give those pieces a clear order. AlbumMap can bring approved photos, clips, written messages, and locations into one shared route. Use it when the places behind the welcome help new students understand where they are joining and who is ready to support them.
Helpful answers
Frequently asked questions
- How long should a school or college welcome video be?
- Keep a general welcome short and focused. Two to four minutes is often enough for key people, places, and next steps. A course greeting may be shorter. If you have more material, create separate videos for support services, residence life, families, or orientation tasks.
- What should a new student welcome video include?
- Include a direct greeting, a few friendly faces, the places students will use, available support, and one next step. Answer common worries without packing every rule into the video. Link to current schedules, policies, and contact details below it.
- Who should appear in the video?
- Choose people students are likely to meet or contact. This may include school leaders, teachers, office staff, counsellors, student ambassadors, librarians, coaches, and accessibility staff. A smaller, varied group is better than many people repeating the same greeting.
- How can a school include students who do not want to be on camera?
- Offer other ways to contribute. A student may provide a written tip, voice note, approved photo, drawing, or anonymous suggestion. Participation should be voluntary and follow the institution's consent and safeguarding rules.
- Should a welcome video be public or private?
- That depends on its content and your institution's policy. A general admissions welcome may be suitable for a public page. Videos showing students, detailed campus routines, or private information may belong in a protected portal. Review consent, privacy, and safety before sharing.
- How often should the video be updated?
- Review it before each major intake or school year. Check names, roles, services, links, buildings, captions, and next steps. Avoid hard-coding dates when a linked web page can provide current details.
- Can AlbumMap be used for a school welcome?
- It can help when many people are contributing approved photos, short videos, messages, and locations. A map route can introduce campuses, feeder communities, or useful student spaces. Follow school rules for consent and privacy, and use a standard video when locations do not add value.