How to Collect Photos and Videos From a Group Trip
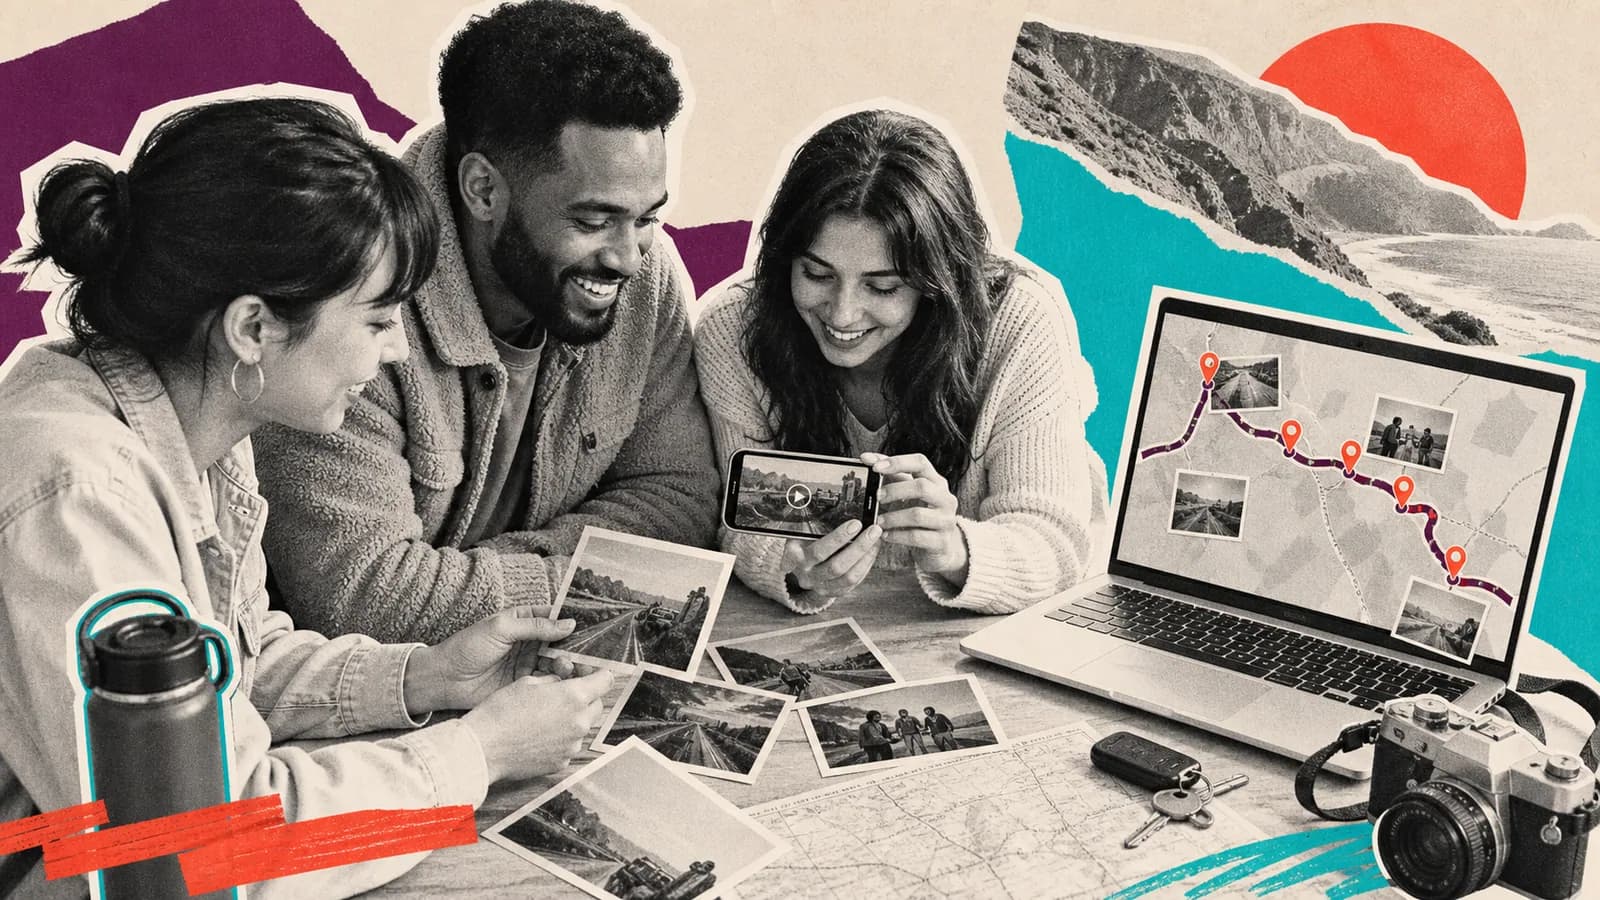
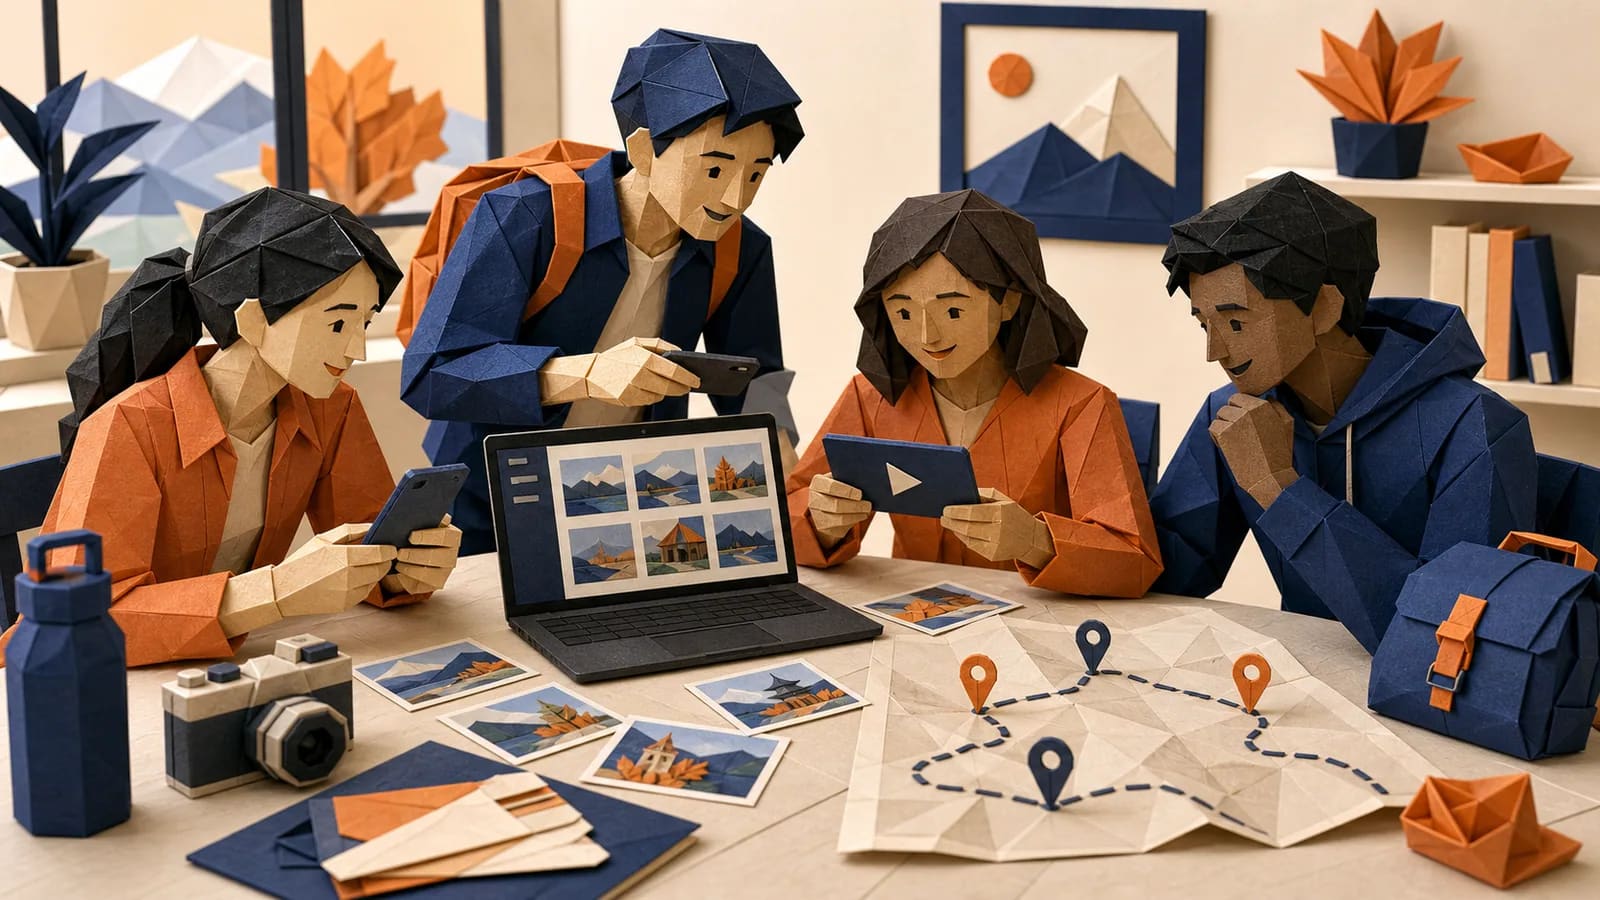
Group travel photo sharing often sounds easy until the trip ends. Then the best pictures are spread across several phones. Videos sit in group chats, and compressed copies replace the original files. One person may have the only group portrait. Another may have a short clip that captures the best part of the day. A simple collection plan helps everyone contribute without creating more work. Use the steps below before, during, and after your trip.
Why group trip photos are so hard to collect
Every traveler notices different moments. One person photographs the views. Another records meals, jokes, wrong turns, and quiet moments. A complete trip story needs more than one camera roll.
The trouble usually comes from using too many collection methods. Files may arrive through text messages, email, social apps, and several cloud folders. It becomes hard to find originals, match files to places, or know who has contributed.
Choose one main collection place before asking for anything. You can still use the group chat for reminders. The photos and videos themselves should go to one shared album, folder, or contribution link.
1. Set up group travel photo sharing before you leave
Create the shared space before the first travel day. Give it a clear name, such as Iceland Friends Trip 2026. Test the upload process from a second phone before inviting the group.
Choose one organizer and one backup organizer. They should know where files are stored, who can upload, and when the collection will close. This avoids several people creating competing folders.
Tell everyone what the shared space is for. It may hold every useful original, selected highlights, or only files for a finished keepsake. A clear purpose helps contributors make better choices.
2. Choose a collection method the whole group can use
The best tool is the one your group will actually use. Check whether it works across iPhone, Android, tablets, and computers. Ask whether contributors need an account or app.
Look for simple uploads, support for photos and videos, clear access controls, and a way to download the originals. A QR code can help people open the right page. A normal link is useful in the trip chat and itinerary.
Also check storage limits, upload deadlines, video support, file quality, and owner controls. Do not assume every shared album keeps original quality or stores files forever. Review the current terms before choosing a service.
For a small group that already uses the same cloud system, a shared folder may be enough. A browser-based contribution page may suit a larger or mixed-device group. Keep a separate backup either way.
3. Create a simple structure for the trip
A little structure prevents a large cleanup later. For a short trip, one shared album may be enough. For a longer journey, divide files by day, location, or activity.
Useful groups include Day 1, City Centre, Mountain Hike, Group Highlights, Candid Moments, and Short Videos. Avoid creating so many folders that people stop uploading.
Choose one sorting rule and explain it. Location works well for a multi-stop route. Day works well for a tour with a clear schedule. Themes work well for a resort, reunion, or sports trip.
4. Send one clear request to the travelers
People respond faster when the request feels small. Say what to send, where to upload it, and when it is due. Include the link in the same message.
Ask for original files when possible. Pictures saved from a chat may be smaller than the versions on the phone. Original files also keep useful dates and other details when the device settings allow it.
Set two deadlines. The first can be a quick daily upload during the trip. The second should be a firm date after everyone returns home. A final deadline gives you time to check missing files.
5. Ask for useful context with every upload
A picture may be clear today but confusing next year. Ask contributors to include the place, people, and a short note when the meaning is not obvious.
The note does not need to be polished. One line such as Day 3, Porto, after the rain stopped is enough. A short memory can also become a caption later.
For video clips, ask what happened before or after the recording. This can explain a joke, local tradition, or unexpected moment that the clip alone cannot show.
6. Collect during the trip without making it a chore
Do not ask people to organize files during every activity. Pick a calm time, such as the evening train ride or a short hotel break. A five-minute upload is easier than a large task after the trip.
If internet access is weak, let travelers mark favorites on their phones. They can upload when they reach reliable Wi-Fi. Do not rely on one live connection in a remote area.
Send one friendly reminder halfway through the trip. Share a useful reason, such as making sure every traveler appears in the collection. Avoid filling the chat with repeated requests.
7. Send one final reminder after everyone returns
Give travelers a few days to rest and unpack. Then send the final link with a specific deadline. Ask them to check videos as well as photos.
Mention any gaps you already see. You may need the arrival clip, the only full-group picture, or files from one afternoon. A focused request is easier to answer than send everything.
Thank people who already uploaded. Keep the reminder kind and direct. If someone needs help, offer one simple way to transfer the original files.
8. Remove duplicates and protect the original files
Download or export the full collection when your chosen tool allows it. Save an untouched backup before renaming, editing, or deleting anything.
Make a working copy for sorting. Remove screenshots, accidental recordings, and exact duplicates from that copy. When several images show the same moment, keep the clearest one and one useful alternative.
Do not judge only by technical quality. A slightly imperfect photo may hold the only view of an important moment. Keep files that add a new person, place, feeling, or part of the story.
Use simple filenames if the collection needs manual organization. A pattern such as 2026-06-18-Porto-river-walk-Alex-01 can preserve the date, place, contributor, and order.
9. Review privacy before sharing the collection
Ask before sharing pictures of other travelers beyond the group. This is especially important for children, private gatherings, and people who avoid social media.
Remove images that show passports, boarding passes, room numbers, home addresses, or payment details. Avoid posting a live travel location if it could create a safety risk.
Decide who can view, upload, download, edit, or delete files. A public link may be convenient, but it may not suit a private family trip. Close uploads when the project is complete if the tool offers that control.
Use general places in a public keepsake when an exact point is sensitive. A park, city, or region can support the story without revealing a private address.
10. Turn the shared trip album into a story
A shared travel photo album is useful even if you do nothing else. Everyone can browse the group’s different views and save favorite files. You can also turn a smaller selection into a photo book, slideshow, or short recap.
Start with the route or main stages of the trip. Choose a few strong moments for each stage. Mix wide views, people, small details, and short clips so the result does not feel repetitive.
AlbumMap is useful when the places are part of the memory. Travelers can add approved photos, short videos, written messages, and locations to one project. The finished video can then move between the trip stops on a map.
Keep the final story focused. A good recap does not need every upload. It needs enough detail to show where the group went, what happened, and why the trip mattered.
Common mistakes to avoid
Do not collect files through several unrelated channels. Use the group chat for conversation and one main place for uploads.
Do not wait several months to ask. People may delete clips, change phones, or forget the story behind an image. Begin collecting while the trip is still fresh.
Do not ask everyone to send their entire camera roll. Give a useful range, such as 10 to 20 favorite photos and three short clips. The organizer can request more later.
Do not delete the source files after creating a recap. Keep the original collection and final project in separate backups. Check both backups before closing the shared album.
Examples You Can Copy
Copy-ready message before the trip
Hi everyone. I made one shared album for our [trip name]. Please use this link for original photos and short videos: [link]. Add your favorites during the trip or by [final date]. If a file needs context, include the place, people, and one short note. Please keep private or unflattering pictures out of the album unless the people shown approve them.
Copy-ready daily upload prompt
When you have Wi-Fi tonight, please add a few favorites from today to [link]. We especially need group pictures, short clips, and moments other people may have missed. No need to sort your whole camera roll.
Copy-ready final reminder
Thanks for adding your trip photos. The album closes on [date]. Please check whether you still have any original videos, full-group pictures, or photos from [missing place or day]. Upload them here: [link]. Message me if the upload does not work.
Copy-ready context note
Place: [city, landmark, or general area]. Day: [day or date]. People: [names]. What happened: [one clear sentence]. Sharing note: [group only, okay for the finished recap, or ask before sharing].
Final Thoughts
The easiest group trip collection begins with one link, one organizer, and one clear deadline. Set it up before the trip, make uploads simple, and ask for original files with short context. After the trip, remove repeats, check privacy, and save a backup. Your shared trip album can remain a private collection or become a focused story. If the route matters, AlbumMap can connect selected photos, videos, messages, and locations in a map-based video that follows the journey.
Helpful answers
Frequently asked questions
- What is the easiest way to collect photos from a group trip?
- Create one shared album, folder, or contribution link before the trip. Test it on another device, send one clear request, and set a final deadline. Keep the group chat for reminders rather than file storage.
- Should everyone upload photos during or after the trip?
- Use both times when possible. Small uploads during the trip reduce the final task. A firm post-trip deadline gives everyone time to add missed photos and longer videos.
- How many trip photos should each person share?
- There is no fixed number. For an initial request, 10 to 20 favorite photos and up to three short clips may feel manageable. Ask for more only when part of the trip is missing.
- How can a mixed iPhone and Android group share trip photos?
- Choose a service that works in a web browser or supports every device in the group. Test uploading, viewing, and downloading before the trip. Check whether contributors need an account or app.
- How do we keep shared travel photos at their original quality?
- Ask travelers to upload original files instead of copies saved from a chat. Review the service’s current compression and export rules. Download a full backup before the album expires or closes.
- How should we organize photos from a multi-stop trip?
- Sort them by location or travel day. Use broad groups that everyone understands, such as Day 1, Lisbon, Beach Day, Group Highlights, and Short Videos. Avoid too many folders.
- How can we protect privacy in a shared trip album?
- Limit access to the travelers when needed. Ask before sharing faces outside the group. Remove travel documents, private addresses, and payment details. Use a general location instead of an exact point when safety matters.
- Can AlbumMap collect both trip photos and videos?
- Yes. AlbumMap can collect approved photos, short videos, written messages, and locations from contributors. It is most useful when the route or trip stops should guide the finished map-based video.