How to Make a Road-Trip Memory Map With Photos and Videos
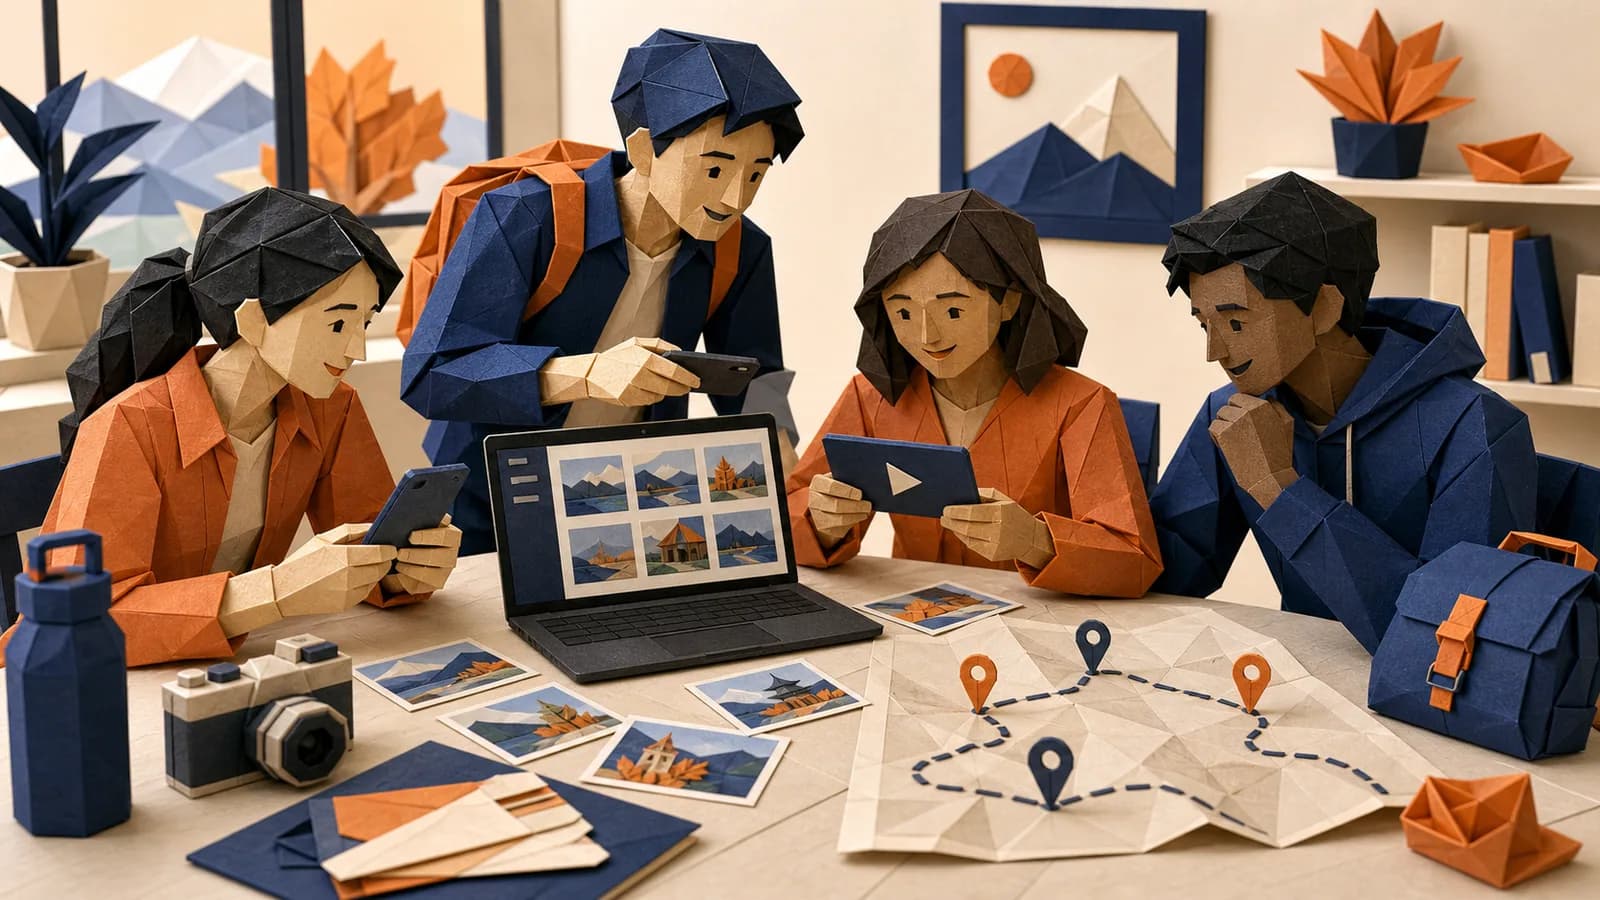
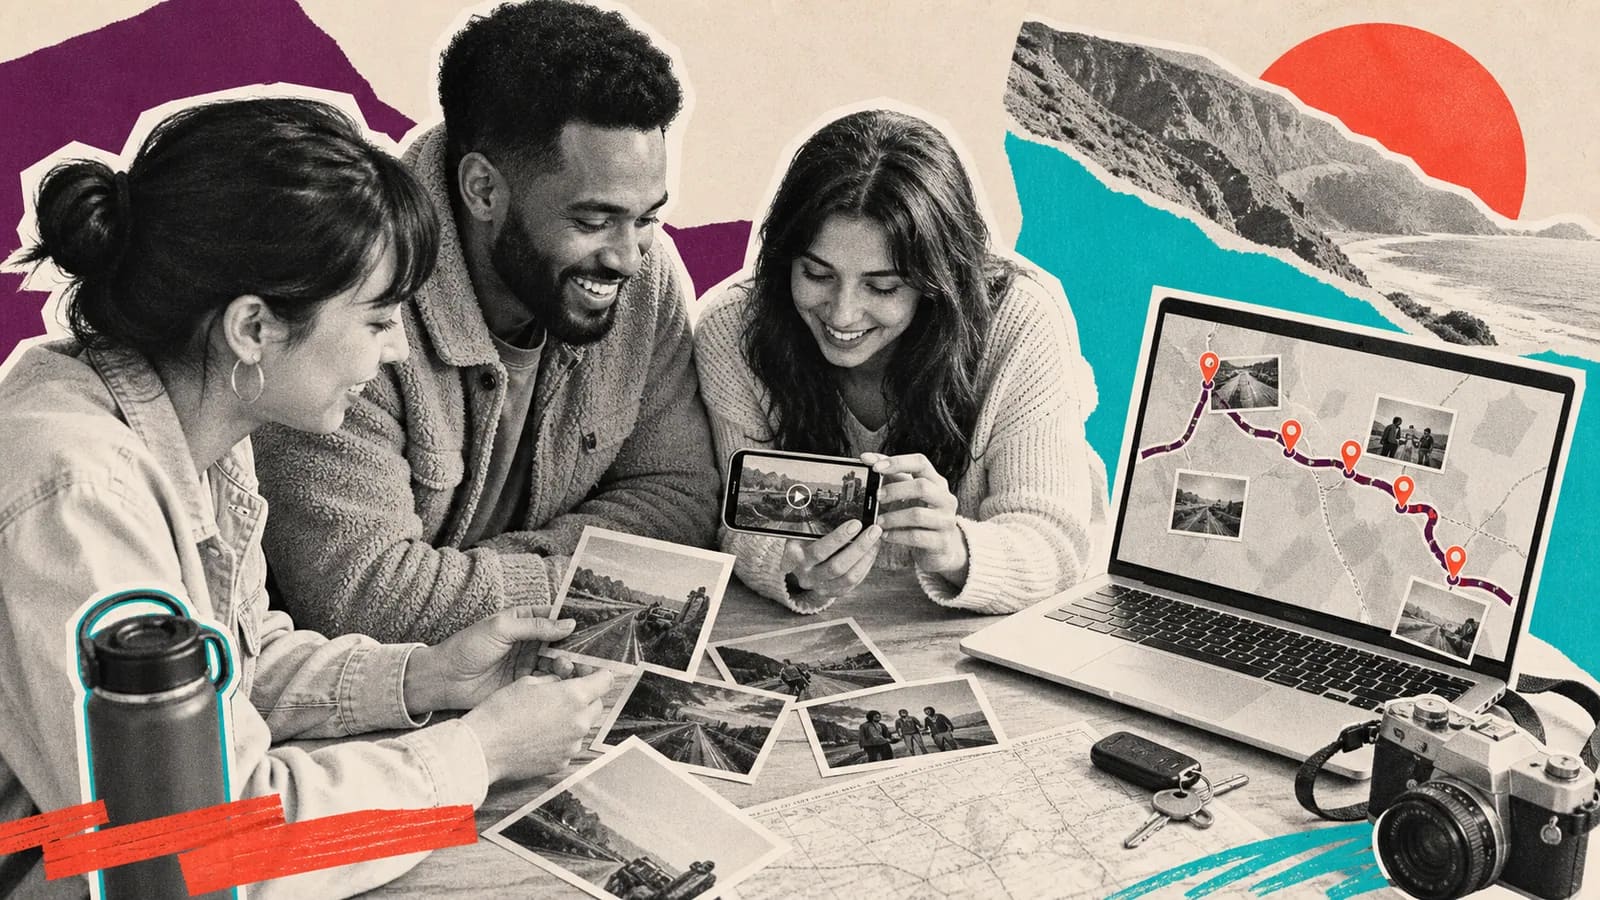
A road trip memory map turns a route into a story you can revisit. Instead of leaving hundreds of pictures in a camera roll, you connect selected photos and videos to the places where they happened. A roadside diner can hold a funny clip. A lookout can hold the group photo that almost did not happen. An unplanned town can hold the story everyone still tells. You can make the map after a weekend drive or a long journey across several regions. It can be a private digital map, a printed keepsake, a photo book, or a video that travels between stops. The best format is the one your group will enjoy again. The steps below will help you rebuild the route, gather files, choose strong stops, write useful captions, and share the finished story.
What a Road Trip Memory Map Can Hold
A useful map shows more than a line between the start and finish. It explains what made each stop worth remembering. Every chosen place should include a location and one clear memory. You can then add a photo, short clip, written note, voice recording, date, or small fact.
Include planned highlights, but leave room for surprises. The closed campground, unexpected swim, wrong turn, strange snack, and rainy picnic may carry more feeling than a famous landmark. These details make the map belong to your group.
A memory map is not the same as a navigation record. You do not need every road, fuel stop, or GPS point. Keep only the places that help tell the trip’s story. If a stop has no photo, clip, or useful memory, it may not need a place on the final map.
Pick the Finished Format Before You Sort Anything
Choose how people will view the finished project. This choice tells you how much material to collect. A printed map works best with a short route, clear labels, and a few strong images. A photo book can give each day or location its own page. An interactive map can hold more detail. A route-based video can combine movement, photos, clips, and messages.
Think about the audience too. A private link may suit a family trip. A printed copy can work as a gift for a travel partner. A short video may be easier to show at a reunion. If children joined the trip, a simple version with large photos and short captions may be best.
Decide whether the map will stay private or be shared more widely. This affects which faces, license plates, hotel names, and exact locations you should include. Make the privacy choice before inviting other people to contribute.
Step 1: Rebuild the Route
Start with the trip’s beginning and end. Then list the main overnight stops, attractions, meals, detours, and meeting points. Use your itinerary, booking emails, photo dates, and travel notes to refresh your memory. Ask another traveler to review the list because they may remember a stop you missed.
Do not worry about precise roads at first. Build a simple sequence such as home, lakeside cabin, national park, small town, coast, and home. Add exact details only when they help the story. For a sensitive location, a city or region is often enough.
If the route doubled back, crossed the same town twice, or changed because of weather, keep that truth. A memory route does not need to look perfect. Changes and detours often explain the best parts of the trip.
Step 2: Collect Everyone’s Photos and Videos
Group trips rarely live on one phone. One person may have landscapes, another may have videos from the car, and someone else may have the only group picture. Use one shared folder or contribution link. Avoid collecting files through several chats and email threads.
Make a specific request. Ask for a small number of favorite photos, short clips, and one memory connected to a place. Give a real deadline. If you ask people to send everything, you may receive hundreds of similar images with no context.
Ask contributors to keep the original files when possible. Screenshots and files downloaded from social media may be smaller or harder to crop. Request a short note with each item: where it happened, who appears, what was happening, and why it matters.
For videos, short clips are easier to use. Five to twenty seconds can be enough for a view, laugh, arrival, or roadside moment. Longer recordings may still help, but mark the best part so the editor does not need to search through several minutes.
Step 3: Pair Each Stop With One Clear Memory
Create a simple record for every possible stop. Add the place, date or trip day, people involved, memory, and available media. This can begin in a document or spreadsheet. The goal is to see which locations have enough meaning to keep.
Use a basic test: can you explain this stop in one or two sentences? If yes, the place probably has a clear role. If the caption only says where you stood, look for a better detail. Explain what changed, what surprised you, or what the group still remembers.
For example, “Lake Superior lookout” names a place. “We reached the lookout after two hours of fog, then the clouds opened for five minutes” gives the place a story. Pair that line with the group photo or a short clip of the view.
Step 4: Choose the Best Material, Not All the Material
A smaller selection is easier to enjoy. Begin with one strong photo or clip for each main stop. Add another item only when it shows a different person, action, or point of view. Ten nearly identical sunset photos will not make the sunset ten times more meaningful.
Mix wide views with human moments. Landscape photos show where you went. Candid images show how the trip felt. Include the packed car, shared meals, wet shoes, map checks, backseat naps, and small celebrations. These ordinary scenes give famous places personal context.
Check technical quality, but do not demand perfection. A slightly blurred photo may be worth keeping if it captures the only image of an important moment. Remove accidental screenshots, exact duplicates, unclear clips, and files that someone does not want shared.
Step 5: Put the Stops in a Story Order
Most road trips work well in travel order. Begin with the departure, follow the route, and end with the last meaningful stop or return home. This structure is easy to understand because the viewer travels with you.
You can also organize a long trip by chapter. Use sections such as coast, mountains, small towns, family visits, or national parks. Keep the locations in order within each chapter. This helps when one journey included several distinct parts.
Another option is a highlights route. Choose five to eight places that best explain the trip and leave out the rest. This works well for a short gift, wall map, or video. Add one line at the beginning to explain that the project shows favorite moments rather than every stop.
Step 6: Write Short Captions That Add Context
A useful caption answers what the image cannot. Include the place, the people, and the reason the moment stayed with you. One or two sentences are often enough. Avoid repeating obvious details such as “We are standing beside the car” when the photo already shows that.
Use real voices when several people contributed. One traveler might remember the weather. Another might remember the song playing in the car. Short quotes or written messages can show these different views without turning each stop into a long essay.
Check names, dates, and place spellings. If the group remembers a detail differently, use careful wording. You can say “We think this was our second morning in Banff” or leave out the uncertain date. A warm story does not need false precision.
Step 7: Build the Map or Map Video
Place the route first, then add the selected media. Keep map labels large enough to read. Use a consistent style for dates, captions, and place names. If the route is crowded, divide it into chapters instead of forcing every marker onto one view.
For a printed project, test a draft at its real size. Thin route lines and small labels may disappear on paper. For a digital project, test it on a phone as well as a larger screen. Add captions or a brief transcript when speech carries important details.
AlbumMap fits when locations are central and you want a finished video to move from stop to stop. It can also help when several travelers need to add approved photos, videos, written messages, and places through one project. The route then becomes the structure for a cinematic travel keepsake rather than a loose slideshow.
Keep the project focused even when a tool allows many uploads. The strongest version still needs clear choices. Let each stop do one job, vary the type of media, and give viewers enough time to understand the place before moving on.
Three Simple Route Structures
The day-by-day route suits a trip with a clear schedule. Each day can begin with a location and include one highlight, one small moment, and one short reflection. This format works well for a travel journal or photo book.
The best-stops route suits a long drive with many similar days. Choose only the places that changed the mood or direction of the journey. You might include the first night, an unexpected detour, a favorite meal, the farthest point, and the ride home.
The people-and-places route suits a trip built around visits. Each stop can introduce a friend or relative, show a shared image, and include a short message. This structure is useful when the route matters because of the people waiting along it.
Common Mistakes to Avoid
Do not turn the project into a file dump. A map with too many pins and photos can hide the story. Choose the route first, then keep the material that supports it.
Do not show exact private addresses without permission. A general town, park, or region can tell the story while protecting a home, campsite, or sensitive family location. Remove visible license plates and personal booking details when needed.
Do not use music, maps, or photos unless you have permission to share them. Use licensed music and map assets that allow your planned use. Ask before including another person’s face, recorded message, or private story.
Finally, do not wait for perfect captions from everyone. Send a clear prompt, accept short answers, and write a simple draft from the details they provide. Ask the contributor to approve any important changes.
Make the Map Easy to Watch and Keep
Add captions for spoken clips when possible. Use readable contrast, plain fonts, and short text blocks. Avoid fast map movement that makes locations hard to follow. A calm pace gives viewers time to connect each place with its memory.
Export or download a copy when the chosen format allows it. Keep the original photos, clips, captions, permissions, and route notes in a separate backup. A finished link may change over time, but your source files should remain under your control.
Share the project with the travelers before sending it more widely. They can spot wrong place names, unwanted images, and missing credit. This final review also gives everyone a chance to add the one detail that completes the story.
Examples You Can Copy
Copy-ready contribution request
Hi everyone. I am making a memory map from our [trip name] road trip. Please send up to five favorite photos and two short video clips by [date]. For each item, include the place, who appears, and one sentence about what you remember. Please upload the original files here: [link]. Tell me if anything should stay private or should not appear in the finished version.
Copy-ready map stop template
Place: [location]. Day or date: [day/date]. People: [names]. Memory: [one or two sentences about what happened]. Media: [photo, video, voice note, or message]. Privacy note: [public, group only, or do not share].
Copy-ready finished stop example
Place: Fundy National Park, New Brunswick. Day 4. We arrived in heavy rain and almost skipped the trail. Ten minutes later, the sky cleared and we had the lookout to ourselves. Use the wide group photo first, followed by the seven-second clip of the clouds lifting.
Copy-ready reveal note
This is the route we drove, but it is also the story we made along the way. Each stop holds a photo, clip, or detail one of us wanted to keep. Start at home, follow the map, and watch the small moments become the trip again.
Final Thoughts
A meaningful road trip keepsake does not need every mile or every photo. It needs a clear route and a few honest details from each important stop. Rebuild the journey, gather different points of view, and match each place with the image, clip, or message that explains why it mattered. You can keep the result simple with a printed map or travel journal. When the route, shared files, and movement between places are part of the experience, AlbumMap can bring them together in one map-based video. Whatever format you choose, protect private details and keep a backup of the original memories.
Helpful answers
Frequently asked questions
- What is a road trip memory map?
- It is a map-based record of a road journey. Selected stops are paired with photos, short videos, captions, voice notes, or messages. It focuses on the memories connected to places, not only the route used for navigation.
- How many stops should I include?
- There is no fixed number. A short keepsake may need five to eight strong stops. A longer travel journal can include one or two places for each day. Keep a stop only when it adds a useful memory or moves the story forward.
- Can I make the map after the road trip?
- Yes. Rebuild the route from photo dates, itineraries, bookings, map history, and notes. Ask fellow travelers to check the order. You do not need a perfect GPS record to create a clear memory story.
- What if everyone’s photos are on different phones?
- Use one shared folder or contribution link. Ask each traveler for a limited number of favorite photos and clips. Request the place, people, and story with every upload. This saves time and gives each file context.
- Should I use exact addresses for every stop?
- No. A city, park, landmark, or general area is often enough. Avoid showing home addresses, private campsites, school locations, or other sensitive places without permission.
- Can the memory map include both photos and videos?
- Yes. Use photos for clear views and key moments. Add short clips for movement, voices, weather, laughter, or arrivals. A varied mix usually feels more alive than a long series of similar images.
- What is the best order for a road trip map?
- Travel order is the simplest choice. You can also group a long journey by region or theme. For a short gift, select the best stops and state that the map shows highlights rather than every place.
- How is this different from a road trip planner?
- A planner helps decide where to go and how to get there. A memory map looks back at what happened. It selects meaningful locations and connects them to personal media and stories.