How to Make a Graduation Slideshow With Photos and Music
A graduation slideshow can turn years of photos into one clear, moving story. The best ones do more than place pictures beside a song. They show where the graduate started, who helped them, and what comes next. This guide explains how to plan the story, choose photos and music, set a comfortable pace, and test the finished show. You can use the same steps for kindergarten, high school, college, or another graduation.
Plan the audience, purpose, and viewing place first
Decide where people will watch the slideshow before you open an editing tool. A party video can be warm and playful. A school ceremony may need a shorter, more formal tone. A private family gift can include more personal memories and inside jokes.
Choose one main purpose. You might want to show the graduate's growth, thank the people who supported them, or celebrate school friendships. This choice will guide every photo, caption, and song.
Think about the screen and sound system too. A video made for a phone may not look right on a large projector. Ask the venue which file type, screen shape, and playback method it accepts.
How to make a graduation slideshow step by step
The process is easier when you work in a fixed order. First, gather the media. Next, choose a simple story shape and make a rough plan. Then add music, captions, movement, and transitions.
Finish by exporting the show and watching it on the real display. This order prevents a common problem: polishing early slides before you know how the whole story should flow.
Give yourself enough time to request missing photos and solve playback issues. Starting early also lets family members, friends, teachers, or classmates contribute without feeling rushed.
1. Gather photos, short videos, and messages
Create one folder for the project. Add clear subfolders such as early years, school years, friends, activities, achievements, and graduation. Keep the original files in a separate backup folder.
Ask other people for moments you do not have. Grandparents may have childhood pictures. Friends may have candid school photos. Teachers, coaches, and relatives may have images from clubs, performances, games, or awards.
Send one clear request with a deadline. Ask contributors to send original files when possible. Screenshots and images copied from social media may look soft on a large screen.
Short video clips and written messages can add variety. A five-second cheer, a teacher's sentence, or a family note can create a useful pause between groups of photos. Get permission before using a private image or message in a public setting.
2. Choose a simple story shape
A timeline is the easiest choice. Start with an early photo, move through school years, and end with graduation or the next chapter. It works well when the audience has watched the graduate grow.
A theme-based story is useful when the photo collection has gaps. You could group images under friends, family, learning, sports, arts, travel, and favorite moments. Each group should reveal one part of the graduate's life.
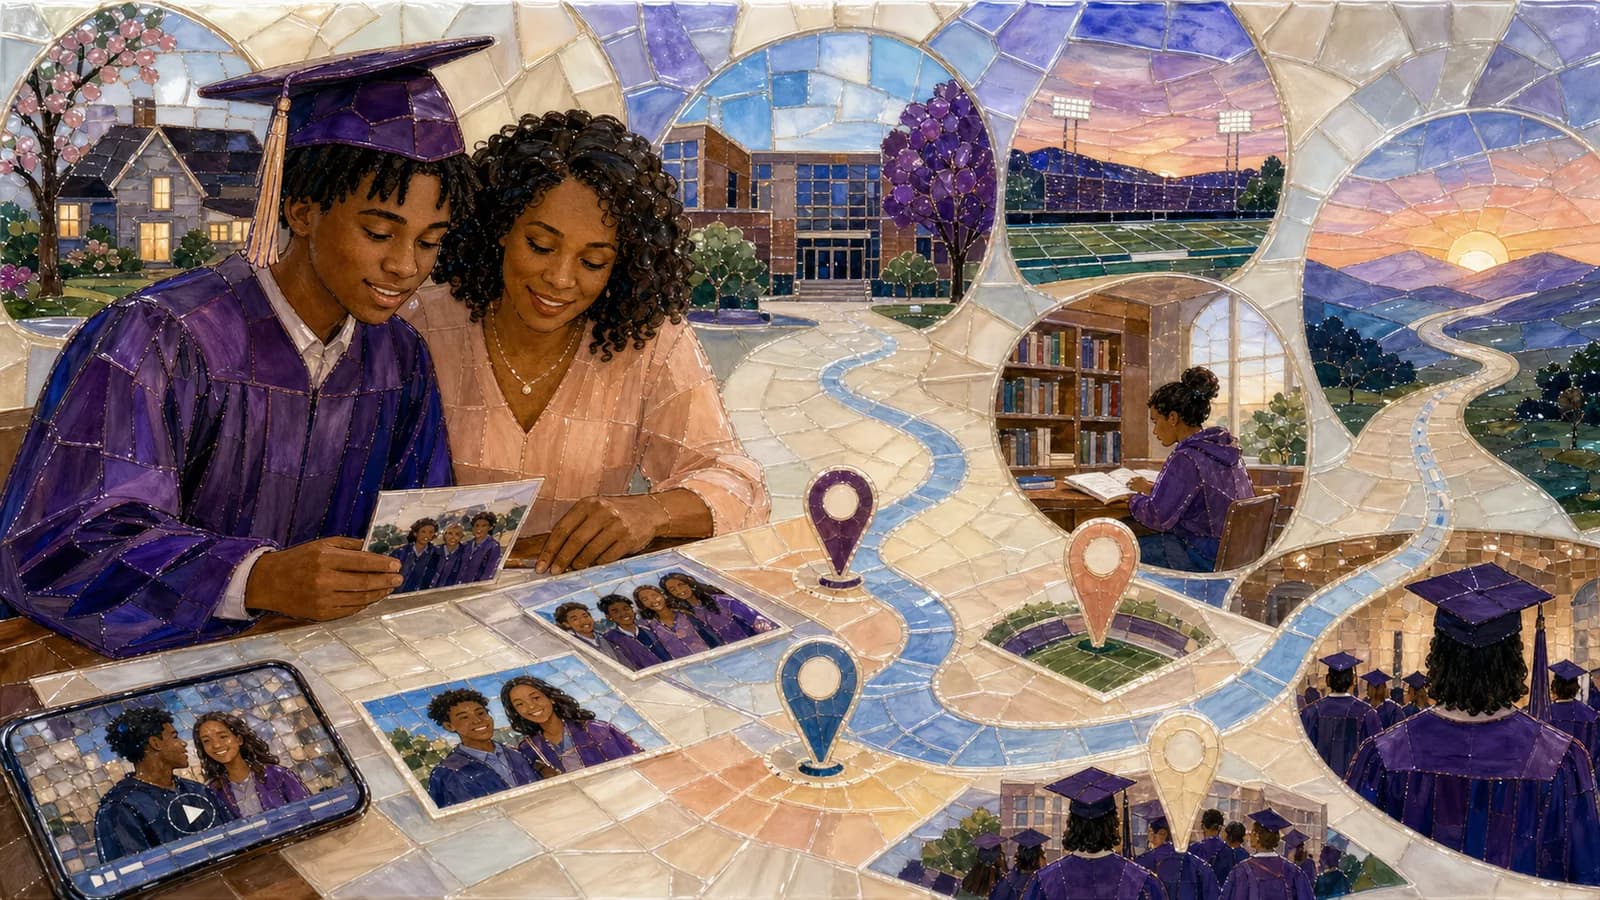
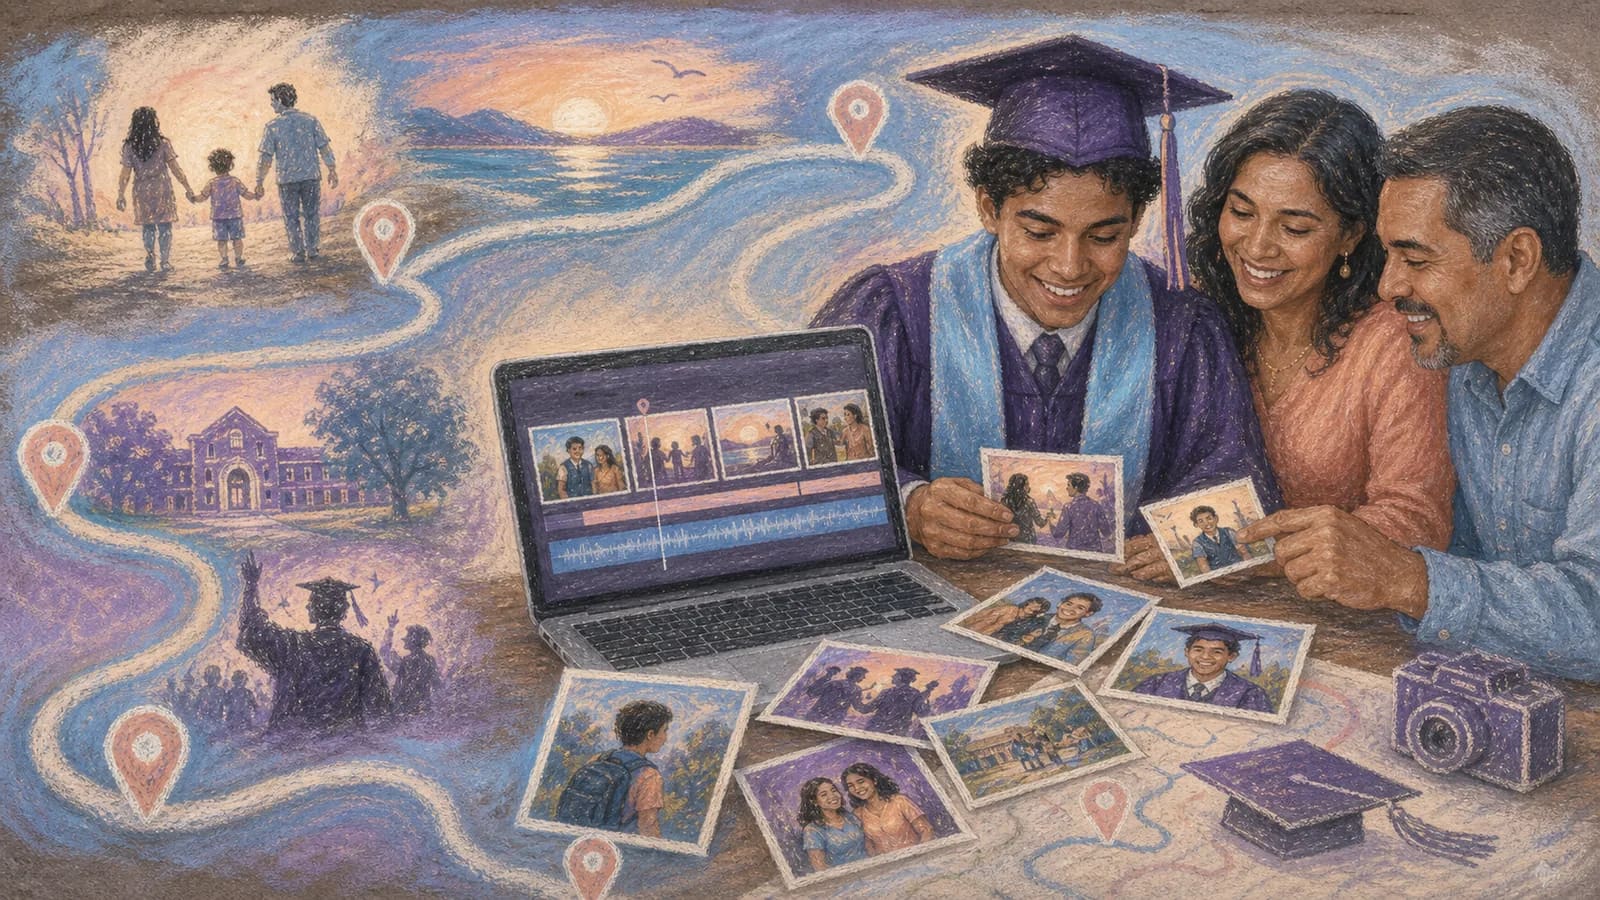
A place-based story can connect memories to locations. You might move from a childhood home to schools, family trips, a first job, and the graduation venue. This approach gives the story a clear path without depending only on dates.
Whichever shape you choose, plan a beginning, middle, and ending. The beginning creates interest. The middle shows change and relationships. The ending celebrates the achievement and looks forward.
3. Select the strongest photos
Choose photos for meaning, not just perfect lighting. A slightly imperfect candid picture may hold a better story than a formal portrait. Look for real expressions, important people, and clear moments.
Use a mix of close portraits, group photos, action shots, and quiet details. Include schoolwork, uniforms, instruments, art, teams, trips, or familiar places when they matter. Variety keeps the show from feeling repetitive.
Remove near-duplicates. If five photos show the same event, choose the one with the clearest emotion or action. Give each image a reason to stay.
Aim for a short first edit. You can add a missing moment later. Cutting a crowded plan is harder after every photo has captions, timing, and effects.
4. Build a rough storyboard
Place the selected images in order before adding music. Use simple labels for each part, such as “The early years,” “Finding a passion,” and “Graduation day.” These labels help you see whether the story has balance.
Open with an image that creates interest. It could be a first-day photo, a present-day portrait, or a quick view of the cap and gown. Then move into the main story.
Save one strong photo for the ending. A graduation portrait, family embrace, cap toss, or view of the next destination can work well. Add a short closing line so the audience knows the story is complete.
Watch the silent draft once. If the order makes sense without music, the story has a solid base. Move or remove any image that breaks the flow.
5. Choose music that fits the graduate
Music should support the story without taking it over. Choose a mood that suits the person and the event. Reflective music works well for early memories. A brighter track can lift the final section.
Ask what the graduate enjoys. A meaningful song may feel more personal than a standard celebration track. An instrumental piece can be a good choice when captions or spoken messages need attention.
Match major changes in the story to natural changes in the music. A new verse or chorus can introduce school years, friendships, achievements, or the final celebration. Avoid fast cuts simply to follow every beat.
Check how you are allowed to use the track. Playing music at a private gathering and posting a video online may involve different permissions. Use music supplied by your chosen tool, properly licensed music, or another track you are allowed to share.
6. Set the timing, captions, and transitions
Most photos need enough time for viewers to recognize the people and understand the moment. Give detailed group pictures more time than simple portraits. Read every caption aloud while the slide is on screen.
Keep captions brief. A date, place, grade, or short line is usually enough. Long paragraphs make viewers choose between reading and looking at the photo.
Use one or two quiet transitions throughout the show. Fades and simple dissolves rarely distract from the memories. Save any stronger effect for a real change in time, place, or mood.
Use gentle movement only when it helps. A slow crop can draw attention to the graduate in a group image. Check that the movement does not cut off faces, signs, diplomas, or other important details.
7. Add voices, messages, and meaningful places when useful
Photos show what happened, but a short message can explain why it mattered. Ask contributors for one or two sentences. Prompts such as “What are you proud of?” or “What should they remember next?” make replies easier.
Keep recorded messages short and place them between photo groups. Lower the background music while someone speaks. Add captions when the words may be hard to hear.
If several people are contributing, give everyone the same deadline and file instructions. Name each file with the person's name and its place in the story. Review all submissions before adding them.
AlbumMap is an option when memories are tied to places as well as dates. A map-based video can connect photos, clips, and written notes to a home, school, trip, campus, or graduation venue. It can also bring material from distant family and friends into one story.
8. Build and export the finished show
Choose a tool that matches your comfort level. A phone photo app is useful for a quick show. A presentation tool offers simple slide control. An online maker or video editor can provide more control over timing, sound, and export.
Set the project to match the display. A wide screen usually needs a wide layout, while a phone-first video may need a vertical one. Check your tool's current export options before you start detailed editing.
Keep text large and easy to read. Use strong contrast between words and the background. Leave space around faces, captions, and screen edges.
Export a common video file if the venue supports it. Keep a high-quality master and a smaller sharing copy. Do not delete the project files after the event.
9. Test the slideshow before graduation day
Watch the full show without skipping. Check names, dates, photo order, sound levels, captions, and the final frame. Listen for sudden changes between songs or clips.
Test the actual file on the device that will play it. If possible, connect that device to the venue's screen and speakers. A file that works on one laptop may still face missing fonts, weak sound, or connection trouble elsewhere.
Bring two backup copies. Keep one on a small drive and another in secure cloud storage. Save an offline copy when the venue's internet may be slow.
Ask one trusted person to review the show. They may spot a missing family member, repeated image, private detail, or spelling error that you missed.
Graduation slideshow ideas for different groups
For one graduate, focus on personal growth. Combine childhood moments, school life, interests, close relationships, and the next step. Keep the graduate at the center of the story.
For a whole class, give each student fair space. Use the same number of photos or the same screen time for everyone. Add group moments between individual slides to show the shared year.
For kindergarten or elementary school, use bright, simple sections. Include projects, play, class trips, performances, and friendships. Avoid jokes or captions that could embarrass a child.
For college or vocational graduation, include the path outside the classroom. Work placements, labs, studios, teams, campus landmarks, and community moments may tell more of the story than formal portraits alone.
Common mistakes to avoid
Do not include every photo you receive. A focused collection is easier to watch and remember. Save extra images in a separate shared album.
Do not choose music only because it mentions graduation. The tone should fit the person, story, and audience. Also check permission before sharing the finished video online.
Do not make captions too small or transitions too busy. The audience should notice the people and memories first. Design should make the story easier to follow.
Do not wait until guests arrive to test the screen. Check the file, cables, power, sound, and playback controls in advance. Assign one person to start and stop the show.
A final editing checklist
Make sure the opening is clear, the middle does not drag, and the ending feels complete. Remove repeated moments and fix any sharp changes in volume.
Confirm that names, dates, schools, and places are correct. Check that everyone shown has been treated with care. Remove any image or message that should stay private.
Watch the last export from beginning to end. Then save the master, sharing copy, project files, and original media in clearly named folders.
Examples You Can Copy
Copy-ready photo request
Hi! I am making a graduation photo slideshow for [Name]. Could you send up to five original photos or short clips by [date]? Candid school moments, activities, trips, and pictures with friends or family are welcome. Please include the year, place, and names of anyone shown. Let me know if anything should stay private.
Copy-ready message prompt
Please finish one of these sentences in one or two lines: “I am proud of you because…,” “One school memory I will always remember is…,” or “As you begin your next chapter, I hope you….”
Copy-ready storyboard
Opening: present-day portrait and title. Part one: early years and first school days. Part two: friends, activities, and everyday school life. Part three: challenges, growth, and achievements. Ending: graduation images, short messages, and a hopeful final line.
Copy-ready opening and closing text
Opening slide: “From the first day to graduation day: celebrating [Name].” Closing slide: “We are proud of how far you have come, and excited to see where you go next.”
Final Thoughts
A strong slideshow does not need every photo or a complex edit. It needs a clear story, thoughtful choices, and enough time for people to enjoy each memory. Start with the graduate, not the software. Choose the moments, music, words, and places that feel true to them. Then test the finished show so the celebration can stay focused on the person who earned it.
Helpful answers
Frequently asked questions
- How long should a graduation slideshow be?
- For a focused party presentation, a few minutes is often enough. The right length depends on the event, audience, and number of graduates. Watch the full draft and remove any part that feels repeated or slow.
- How many photos should I include?
- Choose the number that fits your music and planned viewing time. A short show may use a few dozen strong images. A class presentation may need more, but each student should receive fair screen time. Quality and variety matter more than the total.
- How long should each photo stay on screen?
- Leave each photo up long enough for viewers to recognize the people and read any caption. Simple portraits can move faster than detailed group pictures. Test the pace on the final screen because a phone preview can feel different.
- What music should I use for a graduation photo slideshow?
- Choose music that fits the graduate and the story's mood. Personal songs, instrumentals, and licensed tracks can all work. Confirm that you have permission for the planned use, especially if you will post or share the video online.
- Can I mix photos with video messages?
- Yes. Short messages can add voices and context to the visual story. Place them between photo sections, lower the music while people speak, and add captions when needed.
- What is the easiest way to collect pictures from a group?
- Send one request with a shared upload method, simple file rules, and a clear deadline. Ask for original files and basic details about each image. AlbumMap can be useful when the collected photos, clips, messages, and locations will become a map-based video story.
- What should I do if I do not have photos from every school year?
- Use themes instead of a strict timeline. Group the available material around family, friends, interests, achievements, travel, or meaningful places. A complete emotional story does not need one image from every year.