A teacher appreciation video can turn short student messages into one warm class thank-you. It can include simple recordings, class photos, written notes, and memories from the school year. The project does not need costly equipment or advanced editing. It needs one organizer, a clear prompt, and a plan that families can follow. This guide explains each step, from choosing a format to sharing the finished video safely. You will also find scripts and messages that you can copy, shorten, or adapt for your class.
How to Make a Teacher Appreciation Video in 8 Steps
Start by choosing one person to manage the project. This may be a room parent, student leader, colleague, or school staff member. The organizer sets the deadline, answers questions, and keeps each contribution in one place.
Next, decide what the video should celebrate. It might mark Teacher Appreciation Week, the end of the school year, graduation, or a teacher’s move. A clear purpose helps contributors choose useful stories and keeps the final video focused.
The full process is simple: choose a goal, select a format, write prompts, invite people, record clips, collect memories, edit the story, and review it. Give yourself about one week when possible. A smaller project can be completed sooner if everyone receives clear instructions.
Step 1: Choose One Goal and One Organizer
Write the goal in one sentence before asking anyone to record. For example: Our class is making a two-minute thank-you video about the ways Ms. Chen helped us grow this year. This sentence sets the tone and gives the project a useful limit.
Choose one organizer and one backup person. Too many organizers can lead to lost clips and mixed instructions. The main organizer should keep a simple list of names, permissions, and received files.
Set a final length before collection begins. Two to four minutes works well for many classes. A large class may need a longer video or shorter clips. If 25 students each speak for ten seconds, their messages already fill more than four minutes.
Step 2: Pick a Simple Video Format
A class thank-you video can use one format or mix several. The easiest choice is a series of short clips. Each student answers the same prompt in their own words. This creates a shared theme without making every response sound alike.
A photo-and-voice format works for students who do not want to appear on camera. Show a class photo, drawing, or project while the student reads a short message. Written notes can also appear between clips if the text is large and easy to read.
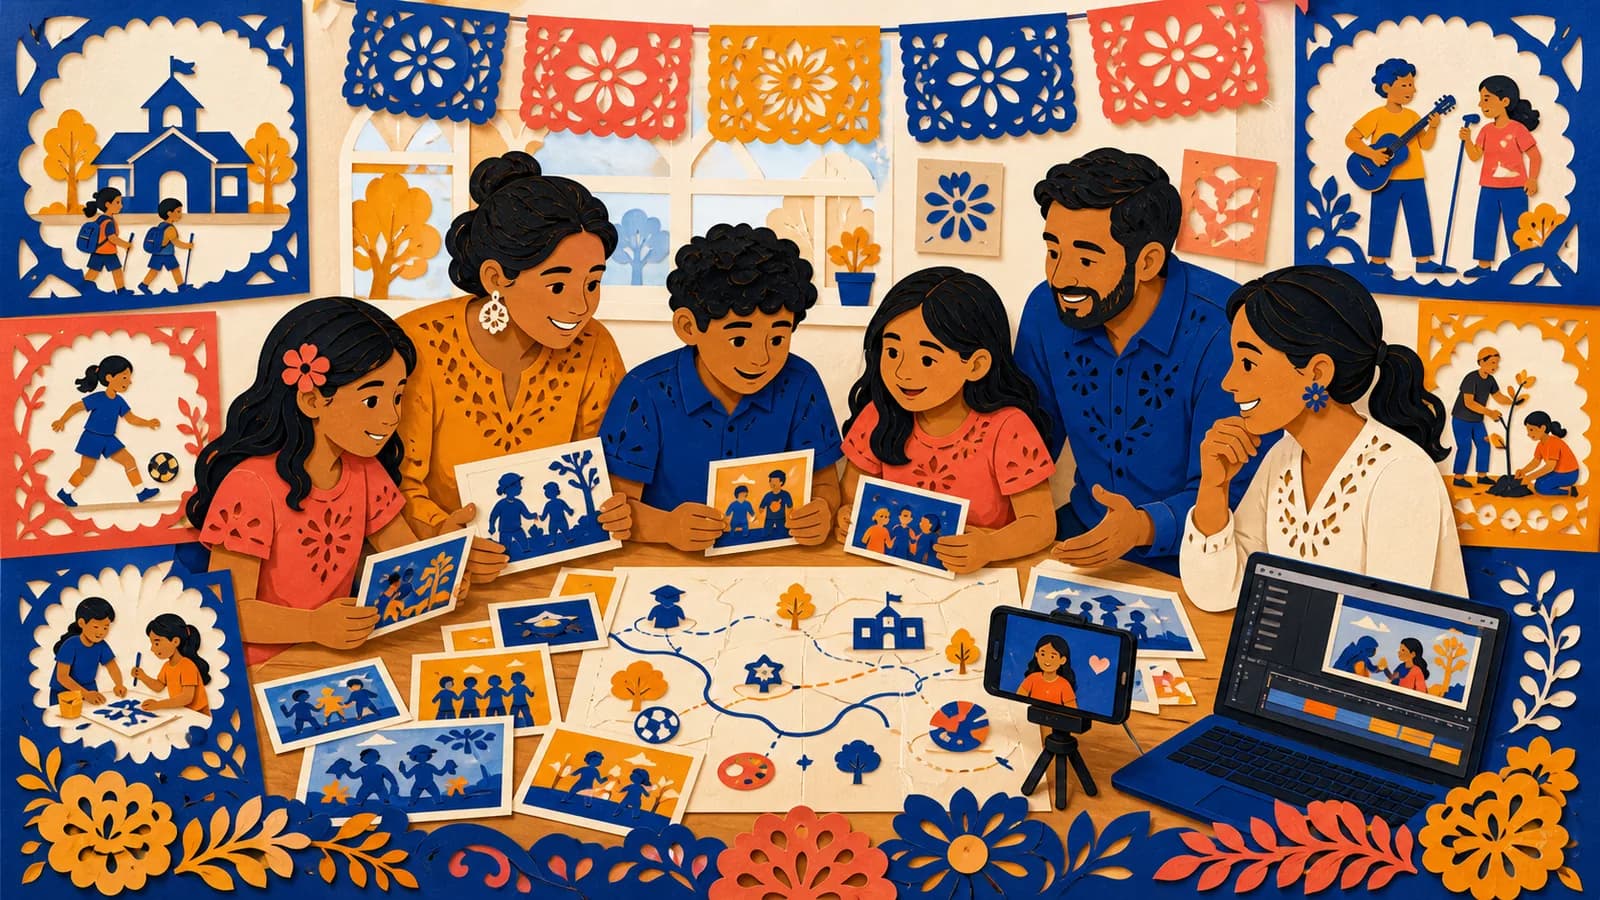
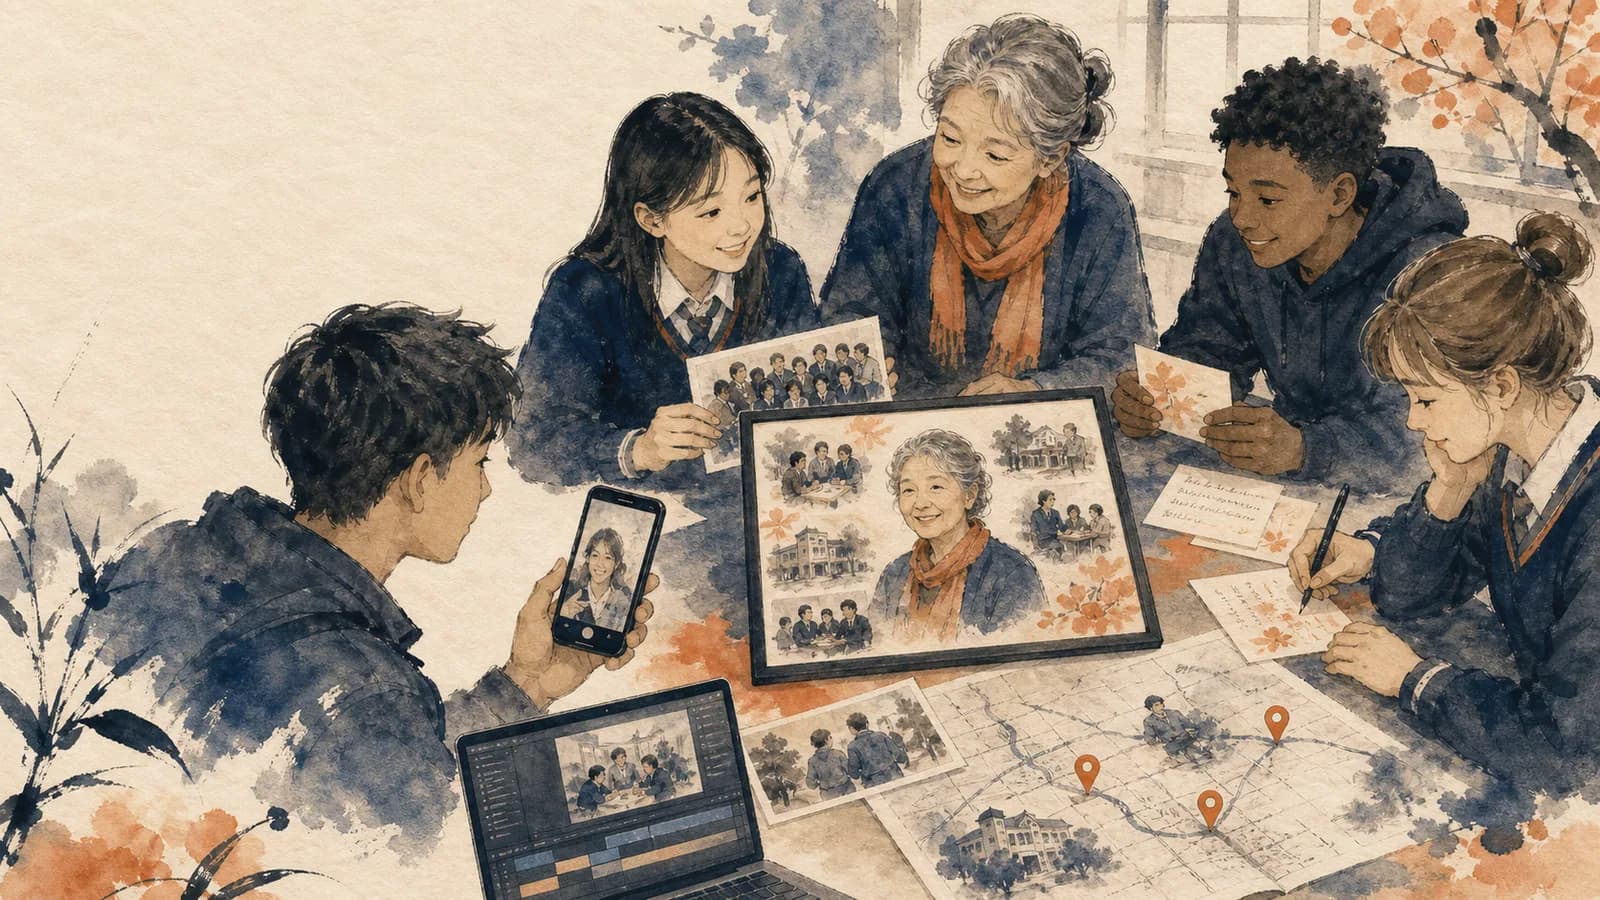
A school-year journey can connect memories to places. It might begin in the classroom, move to the library or playground, and end at a field-trip site. This approach works when locations are an important part of the story. Avoid displaying private addresses or sensitive location details.
Step 3: Give Students Helpful Prompts
A useful prompt asks for one specific memory. Broad questions often lead to repeated answers such as Thank you for being a great teacher. A focused question helps each student share something personal.
Try prompts such as: What lesson will you remember? When did your teacher help you feel confident? What classroom moment made you laugh? What is one kind thing your teacher did? What skill can you use now because of this teacher?
Younger students may need a sentence starter. They can finish: Thank you for helping me, I loved it when, or I will always remember. Older students can explain how the teacher changed their view of a subject or helped them through a hard moment.
Tell students that one honest detail is enough. A short memory about reading aloud, solving a difficult problem, or joining a new group can be more meaningful than a polished speech.
Step 4: Send One Clear Request
Send one message that includes the purpose, prompt, clip length, deadline, file method, and privacy plan. Families should not need to search through several messages to understand the task.
Ask for clips that are about 10 to 20 seconds. Include a sample answer so contributors can judge the right length. Give families a written-message option for students who cannot or do not want to record.
State where the finished video will appear. Will it be emailed privately, shown in class, or shared with families? Public posting requires a separate level of care. Follow school rules and obtain the required parent or guardian permission.
Send one friendly reminder before the deadline. A short reminder works better than several urgent messages. Contact missing contributors privately so no student feels called out in a group chat.
Step 5: Record Clear, Natural Clips
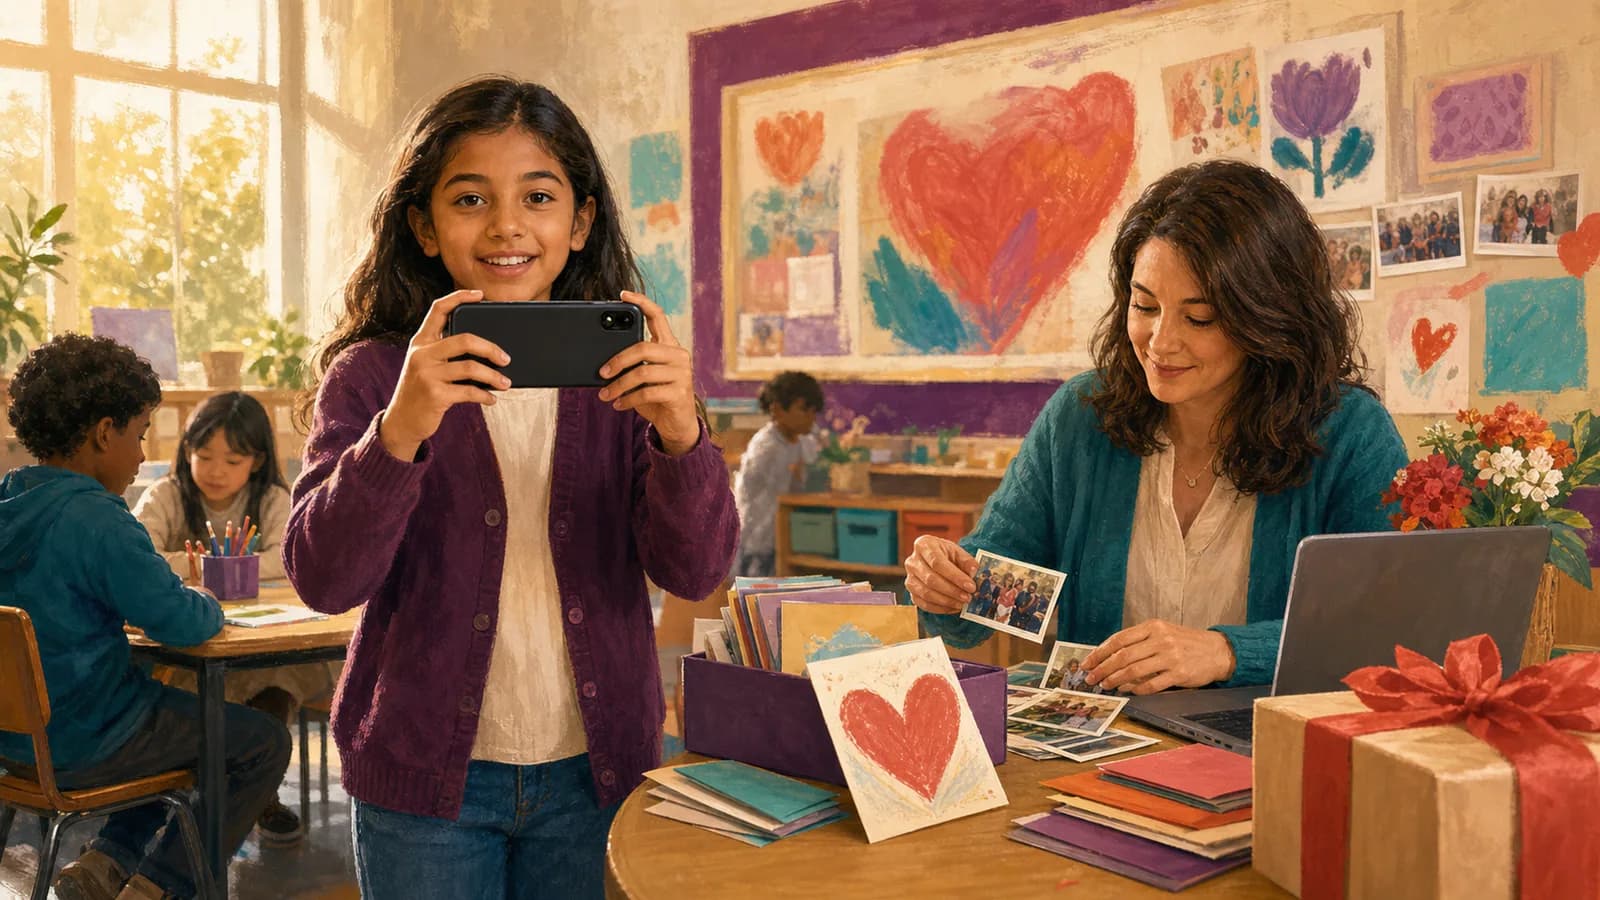
A phone is enough for most recordings. Place it at the student’s eye level and keep it steady. Record in a quiet room with light facing the student. Avoid a bright window directly behind them.
Choose one phone direction for the whole group. Landscape works well for videos shown on a television or classroom screen. Portrait may suit a private mobile video. Consistent framing makes the final edit feel calmer.
Ask each person to pause for one second before and after speaking. Those quiet moments make editing easier. Look at the camera, speak slowly, and stay close enough for clear sound.
Do not ask for many retakes. Small pauses and natural smiles can make a student’s message feel real. Record again only when the sound is unclear, the student forgets an important detail, or private information appears in the frame.
Step 6: Add Photos, Notes, and School Memories
Short messages provide the voices, while photos show the year. Consider class projects, field trips, performances, reading time, sports days, clubs, or safe classroom celebrations. Use only files that the class has permission to include.
Student art and written notes can help when few photos are available. Photograph each item in soft, even light. Keep the camera level so handwriting and drawings are easy to see.
A few meaningful places can give the video a natural path. The classroom door, library, school garden, stage, or graduation area may each hold a different memory. AlbumMap can help when the class wants to connect those places with shared photos, clips, and messages in a map video gift.
More material does not always make a better story. Choose the clearest examples and remove near-duplicate photos. Each item should add a new voice, memory, or part of the school year.
Step 7: Put the Video in a Clear Order
Begin with a short title, class photo, or greeting. Follow it with student clips, then add parent or staff messages if they are part of the plan. End with a group thank-you, final photo, or simple written closing.
Mix short clips with photos and notes so the pace does not feel repetitive. Grouping the video by themes can also work. Possible themes include favorite lessons, kind moments, funny memories, and skills learned.
Keep transitions simple. Cuts and gentle fades are often enough. Decorative effects should not distract from the students. If you add music, keep it low enough that every voice remains clear.
Use music only when you have the right to include it. A licensed track, an approved platform library, or no music at all can prevent sharing problems. Silence between sections can also give the teacher time to take in each message.
Watch the full edit once without stopping. Note any section that feels slow, repeated, hard to hear, or confusing. Shorten pauses and repeated ideas before adding more effects.
Step 8: Review Privacy, Access, and Sharing
Check every name, photo, clip, message, and location before sharing. Follow the school’s media policy. A family’s permission for a classroom photo may not cover a public website or social account.
Share the finished video through the method described in the invitation. A private link, direct email, or in-class viewing may be suitable. Limit public access unless the school and every affected family have approved it.
Add captions when the editing method allows them. Captions help people who are deaf or hard of hearing. They also help viewers understand children who speak softly or record in a noisy space.
Check spelling, title cards, sound levels, and the teacher’s preferred name. Test the link on another device. If the class will show the video at an event, download or prepare a backup copy when the chosen service permits it.
Finally, ask one adult who was not the main editor to review the video. A fresh viewer may notice a private detail, missing student, incorrect name, or sound problem that the organizer missed.
Three Easy Plans for Different Class Sizes
For a small class, let every student answer one main prompt and one quick closing prompt. Add two or three photos between groups of clips. This creates variety while keeping the project simple.
For a large class, limit each student to one sentence. Divide the class into themes so answers do not repeat. One group can share favorite lessons, another can name kind moments, and another can offer wishes for the teacher.
For a school-wide thank-you, invite one brief clip from each class or department. Give every group the same time limit and framing guide. Use a clear title before each school section so the teacher can follow the order.
If the project includes students, parents, former students, and staff, keep the students at the center. Adult messages should add context without taking over the video.
Common Mistakes to Avoid
Do not wait until the final day to collect clips. Late files may use the wrong format or include sound problems. An early deadline leaves time for one helpful follow-up.
Avoid making every student read the same full script. Shared sentence starters are useful, but personal details make the video memorable. Let each student speak in a way that feels natural.
Do not use inside jokes that could embarrass the teacher or a student. Leave out grades, health details, family information, and other private topics. When unsure, choose a kind and simple memory.
Avoid filling every second with music, text, effects, and stickers. The teacher is watching for familiar faces and honest words. Clear sound and thoughtful pacing matter more than decoration.
Examples You Can Copy
Copy-ready invitation for families
Hello families. We are creating a short thank-you video for [Teacher Name]. Please send a 10- to 20-second clip of your child answering this question: What is one thing [Teacher Name] helped you learn or enjoy this year? You may also send one approved class photo or a short written message. Please submit everything through [method] by [date]. The finished video will be [shared privately with the teacher/shown in class]. Please contact [organizer] if you need another way to take part.
Copy-ready student message
Hi [Teacher Name]. Thank you for helping me feel confident during our science project. I was nervous at first, but you showed me how to try one step at a time. I will remember that next year.
Copy-ready message from a parent
Thank you, [Teacher Name], for helping [Student Name] feel welcome this year. We saw a real change at home when they started talking excitedly about reading. Your patience made a difference to our family.
Copy-ready opening and closing
Opening: This is a thank-you from the students and families of [Class or School]. We gathered a few moments that show what [Teacher Name] meant to us this year. Closing: Thank you for teaching us, encouraging us, and making our class a place where we could grow. We hope these memories show how much we appreciate you.
Final Thoughts
The best class video is clear, personal, and easy for everyone to join. Start with one goal. Ask for short messages and specific memories. Then arrange the strongest clips, photos, notes, and places into a simple story. Protect student privacy at every step. When a school year is tied to meaningful locations, AlbumMap can bring those shared pieces together as a map video gift. The result should sound like the class itself: warm, varied, and sincere.
Helpful answers
Frequently asked questions
How long should a teacher thank-you video be?
Two to four minutes is enough for many classes. A large group may need more time, but each clip should remain short. Ask students for 10 to 20 seconds each. Remove long pauses and repeated ideas before making the video longer.
What should students say in the video?
Ask for one specific lesson, memory, or kind act. Useful starters include Thank you for helping me, I will always remember, and My favorite class moment was. Students should use their own words whenever possible.
Can students take part without appearing on camera?
Yes. A student can submit a written note, drawing, photo, or voice recording when permission allows. The organizer can show that item while reading the message or playing the audio.
How can a class collect clips without losing files?
Choose one organizer and one submission method. Send a single request with the deadline, clip length, prompt, file instructions, and privacy plan. Keep a checklist of contributors and send one reminder before the deadline.
Should the finished class video be posted publicly?
Only when the school and all affected families have given the required permission. A private link, direct email, or in-class viewing is often easier to manage. Follow the school’s rules for student names, images, recordings, and locations.
When is a map-based video useful for a teacher gift?
A map-based story can help when memories are tied to places such as the classroom, library, stage, sports field, or field-trip sites. AlbumMap can connect those locations with approved photos, short videos, and written messages.