How to Create a Family History Memory Map
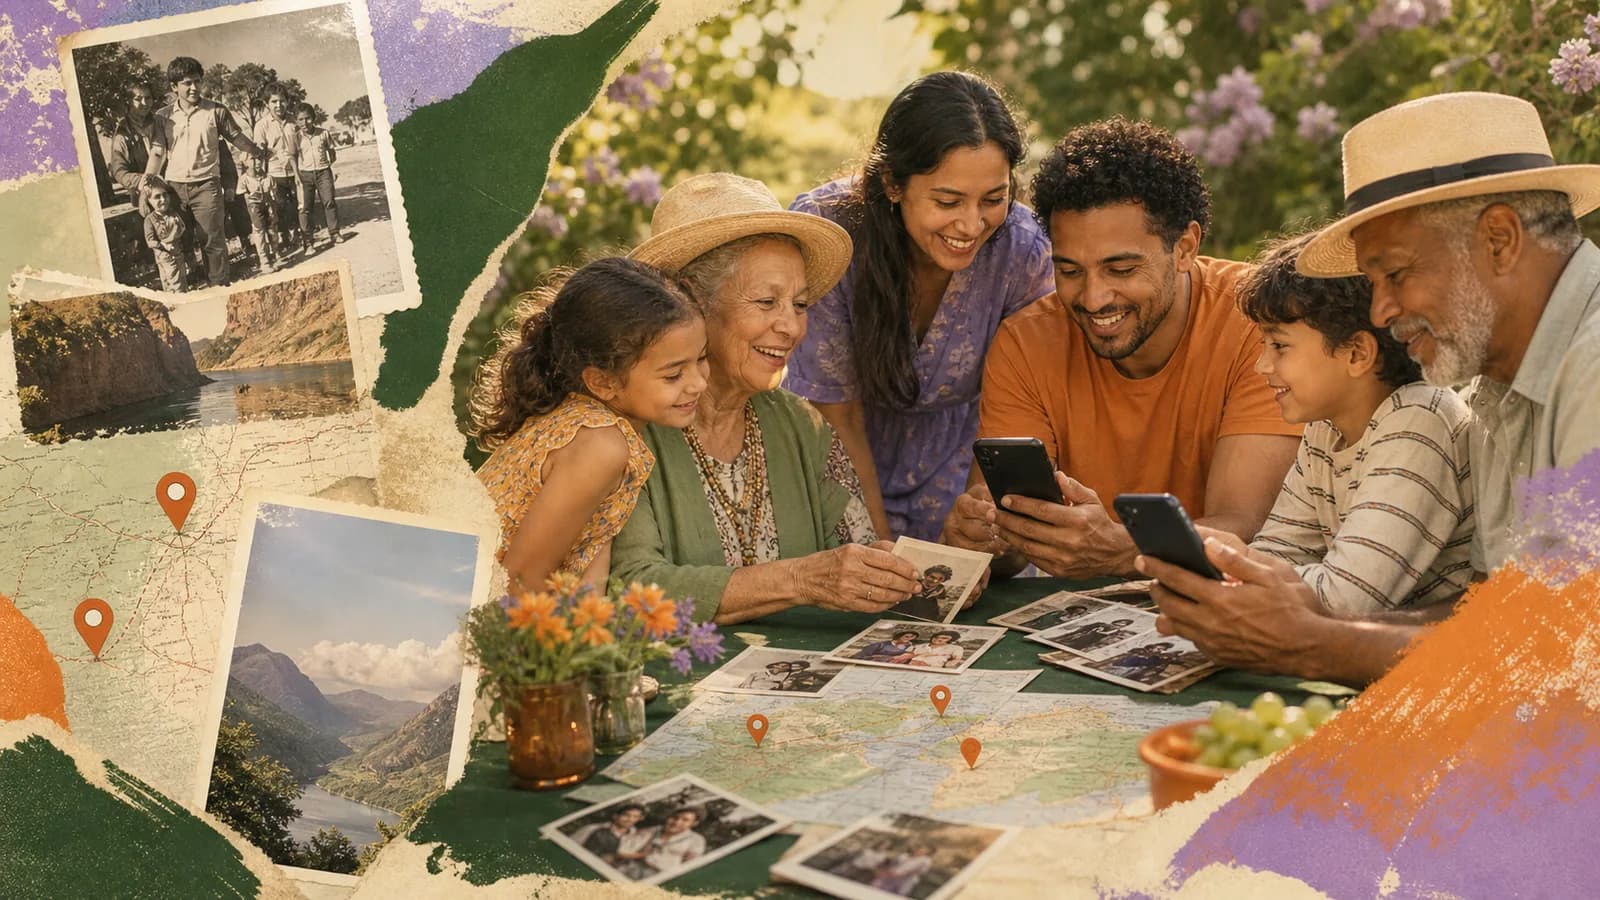
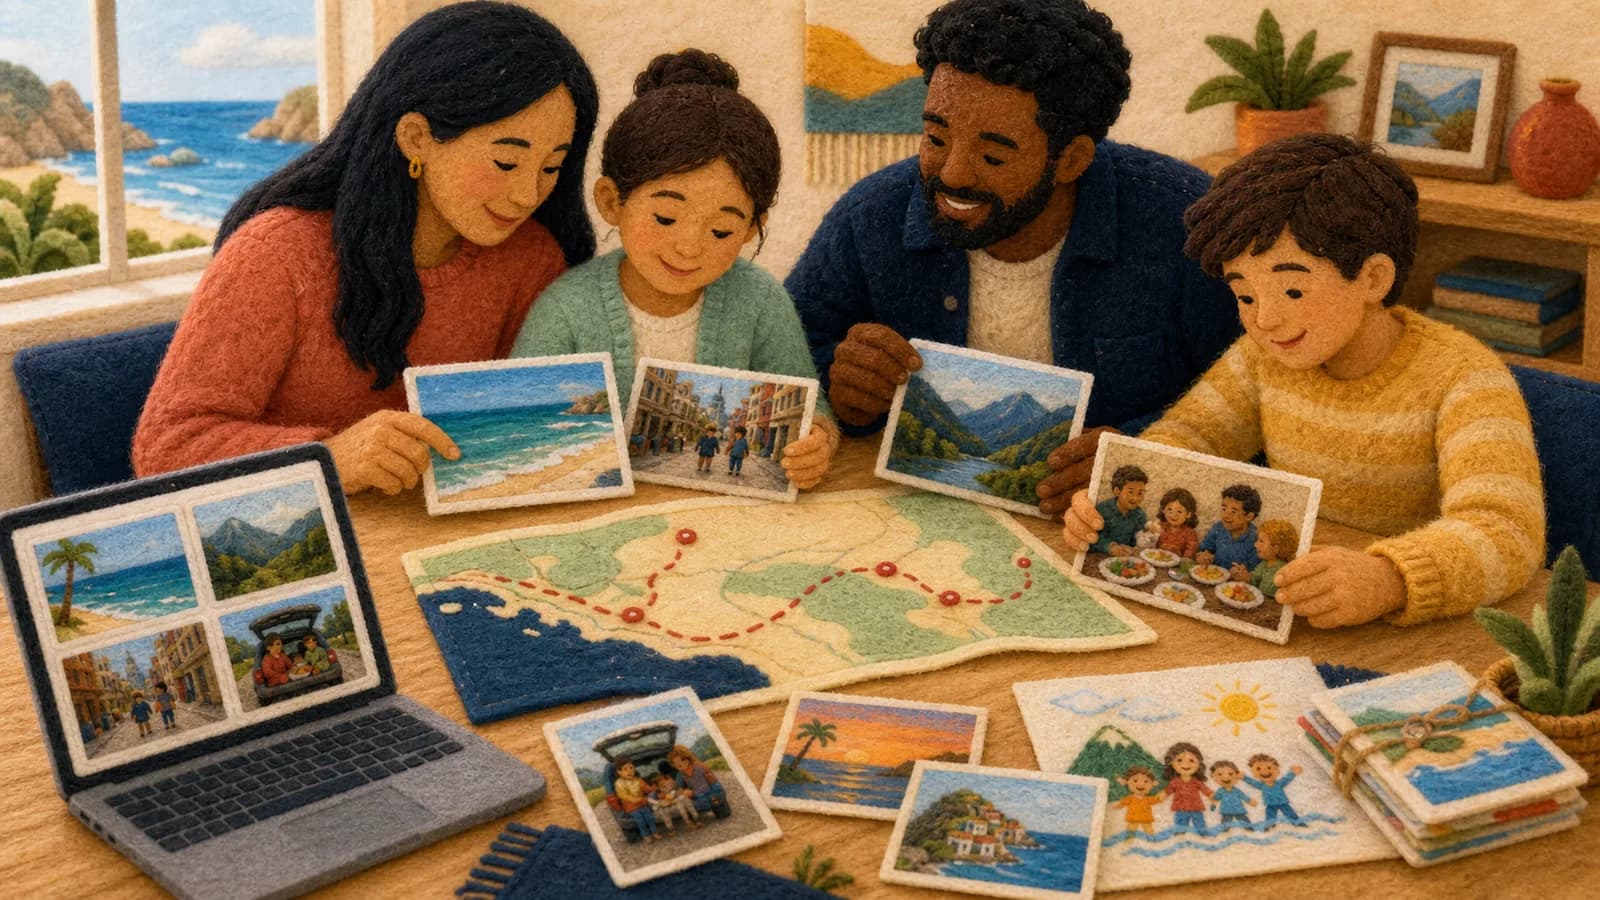
A family history map connects the people in your family to the places that shaped their lives. It may show a grandparent’s childhood home, a migration between countries, a family business, or the house where everyone gathered. Each stop can hold a date, photograph, short story, voice recording, or video. The map does not need to cover every relative or event. A small, well-told route is often more moving and easier to finish. This guide will help you choose a focus, check important details, gather memories, and turn them into a story your family can understand and share.
What Is a Family History Memory Map?
A memory map is not the same as a family tree. A family tree shows how people are related. A map shows where their lives happened and how those places connect.
You can combine both ideas. A person’s family-tree entry might list a birth and marriage. The map can add the farm where they grew up, the port they left, and the town where they began again. Photos and first-person memories can explain why each place matters.
Your project can be a printed map, a scrapbook, an interactive map, a slideshow, or a video. Choose the format after you know what story you want to tell. The story should guide the tool, not the other way around.
Choose One Clear Family Story
“Our whole family history” is usually too broad for a first project. Pick one person, family branch, journey, period, or theme. A focused map gives you a clear starting point and a natural ending.
You might trace one grandparent’s moves, follow a family’s immigration route, map the homes used for holiday gatherings, or record how several generations reached the same city. Another option is a living-memory map. It can show where relatives grew up, met their partners, raised children, worked, and built traditions.
Write your focus in one sentence. For example: “This map follows Rosa’s journey from her childhood village to the neighbourhood where she raised her family.” Use that sentence when deciding what belongs. Save unrelated discoveries for another project.
Gather Facts, Memories, and Media
Start with what your family already has. Look through albums, letters, certificates, journals, recipe books, home videos, and labelled keepsakes. Ask relatives whether they have copies that others have not seen.
Make a simple source list. Record who supplied each item and what they know about it. For a photograph, note the people, place, likely date, photographer, and any writing on the back. Scan the front and back when both contain useful details.
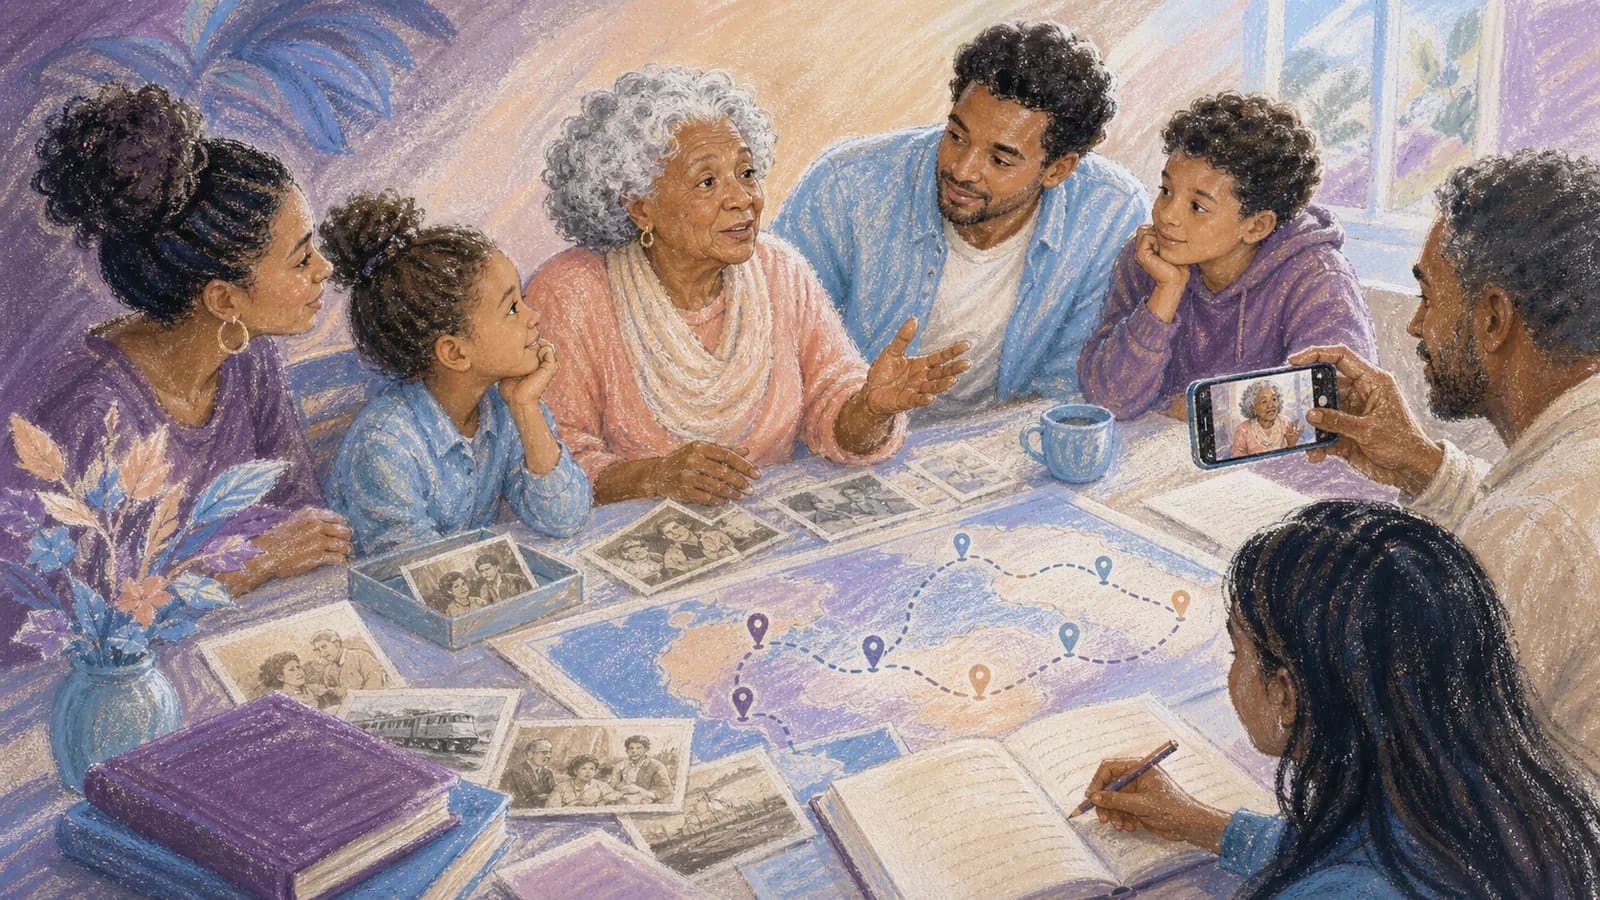
Interview older relatives early. A photo, letter, or object can help them remember. Ask open questions such as, “What happened in this house?” or “What do you remember about arriving in that town?” Let the person finish before moving to the next question.
A memory is valuable even when it cannot be proven. Label it honestly. You might write, “According to Aunt Mina,” or “The family remembers this as the first apartment.” This keeps the person’s voice without turning an uncertain detail into a fact.
How to Create a Family History Map in Eight Steps
1. Define the focus. Choose the person, branch, journey, period, or tradition you want to show. Decide who will use the finished map and what you hope they will learn.
2. Build a working timeline. List known events in date order. Include births, moves, marriages, jobs, schools, journeys, gatherings, and other moments tied to a place. Use “about 1952” or a date range when the exact year is uncertain.
3. Create a location list. Add the best available place for each event. A town or region is enough when an exact address is unknown or private. Record old and current place names when borders or names changed.
4. Check key details. Compare family accounts with available records, captions, directories, newspapers, maps, or trusted archives. You do not need to prove every warm memory. You should check facts that shape the route or make a historical claim.
5. Select the strongest stops. Five to twelve locations work well for many first projects. Give each stop a clear purpose. Remove repeated places unless each visit marks a different chapter.
6. Match each stop with media. Choose one strong photo, short clip, document, recording, or written memory. Add a caption that explains who, where, when, and why the item matters.
7. Put the stops in a useful order. A timeline works well for one person’s life. A migration route works for movement between regions. A theme-based map can group homes, workplaces, schools, or gathering places.
8. Review and share. Ask at least one relative to check names, relationships, dates, and sensitive details. Test every link and media file. Save a backup before sending the finished version to the wider family.
Use a Simple Story Pattern at Every Stop
A consistent pattern makes the map easy to follow. Begin with the place and time. Name the people connected to it. Describe what happened. End with the meaning of that memory.
For example: “In 1968, Elena moved to Windsor with her parents and two brothers. Their first apartment was small, but cousins visited every Sunday. Elena remembers learning her mother’s bread recipe in that kitchen. The apartment became the family’s first shared home in Canada.”
The caption does not need every known fact. Choose the detail that helps the reader understand the family. A clear human moment is often more useful than a long list of dates.
Invite Relatives to Contribute
Give each person a small task. Asking for one item and one memory feels easier than asking someone to review a whole lifetime. Set a deadline and explain how you want files named.
Offer different ways to join. Some relatives enjoy recording video. Others prefer a voice note, written message, photograph, or phone call. A shy family member may still have the most useful place name or story detail.
Use focused prompts. Ask, “Which home felt most like the centre of the family?” “What place did your parent talk about most?” or “Which journey changed the family’s direction?” Follow up with, “How did that place look, sound, or feel?”
Keep track of permissions. Ask whether a contribution can be shared with the whole family, shown at an event, or posted online. Permission to send you a photo is not always permission to publish it.
Protect Privacy and Handle Sensitive Stories With Care
Family history can include adoption, displacement, war, discrimination, estrangement, loss, and other painful events. Do not add a sensitive story only because it makes the map more dramatic. Consider whether the person affected would want it included.
Avoid publishing exact addresses for living relatives. A city, neighbourhood, or general region can tell the story without revealing a home. Remove private details from documents before sharing them online.
Ask before identifying children or using recent photographs. Check the terms of any archive, website, or family collection before copying an image. A source citation does not replace permission when permission is required.
Relatives may remember the same event in different ways. You do not have to choose a winner. You can state that accounts differ, include both views with consent, or leave the disputed detail out. The goal is a respectful family record, not a public argument.
Choose the Right Format for the Finished Map
A paper map is good for a framed gift or family gathering. A scrapbook gives you room for longer stories and document copies. An interactive genealogy map can help researchers study many people, dates, and migrations.
A slideshow works when the story is mainly visual. A video keeps voices, expressions, and movement. It can be helpful when relatives live far apart or when several people want to contribute.
AlbumMap fits when locations are part of the story and you want shared media in one flow. Family members can contribute photos, short videos, written messages, and meaningful places. Those pieces can become a cinematic map video that follows the family route.
Keep a separate research archive even if you make a short video. Store full interviews, high-quality scans, source notes, and original filenames safely. The public keepsake can stay simple while the archive preserves more detail.
Share and Preserve the Project
Introduce the map with a short note about its focus and limits. State who created it, who contributed, and when it was completed. Explain any symbols, approximate dates, or changed place names.
Give files clear names. Keep an original version, a shareable copy, and at least one backup in another safe location. Open the files from time to time so you can move them to a newer format if needed.
Invite corrections after sharing. A cousin may recognize a person in a photograph or remember a missing street name. Record the update and its source instead of silently replacing the earlier information.
Most important, let the map begin conversations. Watch it together, ask follow-up questions, and save new stories while people are ready to tell them.
Examples You Can Copy
Copy-ready contribution request
Hi everyone. I am creating a family memory map about [person, family branch, or journey]. Please send one photo, short video, voice note, or written memory by [date]. Include one place linked to your contribution and tell me why it matters. If you know the date, people shown, or source, please add that too. Upload your item here: [link]. Tell me whether it may be shared with the whole family or only kept in our private archive.
Copy-ready interview invitation
I would love to record a short conversation about the places you remember from our family story. We can use photos or letters to help. You can skip any question, stop at any time, and choose whether the recording stays private or is shared with relatives. Would [date and time] work for a 30-minute call?
Copy-ready map-stop caption
[Place], [year or date range]: [Person] lived here during [life chapter]. [One clear event or memory] happened here. [Photo, recording, or document] came from [source]. This place matters because [short explanation].
Copy-ready uncertainty note
The exact year has not been confirmed. Two relatives remember the move happening between [year] and [year]. This map uses the approximate date until another record is found.
Final Thoughts
A strong family map is not the one with the most pins. It is the one that helps relatives understand how people, places, and choices connect. Start with one clear story. Check important facts, preserve personal voices, and treat private details with care. If photos, videos, messages, and locations are central to the project, AlbumMap can bring those pieces together as a map-based video the family can watch and share.
Helpful answers
Frequently asked questions
- How many locations should a family history map include?
- Five to twelve strong stops are enough for many first projects. Use fewer if each place has a detailed story. Add more only when the route remains clear.
- What if I do not know an ancestor’s exact address?
- Use the most accurate place you can confirm, such as a town, county, or region. Label it as approximate. Never guess an exact address.
- How is a family memory map different from a family tree?
- A family tree shows relationships between people. A memory map connects people and events to places. The two formats can support each other.
- Can I include stories that have not been verified?
- Yes, if you label them as memories or family accounts. Name the source when appropriate and avoid presenting an uncertain story as a proven fact.
- What can relatives contribute besides old photographs?
- They can share voice recordings, short videos, letters, recipes, document scans, written memories, place names, and corrections to dates or captions.
- How can I protect living relatives’ privacy?
- Use general locations instead of home addresses. Ask before sharing names, recent photos, recordings, or sensitive stories. Keep private research files separate from the public version.