Introduction
A Route 66 photo checklist helps you come home with more than a row of landmark selfies. It gives you a simple plan for signs, roadside attractions, food, group clips, landscapes, and the small details that make the trip feel like yours. You do not need a fancy camera. A phone is enough. The goal is to collect a clear story, one stop at a time, while still enjoying the road.
Start with a simple photo plan
Do not try to photograph everything. Pick a small set of repeat shots that you can take at most stops. For example, take one route sign, one wide view, one close detail, and one photo of the people travelling with you. This mix makes your Route 66 memories easier to sort later.
Before the trip, make an album on your phone and give it one clear name. Turn on location saving if you are comfortable doing so. A location tag can help you remember which diner, bridge, town, or lookout belongs to each image. It is also useful when several people share their photos after the trip.
Keep the camera work easy. Take photos only when the car is parked and it is safe to do so. Let one passenger handle the shot list or navigation notes. The driver should focus on driving.
Route 66 photo checklist: capture the signs and the road
Route signs help your photos tell people where the trip happened. Look for a route shield, a town sign, a painted wall, an old motel sign, or a roadside marker. Take one straight-on version, then take a wider photo that shows the street, car, or people around it.
The road itself matters too. A low view of pavement, a curve in the distance, a reflection in a car window, or a map on the passenger seat can show movement without needing a big landmark. Add a quick note in your phone when a road section feels special. The note may be more useful than a perfect photo later.
Avoid stepping into traffic or stopping where you are not allowed to stop. If a sign is hard to reach safely, photograph it from a legal spot or skip it. A safe memory is better than a risky one.
Photograph roadside attractions with context
Roadside attractions are easy to photograph, but one wide shot can make every stop look the same. Take three simple views instead: a wide photo that shows the attraction in its setting, a closer shot of its best detail, and a photo that shows your group reacting to it.
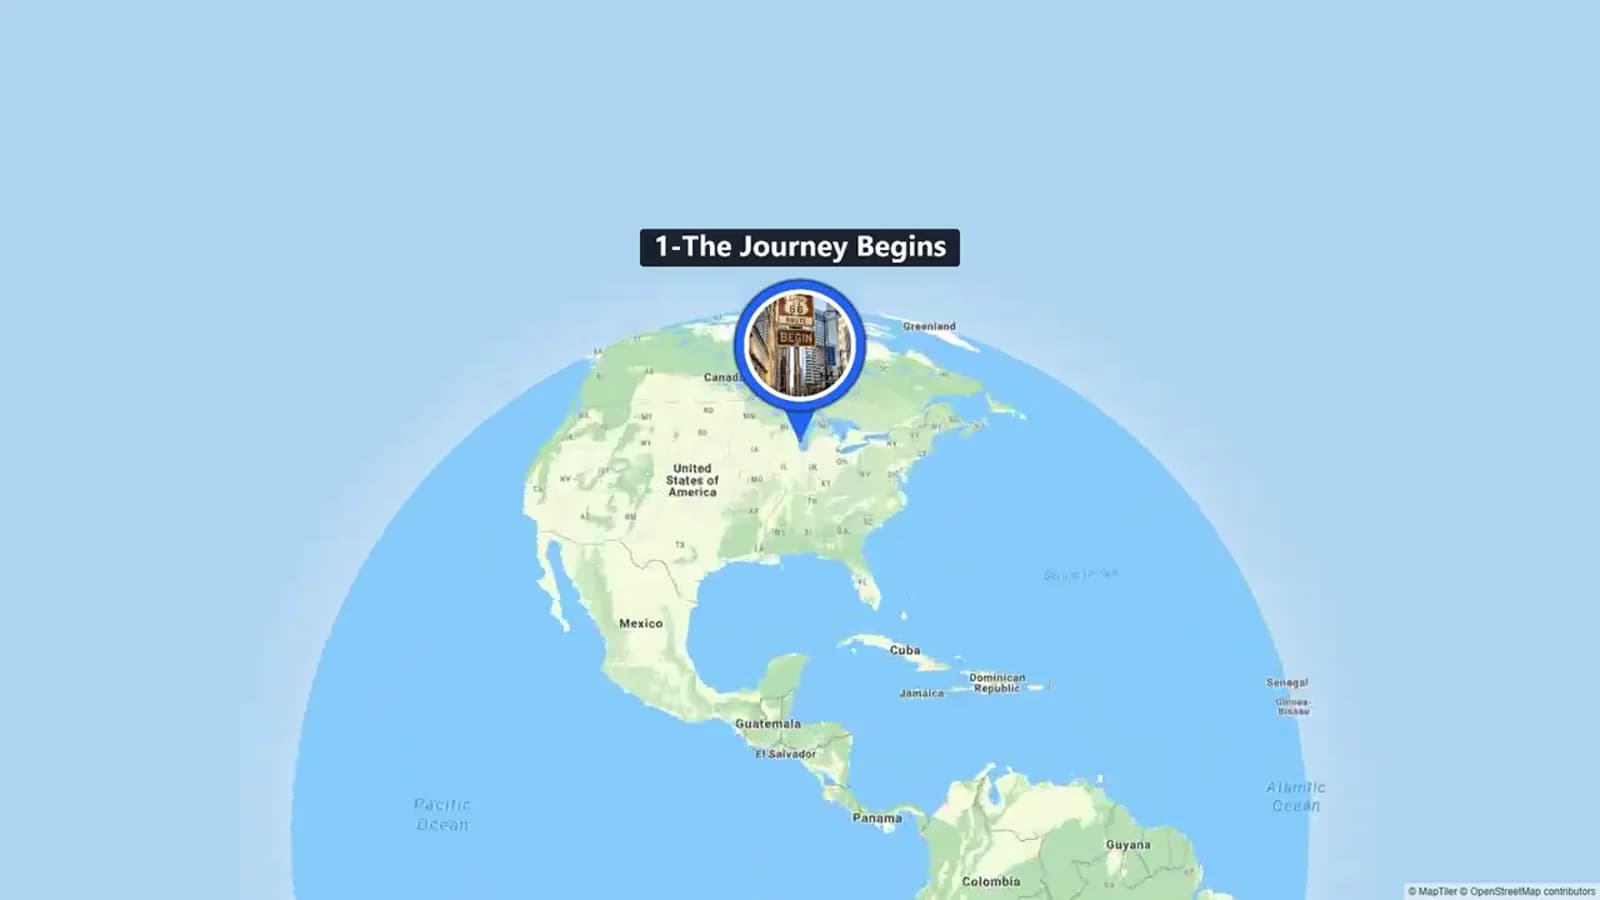
The AlbumMap video offers useful examples of varied stop types. It moves from Pontiac's Mother Road history to the Old Chain of Rocks Bridge, then to the Blue Whale of Catoosa. That mix is a reminder to collect both the object and the feeling of reaching it.
Ask a person in your group to stand near an attraction only where it is welcome and safe. Their size gives the object scale. A silly pose can also bring back the mood of the day better than another postcard-style picture.
Save the food, people, and group clips
Food is part of the route story. Photograph the outside of a diner or cafe, then one close shot of the meal, drink, menu detail, or shared table. Add a note with the town and what everyone ordered. These small details often bring back the strongest memories.
Take short group clips as well as still photos. Aim for five to ten seconds. Record a quick arrival reaction, a laugh at the table, a view from a safe lookout, or one person saying the stop name and town. Keep the clips short so they are easy to watch later.
If someone does not want to be filmed, respect that. They can still contribute a photo, a written memory, or a location. A group trip does not need every person on camera to feel shared.
Make room for landscapes and quiet details
Route 66 photography is not only about big signs. Take a wide landscape when the scene changes. The video moves from city scenes and roadside art to Petrified Forest National Park before reaching Santa Monica. That structure shows why a trip album needs both built places and open scenery.
Use the same simple mix at a landscape stop: one wide scene, one detail, and one person or car only if it adds scale. A close photo of stone, a shadow, a shoe on the path, or a hand holding a map can become a useful transition image in your album.
Stay on marked paths and follow posted rules. Do not move rocks, climb barriers, or enter closed areas for a photo. The best travel images show care for the place as well as excitement about seeing it.
Add location metadata before you forget
After each stop, take thirty seconds to add the town, place name, and one short note to your favorite photo or shared album. You can use a simple format: place, state, date, and one sentence about what happened. This is especially helpful when different people are taking photos on different phones.
Location metadata does not need to be exact. A city or well-known stop is often enough. If you prefer privacy, avoid adding home addresses, live hotel details, or real-time posts. You can add the location after you have left.
At the end of each day, ask everyone to choose three favorites. This prevents a huge pile of near-duplicate files. It also gives each traveller a chance to say which moment mattered most to them.
Printable Route 66 Photo Checklist
Print this table or save it to your phone. Check off only the items that fit your trip. The aim is a balanced record, not a perfect score.
| Capture | What to get | Location metadata | Done |
|---|---|---|---|
| Route sign | One clear route shield, town sign, mural, or marker. | Town or nearest city and state. | [ ] |
| Road view | A safe, parked view of the road, curve, or car-window scene. | Road section or town; do not tag live location while travelling. | [ ] |
| Roadside attraction | One wide view, one close detail, and one reaction photo. | Attraction name, town, state. | [ ] |
| Historic stop | A museum, bridge, building, or marker plus one detail. | Stop name and state. | [ ] |
| Food stop | Exterior, meal or drink, and a shared-table photo. | Business name or town; add date. | [ ] |
| Group photo | One relaxed photo that shows who was there. | Stop name or city and state. | [ ] |
| Group clip | A five-to-ten-second arrival, laugh, or spoken memory. | Place name and a short clip note. | [ ] |
| Landscape | One wide scene and one close natural detail. | Park, viewpoint, or nearest town. | [ ] |
| Neon or evening scene | A sign, street view, or dusk detail from a legal, safe spot. | Town and state; note evening if useful. | [ ] |
| Small detail | Ticket, map, shoes, dashboard, menu, or hands holding a souvenir. | Place and one sentence about why it mattered. | [ ] |
| End-of-day favorite | Each traveller picks three files and one short note. | Day number and main overnight town. | [ ] |
Examples You Can Copy
Copy-ready location note
Blue Whale of Catoosa, Oklahoma | August 2026 | We stopped for ten minutes, took a group photo, and laughed because the wind kept lifting everyone's hair.
Copy-ready group video prompt
Record one short clip at a Route 66 stop. Say the place name, show one detail you noticed, and share one sentence about why this stop stands out.
Copy-ready shared-album request
Please add your three favorite Route 66 photos or clips. For each one, include the place, state, and one short memory. A city-level location is enough if you prefer privacy.
Final Thoughts
The best Route 66 photos do not need to be perfect. They need to help you remember the road, the people, and the stops that changed the day. Use the checklist lightly, stay safe, and leave room for an unexpected photo that becomes everyone's favorite.
Helpful answers
Frequently asked questions
What photos should I take on Route 66?
Start with route signs, roadside attractions, food stops, group photos, short clips, landscapes, and small details. Add a place name and one note to your favorites before you forget.
Do I need a professional camera for Route 66 photography?
No. A phone can capture a strong trip story. Focus on clear light, a mix of wide and close shots, and a few real moments with the people travelling with you.
How many photos should I take at each stop?
Try three to five useful files: one wide view, one detail, one people shot, and an optional short clip. This gives you variety without spending the whole stop behind a screen.
Should I save location metadata on travel photos?
It can make sorting much easier. A city or stop name is usually enough. For privacy, do not share live locations, hotel details, or home addresses.
How can a group save Route 66 memories together?
Ask each person to choose a few favorite photos or clips and add a place and a short note. AlbumMap can help turn selected shared memories and locations into a map-led video keepsake.