Introduction
A 30-day Canada road trip gives you enough time to slow down, but it can still become a blur if every day is only about the next stop. A simple plan helps you protect two things: your energy on the road and the photos, clips, notes, and locations that will help you remember it later. This guide is not a fixed route. It is a practical way to shape your Canada trip itinerary, collect media without turning the trip into a job, and make a clear final recap when you get home.
Start with a flexible 30-day Canada road trip plan
Before you choose attractions, set three anchors: your start and finish, your rest days, and the places that need advance booking. A month can cover a long distance, but Canada is large. Treat drive times as only one part of the day. Meals, fuel, weather, ferries, road work, breaks, and a good viewpoint can all change the plan.
Make a route sheet with one row per day. Give each row a main overnight stop, a rough driving window, one “must do” item, and one backup idea. The backup matters. If rain, fatigue, or a closure changes the day, you can still have a good day without rebuilding the whole trip.
A cross-Canada road trip does not need to mean seeing every province in one push. You may choose one long section, such as Ontario to Calgary, and give yourself room to stop. A useful 30-day plan includes lighter days. Put a rest, laundry, grocery, or no-driving day after a demanding stretch rather than hoping you will find time later.
Build a daily capture routine that takes 10 minutes
The goal is not to film everything. The goal is to save a few details that bring the day back. Pick one person to do the quick daily check, or rotate the role. Capture three to five photos, one short video clip, one location, and one sentence about the day. If a moment is private, keep it private. The best recap is honest, not complete.
Take the first photo when you start moving and the last photo when you stop. In between, look for a wide scene, a people moment, and a small detail. A wide scene may be a lake, prairie, mountain, motel sign, or long road. A people moment may be a passenger laughing or someone making lunch. A small detail may be a coffee cup, a ticket, wet boots, or a handwritten map note.
Keep clips short. Ten to fifteen seconds is often enough for driving rain, wind in the grass, a ferry deck, a trailhead, or a quick voice note. Hold the phone still for a moment before moving it. You do not need a narrated vlog every day. A few calm clips will be easier to review at the end.
Use one storage home and two backups
Choose one shared folder or photo library before departure. Make folders by day, not by device. A simple pattern is “Day 01 - start to first stop,” then repeat. Everyone should know where to put the best items. This avoids a pile of unnamed files from different phones.
At the end of each day, move the keepers into that day’s folder and remove obvious duplicates. Do not spend an hour editing. Add a short note to the folder name or a text file: “rainy drive, roadside pie, first prairie sunset.” That note will be more useful than trying to remember every filename after a month.
Use two backups when you can: one cloud copy and one separate physical device. Test the process before the trip. Confirm that each traveler can upload, that there is enough space, and that the organizer can see the files. If service is weak, collect on the device first and upload when you have reliable Wi-Fi.
Track locations without making it complicated
A location turns a pleasant photo into a story point. Save the town, park, trailhead, lookout, or address only when it adds meaning. For a scenic stop, the nearest town may be enough. For a personal moment, use the real place only if everyone is comfortable sharing it.
Make one route log with six simple fields: day, place, what happened, best photo or clip, location saved, and follow-up. The follow-up can be “ask Alex for their photos” or “get a better photo tomorrow.” This keeps the collection useful while the memory is fresh.
For a group trip, ask each person to choose one “my stop” each week. They can add a photo, a short clip, and one sentence. That gives the final story more than one point of view. It also keeps one person from doing all the documenting.
Organize the route before you make the final recap
When you get home, do not start by sorting every file. Start with the route. List your major movement points in order, then choose one to three moments for each section. A Canada road trip video works best when the viewer can feel the change from one part of the journey to the next.
Use a simple story arc: departure, early rhythm, a change in landscape, a few personal highlights, and arrival. Your major stops can carry the structure. The smaller moments add personality. A rainy car lunch or a missed turn can belong beside a big mountain view because it explains what the trip felt like.
Choose only the media that moves the story forward. Keep the original files in storage, but make a short selects folder for the recap. Name each choice with the day and location. This makes it easier to see gaps before you begin arranging the final piece.
30-Day Media Collection Planner
Copy this planner into a note, spreadsheet, or shared folder. Use the “best item” column to flag one photo or clip that deserves a place in the final recap. The rows are grouped by travel phase so you can adapt them to your own route.
| Days | Route focus | Capture | Save | Location | Best item |
|---|---|---|---|---|---|
| Days 1-3 | Departure and first rhythm | One start photo, one 10-second road clip, one voice note | Create Day 01, Day 02, and Day 03 folders | Save the overnight town or start point | Choose one image that feels like the beginning |
| Days 4-7 | First long stretch | Wide scene, people moment, small detail | Remove duplicates and upload on Wi-Fi | Add major stop or trailhead | Flag one clip with clear sound |
| Days 8-10 | Rest and reset | Laundry, meal, campsite, or quiet morning | Check storage space and backup status | Save the rest-stop town if meaningful | Keep one ordinary moment |
| Days 11-14 | Northern Ontario section | Road, lake, roadside, and group photo | Add a one-sentence daily note | Save town, park, or viewpoint | Pick one item that shows scale |
| Days 15-18 | Prairies section | Big sky, straight road, local stop, short wind clip | Ask each traveler for one favorite | Save the main town for the day | Choose one wide image |
| Days 19-22 | Banff and Rockies section | Arrival clip, trail or lookout, people reaction | Make a small selects folder | Save the exact meaningful stop | Choose one photo and one quiet clip |
| Days 23-26 | Flexible side trips | One planned stop and one surprise | Fill gaps in the route log | Use a town or broad area for privacy | Keep the unexpected moment |
| Days 27-29 | Final approach | Last long drive, shared meal, arrival detail | Confirm all devices have copied files | Save the final overnight stops | Choose an arrival image |
| Day 30 | Arrival and recap note | Final group photo or short reflection | Back up the selects folder | Save the destination | Write one closing sentence |
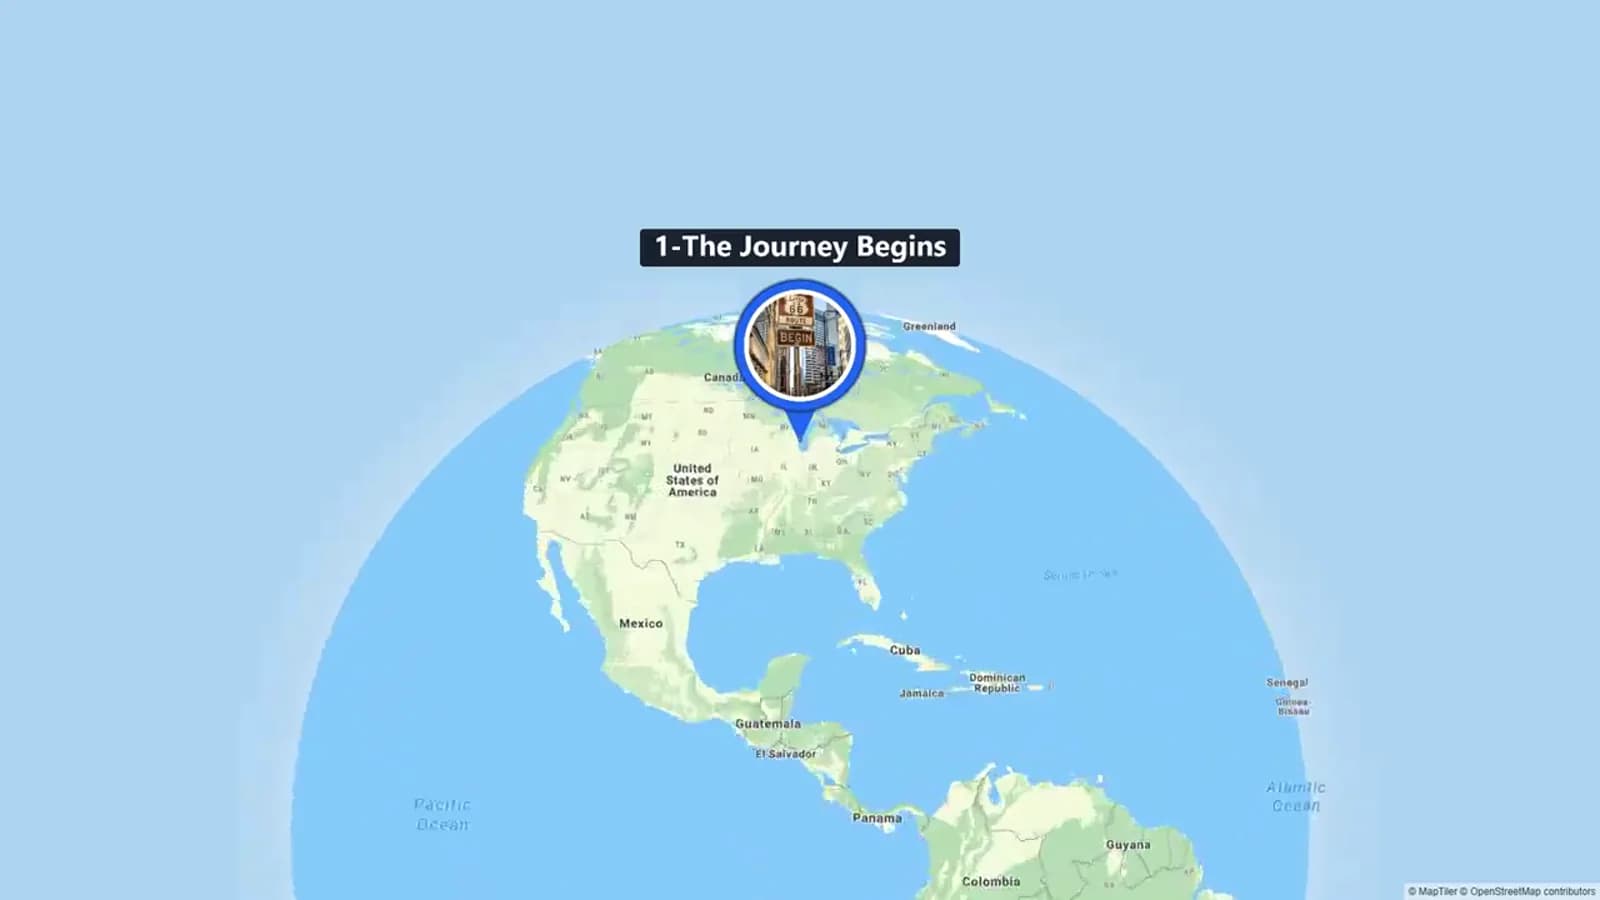
| After the trip | Route recap | Choose one to three moments per route section | Keep originals separate from selects | Put major stops in journey order | Build the final map-led story |
Copy-ready examples
Use these examples as written, then replace the names and places with your own details. They work for a shared folder message and for short daily notes.
Sources and verification
Last verified: 2026-08-09. This article gives a media-planning framework, not live route advice. Travel conditions, ferry schedules, park access, reservations, permits, weather, road closures, and wildfire information can change. Check official sources for the exact places and dates in your plan.
Examples You Can Copy
Shared folder message
Hi everyone. I made one folder for our trip. Each evening, please add up to five favorites from the day: a wide photo, a people photo, one short clip, and any photo that tells a funny or unexpected story. Please name anything important with the day and place if you can.
Daily route note
Day 16 — Across the Prairies. Best moment: the sky changed every ten minutes. Save: one wide roadside photo, one 10-second wind clip, and the gas-station snack photo. Location: nearest town. Follow-up: ask Mia for the sunset photo.
Final recap closing card
Thirty days, many roads, and more small moments than we could fit in one video. Thanks for making the miles feel like the best part.
Final Thoughts
A month on the road will create more media than you need. That is normal. Your job is to give the good moments a home while they are still easy to find. Plan the route with room to rest, keep a short daily routine, save locations that matter, and choose a small set of items that tell the trip clearly. Then you can turn the miles, people, and places into a recap worth replaying.
Helpful answers
Frequently asked questions
Is 30 days enough for a cross-Canada road trip?
It can be enough for a substantial route, but it is not enough to see every part of Canada at a relaxed pace. Choose a start and finish that fit the time you have, leave room for rest days, and treat your route as flexible. Check current official travel information for every region you plan to visit.
How many photos and videos should I take each day?
Aim for a small, useful set: three to five photos, one short clip, one location, and one sentence about the day. This gives you enough variety for a recap without creating a large sorting job each night.
What is the easiest way to organize photos from a month-long trip?
Create one folder per day, use the same naming pattern, and make a daily note with the place and one memorable detail. Add your best items to a separate selects folder after the trip. Keep original files in a different storage location.
Should I track every location on my trip?
No. Save locations that make the story clearer, such as an overnight town, a major park, a lookout, or a meaningful meeting place. Use broad locations when privacy matters.
How can a group make one Canada road trip video?
Ask each traveler to contribute one favorite photo or short clip each week, plus a sentence about a stop. Put the entries in route order. AlbumMap can then combine selected photos, clips, messages, and locations into a map-led recap.