Introduction
You do not need a spinning globe to explain a journey. A fixed map, two clear labels, and one moving marker can be enough.
A useful way to animate a map in Canva is to treat it as a short graphic sequence: introduce the starting place, move a marker toward the destination, and finish with a photo or message. The map stays still so the movement is easy to follow.
This tutorial describes a simple 2D workflow, not automatic road routing. It is best for a broad itinerary, a classroom introduction, or a short personal travel story. When the project needs several people's photos and messages connected to locations, a memory-focused map video may be a better starting point.
Decide what the animation will actually show
Before opening the editor, finish this sentence: “The marker moves from to to explain ___.”
For example: “The marker moves from our home region to the place we studied to explain where the semester began.” That sentence gives the animation a job. It also tells you which labels and photos are necessary.
Keep the first attempt to one journey with two endpoints. A complicated itinerary can be split into several scenes later. It is easier to refine one clear movement than to repair an entire map full of conflicting animations.
Prepare a map you are allowed to use
Use your own map illustration, a properly licensed map image, or an appropriate public-domain source. Natural Earth states that its raster and vector map data are in the public domain. Choose a suitable ready-rendered image or prepare the data in a mapping tool; not every downloadable dataset is an image ready for a design editor.
For a city-to-city overview, a broad regional map may be enough. For a walking route, that scale would be too coarse. Match the background to the question instead of choosing the most decorative graphic.
Do not trace arbitrary roads from memory and present the result as navigation. Label an approximate line as an illustrative route when that distinction matters.
Keep any required map credit visible. Using a map inside another design tool does not remove the original provider's conditions.
Build the still composition first
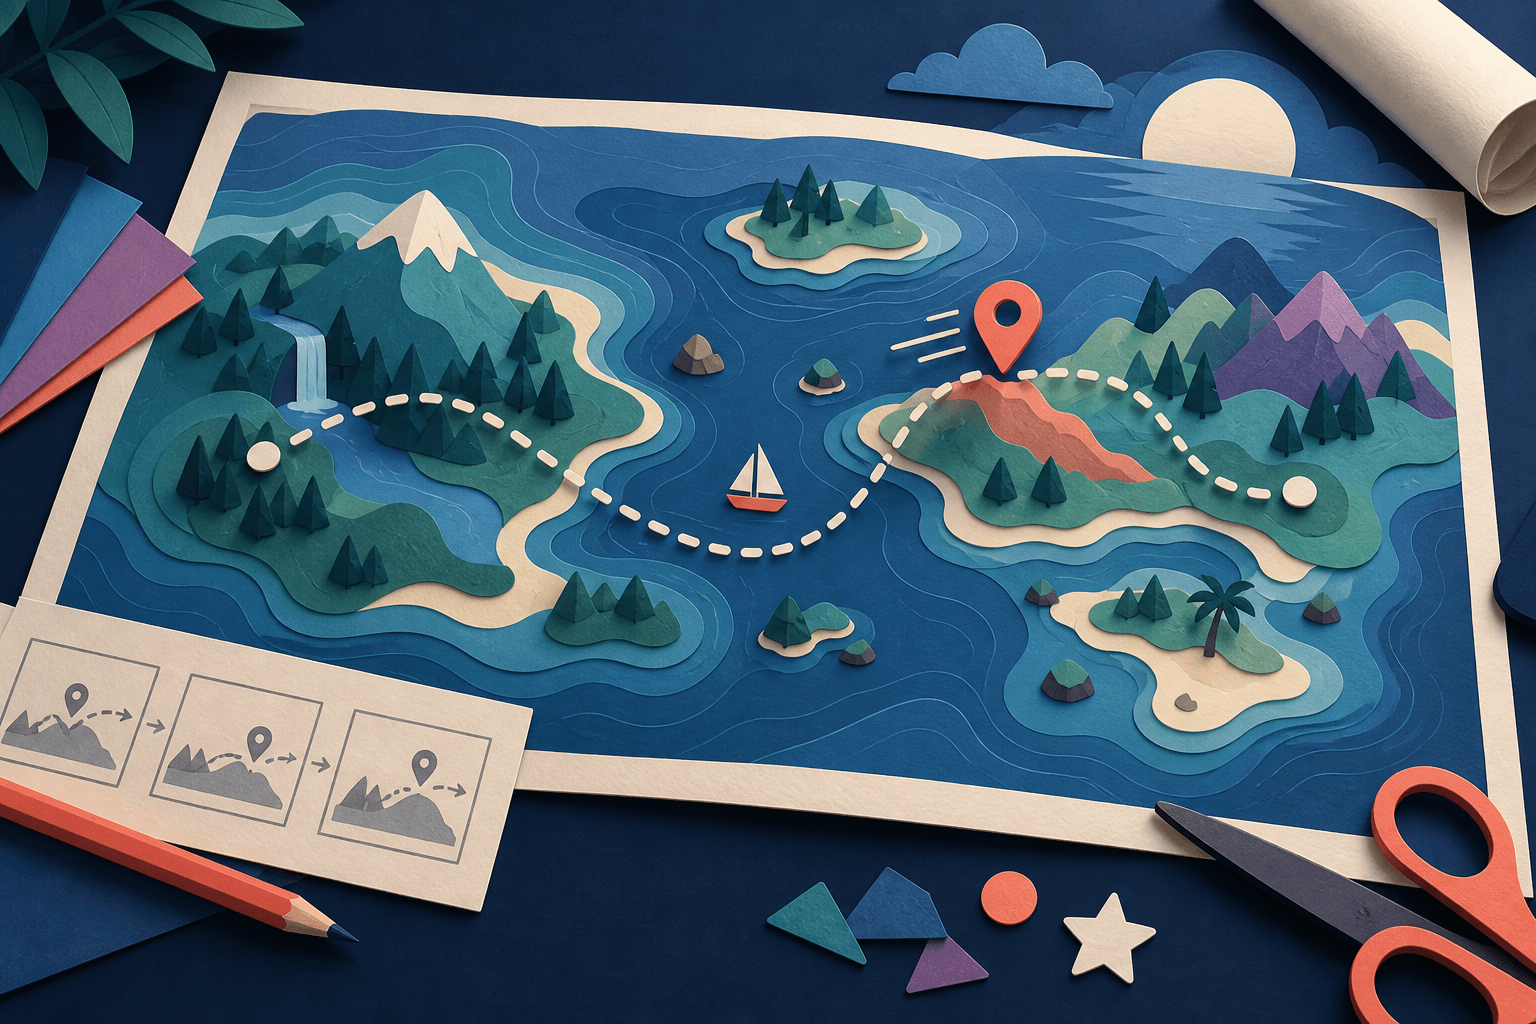
Arrange the complete scene before adding animation. Place the map in the background, give each endpoint a short label, and position the marker at the start.
Choose a marker with a clear centre, such as a small circle. A large decorative airplane can make it difficult to see which point on the image represents the location. Save the vehicle illustration for a later version after the basic movement works.
Leave a clear space for a short title. Avoid placing the destination name under the marker's final position. The viewer should not have to wait for the icon to move away to learn where it arrived.
Take a moment to look at the still scene at phone size. If the labels are already difficult to read, motion will not solve the problem.
Create the moving-marker animation
Canva's official animation instructions describe selecting an element, opening Animate, choosing Create an Animation, and dragging the element to define its movement. Save the animation after adjusting the available movement controls. Interface details can vary by editor version and device.
Apply that feature to the marker, not to the whole map. Drag it along a simple path toward the destination. Preview the movement before adding extra effects.
The path you draw controls the element's motion. It is not, by itself, a visible line left behind on the map. For a straightforward result, use a separate static route line and animate the marker along it. Do not assume a moving object automatically creates a progressively drawn route.
A marker that wiggles during the trip can look like a mistake. Redraw a simpler motion rather than trying to disguise it with another animation.
Give each scene one job
For a first version, use three scenes. The timings below are an example storyboard, not a platform requirement or a claim about ideal engagement.
| Scene | Suggested time | What the viewer sees | Job of the scene |
|---|---|---|---|
| Set the context | 0–3 seconds | Still map and starting-point label | Establish where the story begins |
| Show the move | 3–9 seconds | Marker travels to the destination | Explain the geographic change |
| Show the meaning | 9–15 seconds | Destination photo and one sentence | Explain why the place matters |
The map does not need to remain visible through every photograph. A clean cut from arrival to a personal image can feel more direct than placing many small photos over the route.
Write the final sentence before choosing music. “The place where I learned to live on my own” gives you an emotional direction. “Trip recap” only describes the file.
Add more stops without creating visual clutter
Once the two-point version works, add a middle stop only when it changes the story. That could be a transfer that became an adventure, a friend's town, or a place where plans changed.
Give the added stop its own brief arrival. Use the same label treatment and marker size. Avoid introducing a new colour, transition, and icon at every destination.
When the route becomes too crowded, split the journey into chapters. Start each chapter with a familiar region or title so the viewer can reconnect it to the wider trip. For more planning guidance, see how to animate a route on a map.
Preview the final file, not only the editor
Use the editor's current download options for a video output and check the selected scenes before exporting. Verify any plan or asset restrictions shown in your account rather than assuming every element is included.
Watch the saved video from the first frame. The animation should play without the viewer clicking through presentation steps. Check that the marker starts in the right place and the destination has enough time on screen to be understood.
Listen once with headphones and once with the sound off. The map should still explain the basic journey without relying entirely on music or narration.
Common problems and simple fixes
The marker hides the destination. Move the label to the side and reduce the marker size.
The route looks more precise than it is. Add a brief “illustrative route” note or switch to a simpler connector line.
The whole map moves unexpectedly. Check which element received the animation. Keep only the intended marker moving in the first version.
The video feels busy. Remove one layer of information. A route, several photos, a title, and multiple moving icons rarely need to appear together.
Make one clear journey first
A readable animation is more useful than a complicated one that needs explaining. Start with two points, a moving marker, and one destination photo. Add detail only when it makes the story clearer.
For a larger collection of travel memories, bring the places and media together with AlbumMap.
Helpful answers
Frequently asked questions
Can Canva animate an exact driving route automatically?
This tutorial does not use an automatic routing feature. It animates a marker over a supplied map. For a route that needs to follow recorded or calculated geometry, choose a route-aware workflow and verify its output.
Can I create a route line that draws itself?
A custom marker animation is not the same as a progressively revealed stroke. A static route line is the simplest companion to this workflow. For detailed line-reveal control, explore a dedicated route tool or an editor with path-reveal features.
Should the map move while the marker moves?
For a beginner version, keep the map still. Add camera movement only after the journey is understandable without it. Two moving elements can make a simple route harder to follow.
When should I use AlbumMap instead?
Consider AlbumMap when the project is built around photos, videos, messages, and meaningful locations rather than one custom graphic. Start with the travel video workflow and review the current plans for the output you need.