Introduction
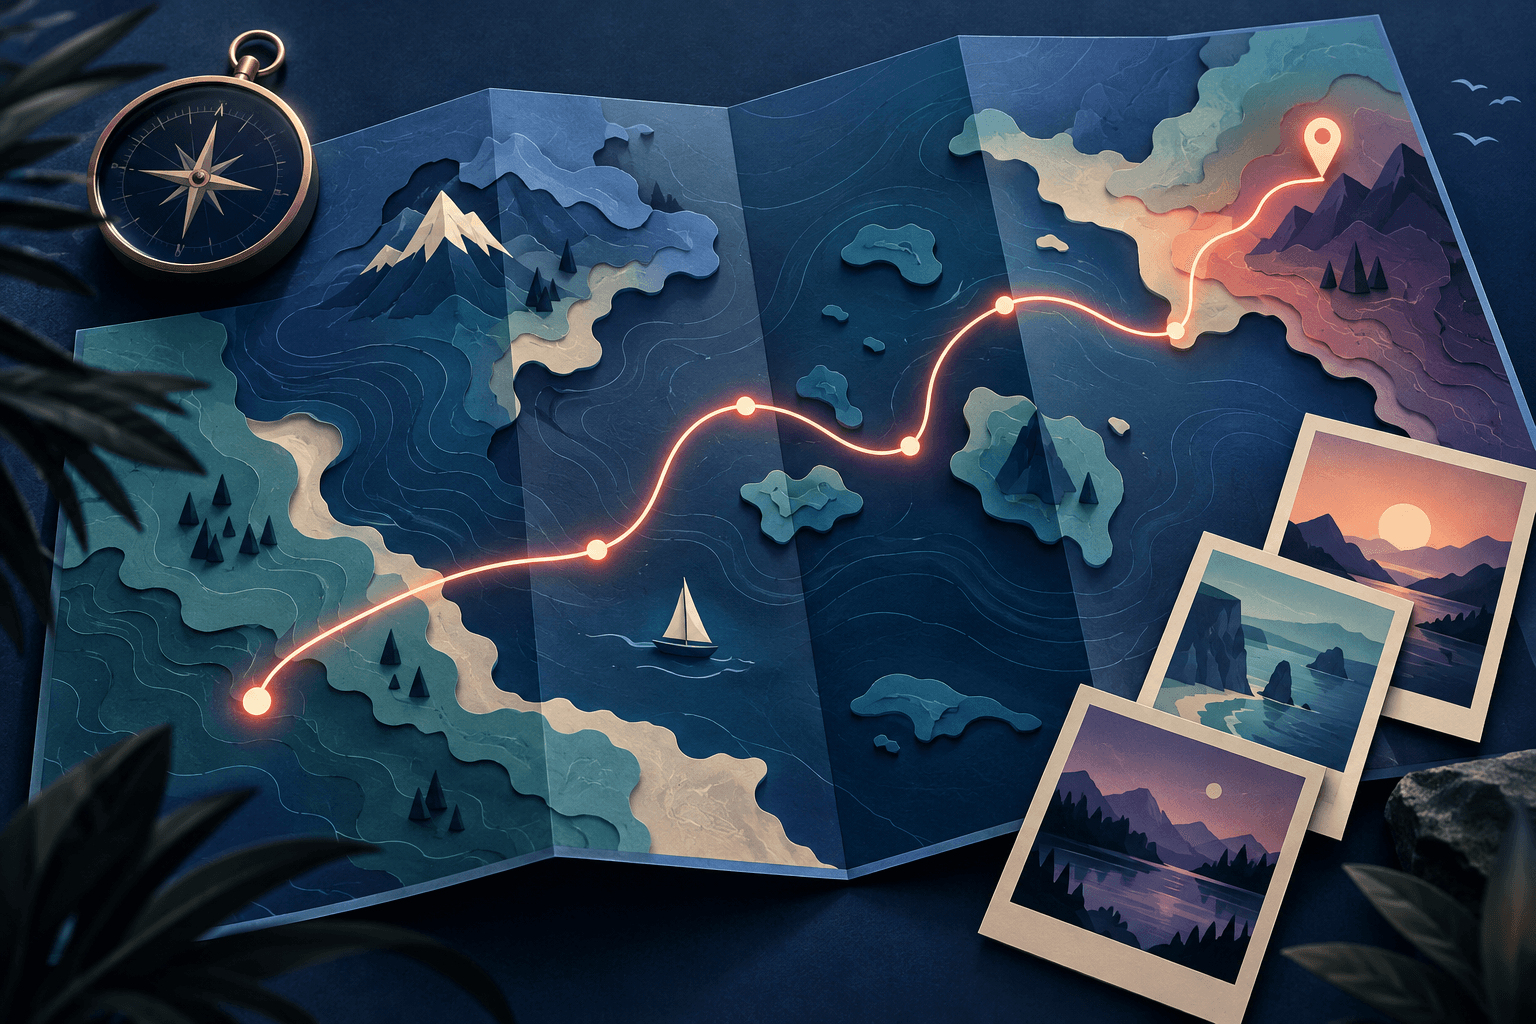
A route line that draws itself across a map can give a travel video a clear sense of progress. The viewer sees where the journey starts, follows one leg, and arrives at the next chapter.
In After Effects, a useful approach is to draw the route as a shape path and animate its visible length with Trim Paths. Adobe documents this type of line reveal in its shape-animation tutorial.
This guide builds on that technique for a three-stop map. It is a documentation-based workflow for a custom edit, not a claim that After Effects automatically calculates roads, imports your itinerary, or identifies the places in your photos.
Decide whether you need a custom route graphic
Choose this method when the visual treatment matters: perhaps your film needs a particular line style, carefully timed labels, or a map that matches the rest of the design.
A dedicated travel-map app may be a more practical starting point when you mainly need to enter locations and produce a route. A memory-focused tool is a different option when the main work is organizing personal media. AlbumMap's travel video maker is designed around that kind of place-based story.
For this tutorial, the goal is narrower: a route that reveals itself on a fixed map, pauses at a meaningful stop, and continues.
Prepare a small storyboard
Do not start by tracing every bend in a long journey. Choose the points the audience actually needs to remember.
For an illustrative weekend film, use three chapters: departure, the main stop, and arrival. Write the purpose of each chapter before creating any keyframes.
| Chapter | Map action | Supporting content |
|---|---|---|
| Departure | Show the first label and begin the line | A short opening title |
| Main stop | Finish the first leg and pause | One photo and a specific memory |
| Arrival | Reveal the second leg | A final clip or closing sentence |
These are invented production examples, not a real trip or a claim about travel time. A simplified route should be labelled as illustrative when it could otherwise be mistaken for an exact road or flight path.
Prepare the map background
Use a map image you made or have permission to use. Natural Earth provides public-domain map data and raster products; choose an appropriate asset or prepare a rendered map image from the data.
Set the composition shape around the intended output. For a wide film, give the route horizontal space. For a vertical film, consider whether separate regional scenes will explain the journey more clearly than squeezing everything into one narrow frame.
Keep the background still for the first version. Combining a camera move with a route reveal creates an extra alignment problem you do not need to solve yet.
Name the layers clearly, such as “Map,” “Leg 1,” “Leg 2,” and “Stop labels.” These names are organizational suggestions rather than required software labels.
Draw the first leg as an open shape
Create a shape layer for the route. Use the Pen tool to draw an open path, with no fill and a visible stroke. Adobe's shape-creation documentation explains the drawing tools. Its write-on tutorial also demonstrates starting with Layer → New → Shape Layer.
Draw only the first leg initially. Use enough points to express the route, but not so many that every small adjustment becomes difficult. A clean schematic curve is often more appropriate than a wobbly attempt to imply street-level accuracy.
Check the start and end before animating. A beautifully moving line that lands beside the wrong label is still a confusing map.
Reveal the stroke with Trim Paths
In the shape layer's contents, add Trim Paths. Place an End keyframe at 0% at the beginning of the reveal, then another at 100% where the leg should finish. Leave the Start value at zero for a line that stays visible after it is drawn. The Adobe line-animation tutorial demonstrates this basic reveal.
Preview that one action before adding anything else. The route should appear in the intended direction and finish at the correct stop.
If the result is unexpected, inspect the shape hierarchy. Adobe's path-operation reference explains that Trim Paths affects relevant paths above it in the same group. A misplaced operator can affect different paths than you intended.
Make the stop feel like an arrival
Do not reveal the next leg immediately just because it is ready. Let the audience register the stop.
For a sample twelve-second animation, try two seconds of introduction, three seconds for the first leg, two seconds at the middle stop, three seconds for the second leg, and two seconds at the destination. These timings are a starting storyboard, not a universal recommendation.
During the middle pause, add one useful detail. “The cafe where we waited out the rain” gives the stop meaning. A long list of restaurant names, dates, and captions is more than the map needs to carry at once.
Place the second leg on its own shape layer or in a clearly separated group so you can organize its timing independently. Keeping the layers understandable matters more than making the project look sophisticated.
Keep labels stable and readable
Treat place labels as anchors. The route can move while the text remains easy to find.
Start with only the labels needed for the current chapter. Introduce the next destination when it becomes relevant instead of showing every name at the opening.
Use a simple hierarchy: place name first, optional date or memory second. Test the smallest viewing size you expect. The composition may look clear on an editing monitor while the same words become difficult to read on a phone.
A useful self-check is to mute the video and watch it once. You should still understand the order of the main stops.
Add an optional marker only when it helps
A route line and a moving vehicle are separate animation tasks. Trim Paths reveals the stroke; it does not, by itself, attach a plane or car to the leading edge.
The line alone is enough for this workflow. A stationary arrival pin can make the destination clear without introducing a second movement to synchronize.
When adding a travelling icon, test the setup on one short section first. Check that the marker follows the same geometry and timing as the reveal. A drifting vehicle can make the finished map look less convincing than a simple line.
Solve the most common editing problems
The route is invisible. Check the layer visibility, stroke, and the Trim Paths values at the current frame. A completed setup can still show nothing when End is at zero.
Several legs reveal together. Inspect the groups affected by the operator. Separate legs when the story requires independent timing.
The route jumps away from the map. Review any transformations applied to the background or route after you drew it. Return to the fixed-map version to isolate the mismatch.
The film feels like a software demonstration. Remove effects that do not help explain a stop or transition. The audience needs the journey, not proof of how many controls you used.
Save an editable copy and review a short test output before integrating the animation into the final film. Verify the rendered result rather than relying only on the preview.
Build the simplest version that tells the journey
Start with one map, one line, and one arrival. Once those work, expand the sequence without losing the original clarity.
For a broader place-and-memory workflow, explore AlbumMap, or read how to animate a route on a map before choosing the editing method.
Helpful answers
Frequently asked questions
Does Trim Paths find the correct road route?
No. This workflow reveals a path you draw. Use trustworthy geographic information for a factual route, or make clear that the graphic is schematic.
Do I need a moving plane or car?
No. A line, readable labels, and an arrival pause can explain the journey. Add a vehicle only when it contributes something useful.
Can I connect several route sections?
Yes. Organize the legs so their reveal timings are clear. The important editorial decision is where the viewer should pause, not how many segments the project contains.
What belongs between map sections?
Use the photograph, clip, or sentence that explains why each stop mattered. The map provides structure; personal material supplies the story.