Introduction
A study abroad recap video does not have to be a fast list of countries, landmarks, and weekend trips. It can follow the places that gradually became part of your life.
The stop where you first felt lost. The classroom where you started speaking up. The shop you returned to every week. The place where a group photo stopped feeling like a photo of strangers.
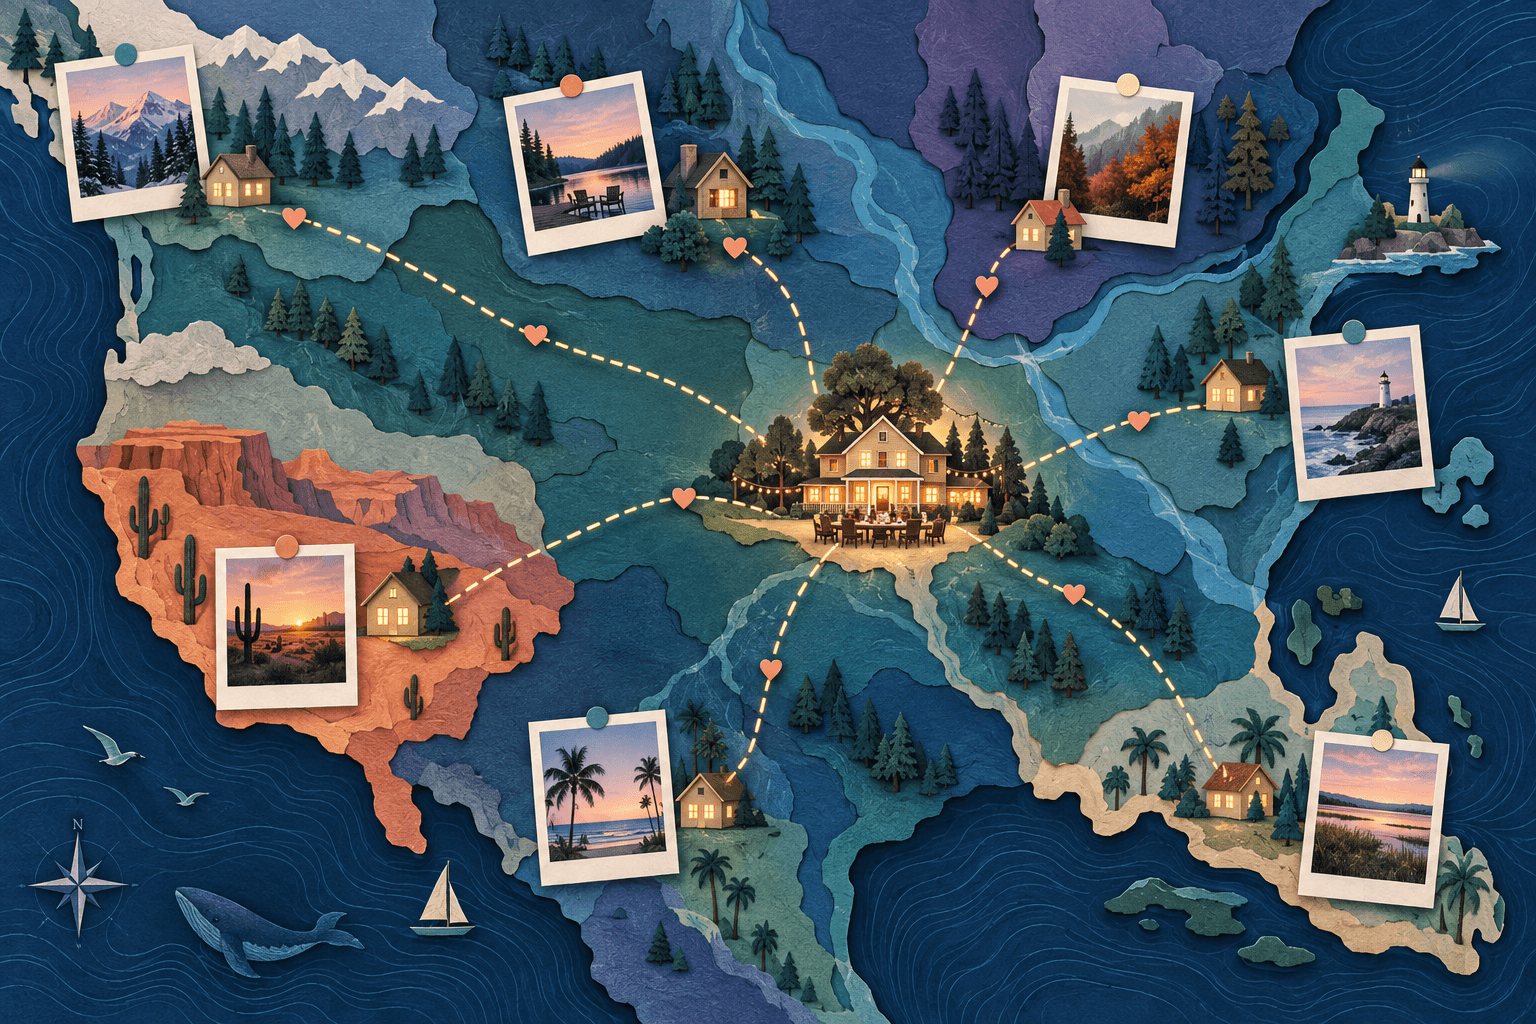
A map can connect those moments without making the whole film about distance. Use it to show how unfamiliar locations became meaningful, then let the photos, voices, and small details tell the rest.
Choose one sentence for the whole film
Before sorting hundreds of files, decide what the recap is about.
Try a sentence such as “These are the places that made a new city feel familiar,” or “This semester taught me how much can change outside the classroom.” You are not choosing a slogan. You are giving yourself a reason to include one scene and leave another out.
The sentence should allow ordinary moments into the film. A recap about confidence, friendship, or routine needs more than landmark photos.
When the story is mainly about the journey between destinations, a route-led structure may be more suitable. This animated travel-video guide explains that broader approach.
Build chapters from places, not just dates
A chronological edit is an option, but it is not the only way to organize a semester. A place-led structure can show what changed in your experience.
Consider five chapters: arriving, finding a routine, meeting people, trying something unfamiliar, and saying goodbye. Give each chapter a location and a memory that belongs there.
| Chapter | Possible place | The question to answer |
|---|---|---|
| Arrival | A station or public square | What did you notice first? |
| Routine | A campus area or familiar cafe | What became part of an ordinary week? |
| Friendship | A shared meeting place | When did people start feeling familiar? |
| Discovery | A new neighbourhood or day-trip stop | What changed your expectations? |
| Goodbye | A place you returned to at the end | What did it mean by then? |
These are prompts, not a required student experience. A semester in one neighbourhood can make a complete story.
Keep the everyday material
Do not delete an image simply because it is not beautiful. A crowded kitchen table, a notebook covered in corrections, or the view from a regular bus stop may carry the detail that distinguishes your recap from someone else's.
For each chapter, choose a small combination: one scene-setting image, one moment with people or action, and one sentence that adds information the photo cannot show.
For example:
“By the end of the month, this was the place we met without making a plan.”
That sentence explains a change. “Best memories with the best people” expresses affection but gives the viewer less to understand.
Use what you genuinely remember. Do not invent dialogue or imply that a photo captures a moment it did not.
Choose the scale of the map carefully
A world map may make sense for the opening, but it can be too broad for the part of the story that happens in one city. Match the scale to the chapter.
For a neighbourhood-focused film, use a few local places and make the relationships clear. For weekend trips, briefly widen the view before returning to the everyday setting.
Avoid connecting every place with a continuous travel line when that is not the route you took. A sequence of location cards can represent chapters without implying a precise itinerary.
You do not need exact residential pins to tell this story. General areas or public places can establish the setting while keeping private accommodation out of the final film.
Try a ninety-second story arc
Here is one original structure to adapt. Change the timing to fit your material rather than trying to fill every second.
| Time | Chapter | Main purpose |
|---|---|---|
| 0–10 seconds | Arrival | Establish what was unfamiliar. |
| 10–30 seconds | Routine | Show the places that became ordinary. |
| 30–50 seconds | People | Explain what made the experience shared. |
| 50–70 seconds | Discovery | Introduce one meaningful change or challenge. |
| 70–90 seconds | Return and goodbye | Revisit a place with a different perspective. |
A return to the opening location can create a satisfying ending. The map has not changed, but your relationship with the place has.
Do not treat the structure as a requirement to make the semester look transformational. A truthful account of smaller changes can be more convincing than a dramatic before-and-after story.
Invite friends to add one specific memory
A broad request for “all your photos” can create more sorting than storytelling. Ask for a small contribution tied to a place instead.
Try this message:
“I am making a short recap of our semester. Could you send one photo from a place that mattered to you and one sentence about why? Please send only something you are comfortable having in the finished video. I will share the draft with the people included before posting it.”
In a collaborative project, agree on the intended audience before collecting media. A file shared within a friendship group is not automatically permission to publish it publicly.
AlbumMap's FAQ describes collecting contributions through a shared invitation workflow. Check the current project controls and make the audience expectations clear in your own invitation.
Write a voiceover with room for the images
A voiceover should add context, not narrate every visible object. You do not need to say “this is a cafe” over a photo of a cafe. Explain what happened there.
Here is an original example opening:
“At first, I remembered this city as a list of places I needed to find. The classroom. The right stop. Somewhere to buy dinner. Then the same places started collecting different meanings. This was where we met after class. This was where I stopped checking the map. This was where an ordinary week began to feel like my own.”
Use only the parts that fit your experience. A quiet caption-led video can work equally well when voiceover would feel unnatural.
For speech, provide accurate captions or a text version. W3C's transcript guidance explains including important visual information as well as spoken content in a descriptive transcript.
Make different sharing versions when necessary
Consider a private version with longer conversations and a public version with fewer personal details. This is an editing choice; do not assume any one application's project settings automatically produce both.
Review names, school documents, student cards, private interiors, and other information visible in the background. Ask before including identifiable friends, roommates, or staff in a public post.
When choosing music, check that you have permission for the intended use and distribution. Keep an editable version so you can replace a track without rebuilding the entire story.
The public edit does not need to explain everything. Some memories can stay within the group that made them.
Build the map-led version in AlbumMap
AlbumMap supports placing personal media and messages into a location-based video story. Begin with the chapters you chose, add the relevant places, and organize the material around the meaning of each stop.
Preview the order before choosing decorative details. Make sure a weekend trip does not interrupt a chapter about daily life unless that contrast is intentional.
Any specially timed voiceover, alternate public cut, or extra caption treatment should be handled with the editing tools available in your actual workflow. Do not assume every production idea in this article is a built-in feature.
Remember the life between the highlights
The purpose is not to prove that the semester looked extraordinary every day. It is to preserve what made it yours.
Start a travel memory video with AlbumMap and begin with one place you can explain in a way that nobody else can.
Helpful answers
Frequently asked questions
Can I make a study abroad recap with mostly photos?
Yes. Pair each selected photo with a place and a specific memory. The story does not depend on having cinematic footage.
What can I show when I did not travel much?
Use everyday places, routines, friendships, and changes in confidence or familiarity. A list of countries is not required for a meaningful recap.
Should I use exact dates for every scene?
Only when dates help explain the story. A chapter such as “the first few weeks” may be enough, provided it accurately describes the material.
How should the video end?
Return to a place from the beginning and explain what it means now. A clear closing thought usually does more than another rapid montage.