How to Create a Memorial Photo Album and Slideshow
A memorial slideshow can help family and friends remember a life through familiar faces, places, and everyday moments. It may be shown at a funeral, played during a celebration of life, or kept as a private family tribute. A memorial photo album serves a different purpose. It can preserve the wider collection, including images that do not fit into the final presentation. You do not need complex effects or perfect photographs. You need a simple plan, a safe way to collect files, and enough time to review the result. This guide explains how to build both parts without making the project harder than it needs to be.
Understand the Two Parts of the Project
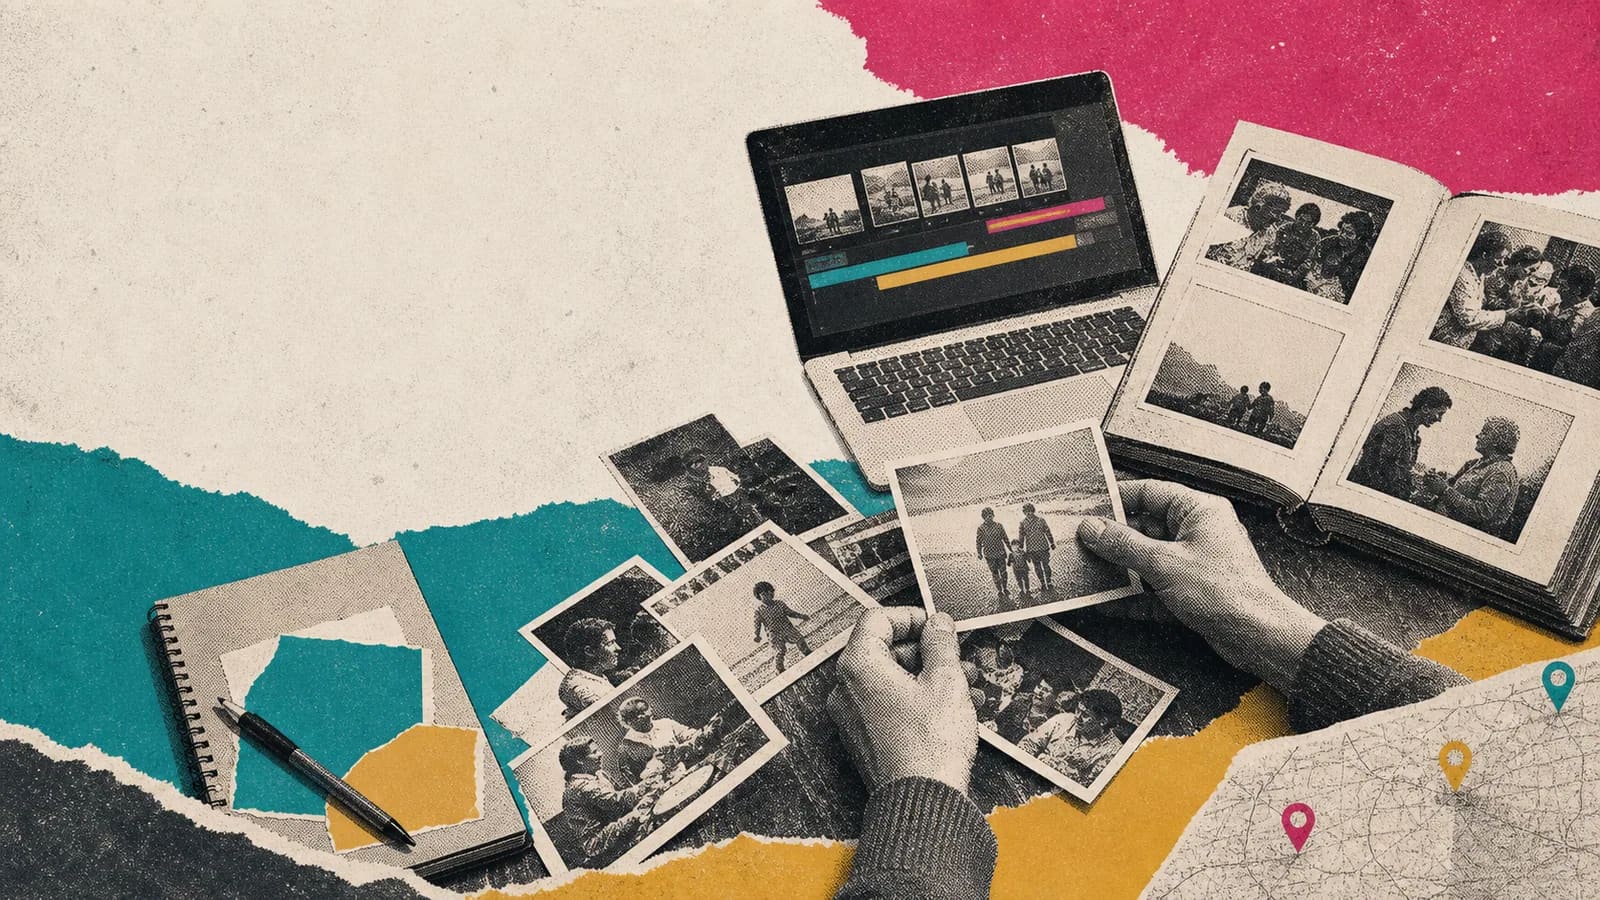
Think of the photo album as the full archive. It can hold portraits, candid pictures, scanned prints, captions, dates, stories, and extra images from contributors. Family members can return to it later without a strict time limit.
The slideshow is the shorter, edited version. It should contain the images that tell the clearest story for its audience and setting. A service presentation may need to be focused, while a private version can be longer.
Keeping these purposes separate makes selection easier. You do not have to reject a meaningful photograph because it is missing from the presentation. Save it in the album, then choose the strongest images for the screen.
Start With the Audience, Setting, and Deadline
Decide where people will see the tribute. It might play during a formal service, run quietly at a reception, or be shared through a private family link. The setting affects its length, tone, captions, and music.
Ask the venue how much time is available. Confirm the screen shape, accepted file type, sound system, and delivery deadline. Ask whether the presentation will require an internet connection.
Choose one organizer and one reviewer. The organizer collects and sorts the files. The reviewer checks names, dates, sensitive details, and the overall tone. A clear division of work can reduce stress.
Set an internal deadline before the venue’s deadline. Leave time to fix a misspelled name, replace a blurry image, or create a backup file.
Gather Photos and Stories From Other People
Start with close family, then invite friends, coworkers, neighbors, teammates, and community members when appropriate. These groups may hold images from parts of life the immediate family rarely saw.
Use one upload location if possible. Ask contributors not to send files across several texts, email threads, and social apps. A shared collection is easier to review and less likely to lose an important image.
Give people a small, clear task. Ask for three to five favorite photos rather than every file they own. Invite them to add the people shown, the year or life stage, the place, and one sentence about the moment.
Offer ways to help with printed photographs. A contributor can scan a print or take a careful phone photo in even light. Ask them to avoid glare, shadows, tilted angles, and cropped edges.
Tell contributors who will see the finished work. A private family album and a public online post have very different privacy needs. People should understand the audience before uploading personal material.
Build the Memorial Photo Album First
Create simple folders before sorting. You might use Childhood, Family, Friends, Work, Hobbies, Travel, Celebrations, and Everyday Life. A chronological folder system also works well.
Rename files when their original names provide no help. Include a short identifier, an approximate year, and a place or event when known. Keep uncertain details marked as uncertain instead of guessing.
Remove exact duplicates but keep the best copy. Compare sharpness, size, color, and cropping. Do not discard the only version of a meaningful picture because it has scratches or faded color.
Add short context while people still remember it. Record names, relationships, dates, locations, and the story behind unusual images. These notes can become captions and help future family members understand the album.
Keep an untouched copy of every original file. Make edits on separate copies so later users can return to the source image. Store the archive in at least two safe places.
Choose Photos That Show a Whole Person
Begin with essential images. Choose a clear portrait and photographs from several stages of life. Include relationships, interests, work, celebrations, travel, and quiet daily routines when they fit the person.
Candid photographs often carry details that formal portraits miss. A garden, kitchen, workshop, card table, favorite chair, or well-used recipe may reveal a familiar part of the person’s life.
Look for balance. Include different groups without making the tribute feel like a list of obligations. Do not measure a relationship by the number of times someone appears.
Avoid using too many similar pictures. Choose the clearest or most expressive version from a repeated series. Save the remaining images in the full album.
Check whether every image suits the intended audience. A funny picture can feel warm and true, but a private joke may require permission or context. When unsure, ask a close family member.
Create a Memorial Slideshow With a Clear Story
Choose one simple structure. A timeline can move from childhood through later years. A theme-based version can use chapters such as family, friendship, work, hobbies, travel, and home.
A place-based structure can follow a hometown, school, first home, workplace, family cottage, and favorite trip. Use this approach only when the locations help explain the life story.
Open with a strong image and the person’s name. Dates may be included if the family wants them. Keep the first title card simple so viewers can read it without effort.
Build the middle from short groups of related images. Let each chapter have a purpose. A few clear chapters are easier to follow than constant changes in style.
Close with an image, saying, place, or family message that feels complete. Hold the final frame for several seconds so the ending does not feel abrupt.
Set a Calm Pace and Use Simple Transitions
Give each photograph enough time to register. Five to seven seconds can be a useful starting point. A detailed group photo or longer caption may need more time.
Estimate the total length before editing every slide. Sixty photos shown for six seconds each already require about six minutes, before title cards or transitions are added.
Use plain fades or clean cuts. Busy spins, flashes, and decorative motion can distract from the photographs. One consistent transition is usually enough.
View the full sequence at normal speed. Remove repeated images and shorten any section that begins to feel slow. The full album can preserve material that does not fit the presentation.
Add Captions, Music, and Video Clips With Care
Captions should add needed context. A name, year, place, or brief detail is often enough. Use a large font, strong contrast, and the same style throughout.
Check every name and date with another person. Do not fill gaps by guessing. An approximate decade or life stage may be safer than an unsupported exact year.
Choose music connected to the person when possible. Review the lyrics and make sure the song suits the family and setting. Confirm the required rights before posting or streaming the finished work.
Keep music at a steady level. If you include a short home video or voice recording, lower the music so the speech remains clear. Captions can help guests who cannot hear the audio well.
Use short clips only when they add something a still image cannot. A familiar voice, laugh, gesture, or everyday scene can be powerful. Long clips may work better in the private family archive.
Use a Map-Based Story When Places Matter
Some lives are easy to understand through places. A map can connect a childhood town, school, workplace, family home, favorite park, and important journeys.
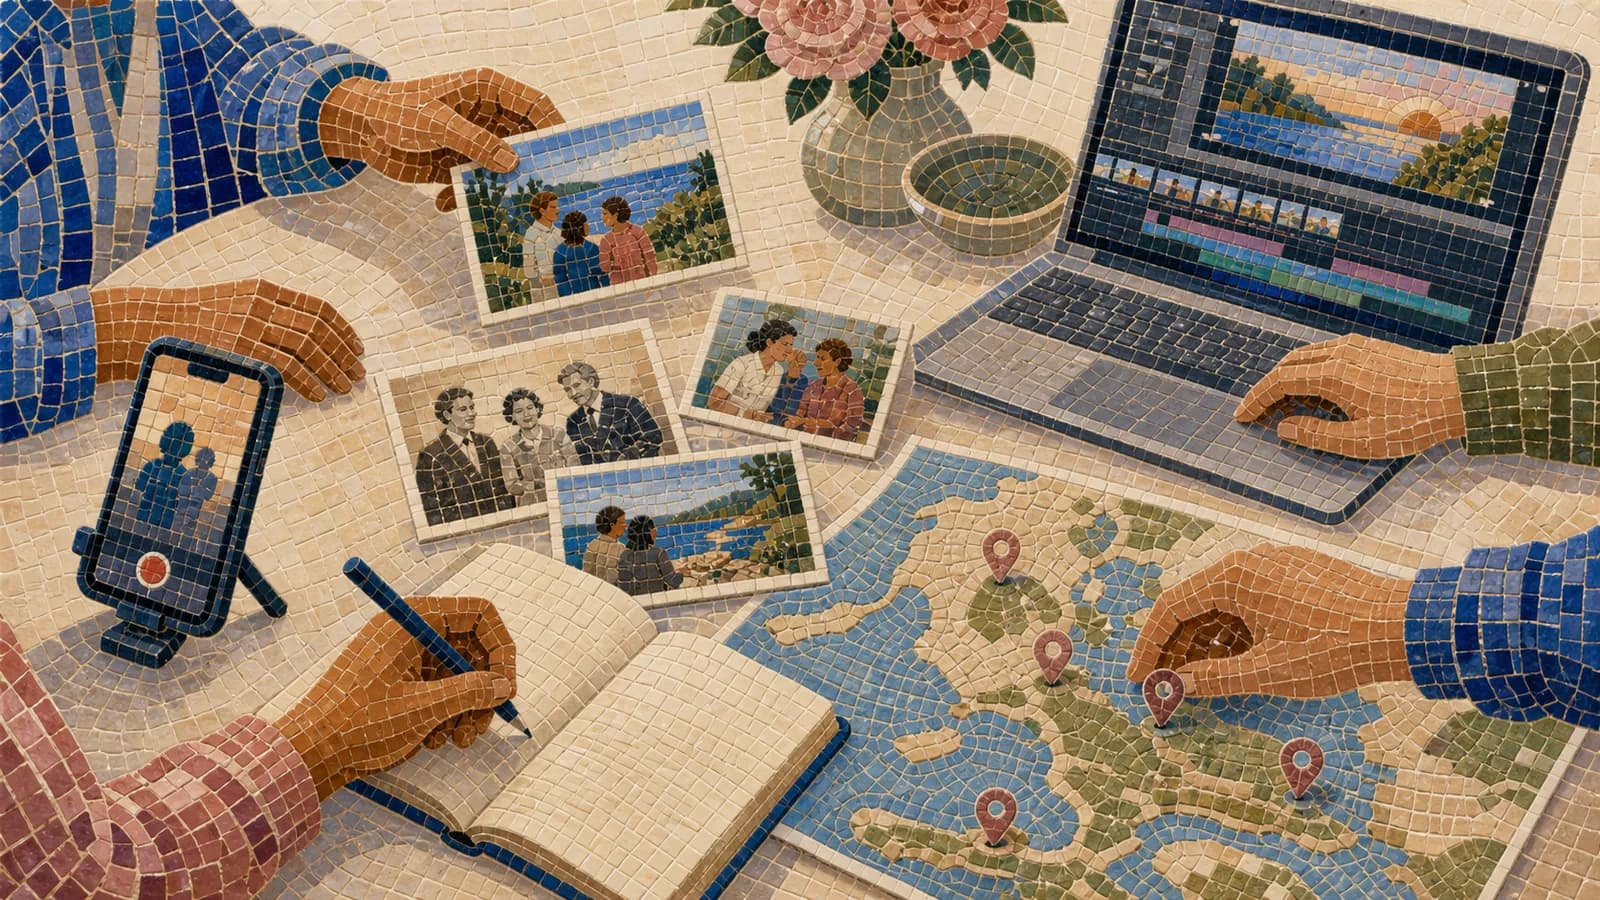
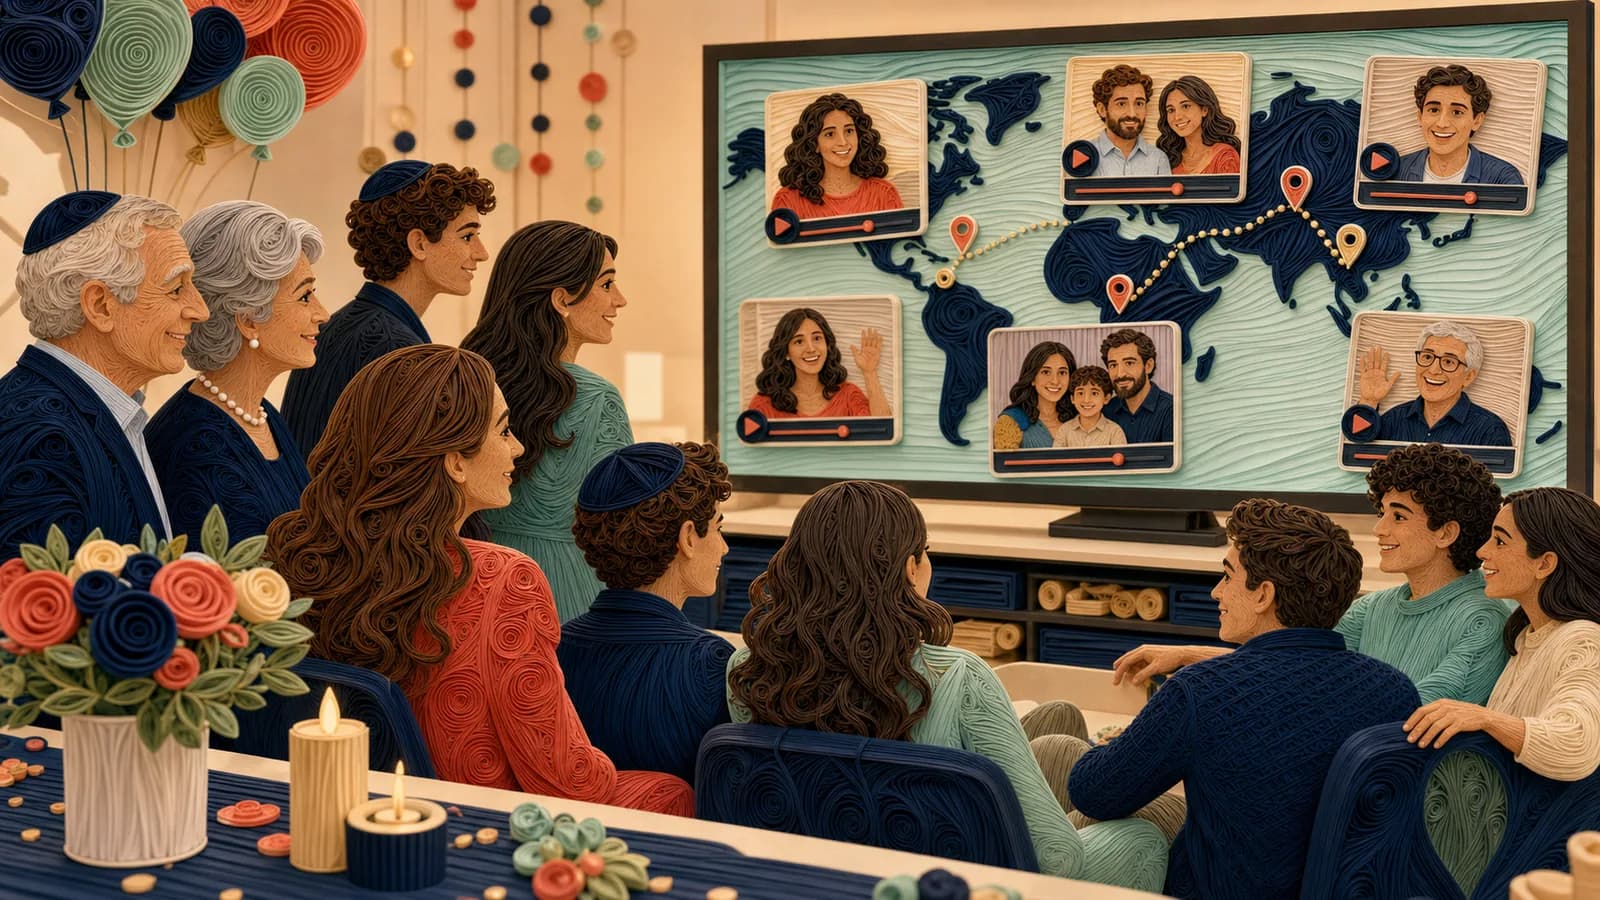
AlbumMap can help when several people have photos, short videos, written memories, and locations to contribute. Those pieces can become a map-based story that moves between meaningful places.
A location does not need to be an exact address. A town, neighborhood, campus, park, or general area may provide enough context while protecting privacy.
Do not force every image onto a map. Use places as chapter markers, then let the photos and stories carry the meaning. A standard slideshow may be better when geography is not important.
Review Consent, Privacy, and Family Wishes
Ask who may view, download, or share the album and presentation. Set access controls that match the family’s decision. Avoid assuming that every contributor wants their material posted publicly.
Get permission before using professional photographs, private messages, letters, social posts, or recordings owned by someone else. Online access does not mean an item is free to reuse.
Take extra care with children, medical details, home addresses, family conflict, and stories involving living people. Leave out a detail when its value does not outweigh the possible harm.
Ask a trusted family member to watch the finished version without interruptions. They should check accuracy, tone, privacy, sound, pacing, and whether an important part of the person’s life is missing.
Export, Test, and Preserve the Finished Tribute
Export the presentation in the file type requested by the venue. Give it a clear filename that includes the person’s name and the word final. Avoid making last-minute versions that are hard to identify.
Watch the exported file from beginning to end. Editing previews do not always reveal missing media, muted audio, cut captions, or timing problems.
Test the exact file on the venue’s screen and speakers. Bring a copy on a USB drive and keep another copy on a laptop or phone. Name the person responsible for starting playback.
Save the complete photo album separately from the presentation. Include the original files, edited copies, captions, contributor notes, and final export. Tell a second family member where the archive is stored.
Common Mistakes to Avoid
Do not try to place every submitted photograph in the presentation. A focused selection is easier to watch, while the album can hold the larger collection.
Do not leave collection open until the day of the service. A firm deadline creates time for sorting, review, export, and testing.
Do not use long captions or several decorative fonts. Viewers should be able to understand each slide quickly.
Do not depend on venue internet access. Keep an offline presentation and a tested backup.
Do not publish the family archive without clear approval. A tribute made for one room may not be suitable for a public website or social account.
Examples You Can Copy
Copy-ready request for photographs
We are creating a photo album and tribute slideshow for [Name]. Please send up to five photos by [date]. If you can, include the names of the people shown, an approximate year, the place, and one sentence about the memory. Upload them here: [link]. The finished tribute will be shared with [audience].
Copy-ready reminder
A gentle reminder that photos for [Name] are due on [date]. One meaningful picture is enough. Please add any names, dates, places, or short stories you know. You can upload it here: [link]. Thank you for helping us preserve these memories.
Copy-ready file naming pattern
[approximate year]-[life chapter]-[place or event]-[contributor]. Example: 1980s-family-summer-cottage-aunt-maria.jpg
Copy-ready photo caption
Summer at [Place], around [Year]. [Name] taught all of us how to [specific action or tradition].
Copy-ready opening card
Remembering [Full Name], [Year]–[Year]. A life shared through family, friendship, everyday joy, and the places that mattered.
Copy-ready closing card
Thank you for the care, laughter, and memories you gave us. Your story remains with everyone gathered here.
Copy-ready location prompt
Was this memory connected to a special place? Please add the town, school, park, workplace, home, or travel spot and one sentence about why it mattered. A general location is enough; please do not share a private address without permission.
Final Thoughts
A thoughtful photo album preserves more than one presentation can hold. The slideshow then gives the selected memories a clear shape for the people watching together. Start with a simple plan, invite specific contributions, and protect the family’s privacy. When places are an important part of the story, AlbumMap can connect shared photos, short videos, messages, and locations in one gentle journey.
Helpful answers
Frequently asked questions
- How long should a memorial slideshow be?
- Ask the service organizer how much time is available. A focused presentation often lasts about five to ten minutes. A background loop or private family version can be longer.
- How many photos should I include?
- Choose the total from the available time and pace. At about six seconds per image, 50 photos require roughly five minutes before title cards and transitions. Keep extra photographs in the complete album.
- What is the difference between a photo album and a tribute slideshow?
- The album is the larger archive. It can preserve extra images, captions, dates, and stories. The slideshow is a selected sequence designed for a specific audience and viewing time.
- Should the pictures be placed in chronological order?
- Chronological order is clear and familiar, but it is not required. You can organize the story by family, friends, work, hobbies, travel, or meaningful places.
- What music should I use for a funeral slideshow?
- Choose music that reflects the person and suits the setting. Check the lyrics, test the volume, and confirm the required permission or licence before public or online use.
- How can I collect printed family photographs?
- Ask contributors to scan each print or photograph it in soft, even light. Keep the phone level, avoid glare, and include the full edges. Save the original digital copy before editing.
- Can family members contribute without sending photos?
- Yes. They can provide a written memory, caption, voice recording, short video, scanned letter, or details about the people and places shown in an existing photograph.
- When does a map-based tribute make sense?
- It works well when places help explain the person’s story. Homes, schools, workplaces, parks, and travel locations can become chapters containing related photographs and memories.