Introduction
A destination zoom can answer a simple question before the travel footage begins: where are we going?
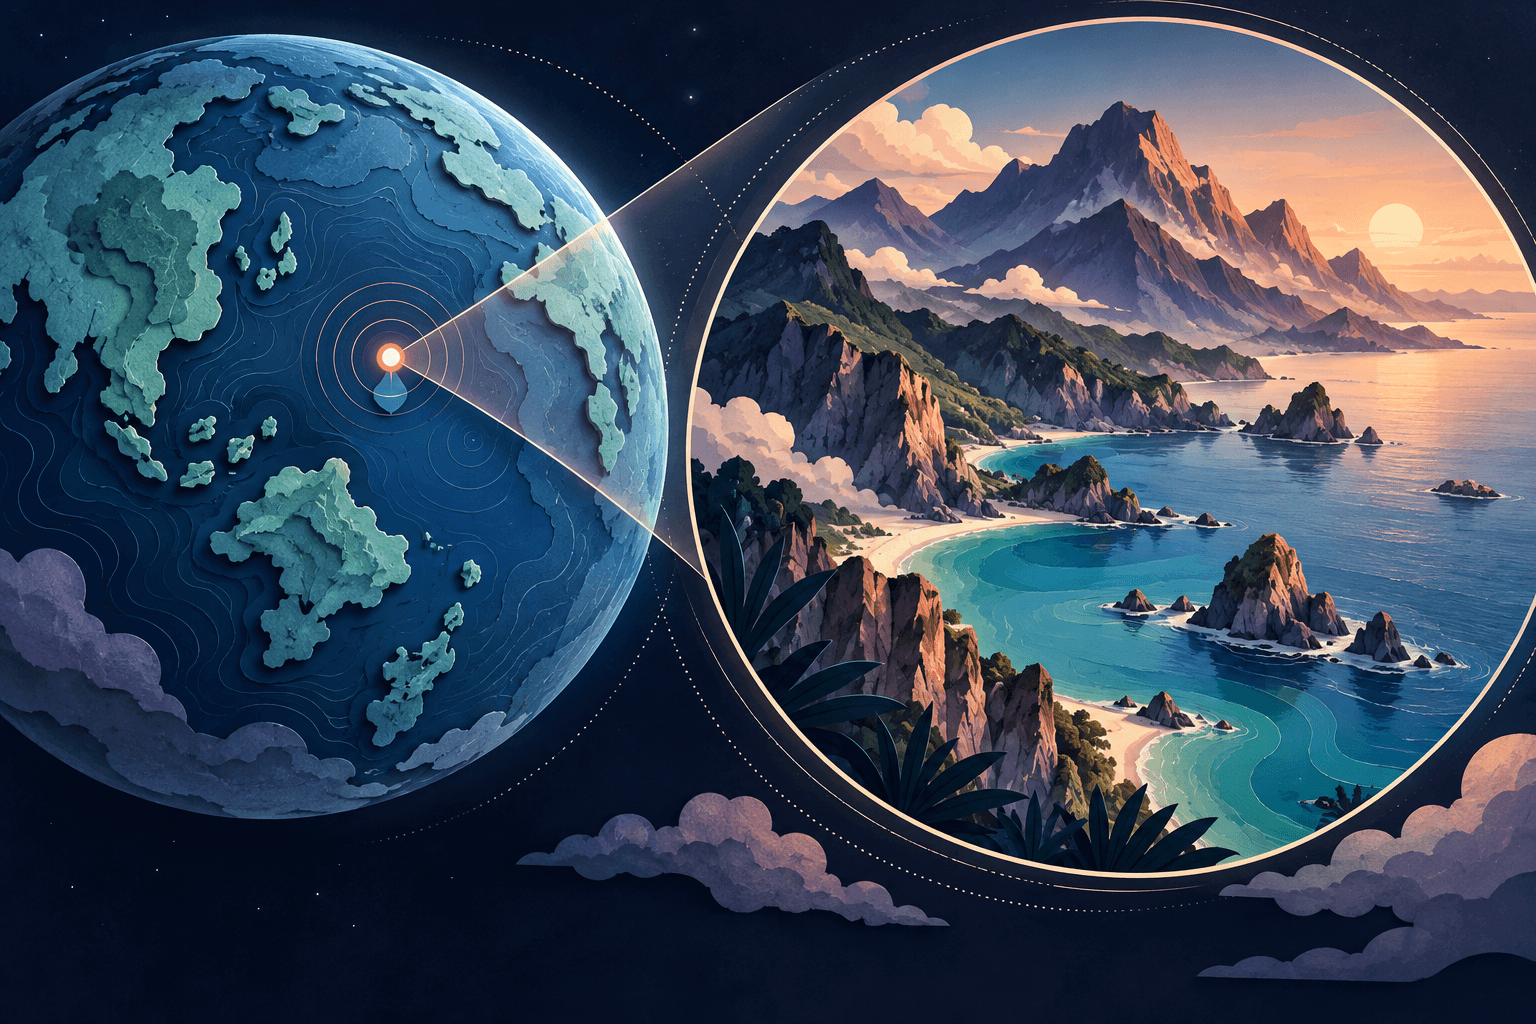
The map starts wide enough to give context, moves toward the destination, and settles before the next shot. The effect is useful when a place name alone would not help the audience understand the geography.
Google Earth Studio is a browser-based animation tool for Google Earth's satellite and 3D imagery. This guide explains a small, manageable project: one location, one camera move, and a clean handoff to your own footage. It follows Google's documentation rather than a hands-on benchmark.
Check whether the intended use is allowed
Read Google's current geographic-content guidelines before building the shot. Google prohibits using Earth and Earth Studio imagery for promotional films, advertisements, and other commercial or promotional purposes. Its guidelines separately permit specified educational, recreational, and other film uses, including some monetized online videos.
Do not assume that attribution makes an advertisement permissible. This tutorial is not a recommendation to use Earth imagery in an AlbumMap advertisement, a business promotion, or a website banner. For an uncertain use, review the applicable terms before investing in the edit.
Decide what the zoom needs to explain
Write a sentence that the shot should communicate. For example:
“Our story takes place in a coastal town, far from the city where the journey began.”
That sentence determines the opening view. A globe-level opening may be unnecessary when viewers already know the country. A regional view might establish the relationship more clearly and leave more time for the destination itself.
Prepare a short brief with a starting view, an ending view, the reason for the movement, and the next shot. A useful ending is not necessarily the closest possible view. Stop where the audience can still understand the setting.
For the rest of the film, use the broader planning approach in making a travel video with an animated map.
Start with the Zoom-To template
Google documents the template under File → New → Quick Start. Choose Zoom-To and follow the framing steps. The template moves from a higher-altitude view toward a point, using the camera framing you choose for the beginning and end. The resulting project remains editable. See the Quick Start documentation for the current controls.
Keep the first attempt simple. Choose one destination rather than combining an orbit, a globe spin, and a multi-stop tour. You can judge a single move more easily because there is only one main question: does the camera arrive somewhere meaningful?
Save that first project before experimenting with a more elaborate version.
Frame the beginning and end before adjusting the middle
Think of the first and last frames as two still images that must work on their own.
In the opening frame, the audience should be able to understand the broad area. In the closing frame, the destination should have enough surrounding context to feel like a place rather than an unexplained patch of rooftops.
Leave space for any title that will be added later. Avoid composing the shot around a label that covers the point you are introducing. Also reserve room for the required attribution rather than treating it as an obstacle to remove during editing.
One useful test is to look only at these two frames. When neither tells you anything useful without the movement between them, reconsider the framing.
Refine the camera with a small number of keyframes
A keyframe records an attribute at a particular time; Earth Studio creates the movement between keyed values. When manually changing the camera in the viewport, record the intended state with the keyframe controls. Google's keyframe guide explains the difference between changed and saved camera states.
Begin with the start and finish. Add another keyframe only to solve a specific problem, such as an awkward approach angle. Extra keyframes are not automatically extra polish; they can make the motion harder to understand.
As an editorial choice, let the arrival feel calmer than the approach. The viewer needs a moment to recognize the destination before you cut away. This is a storytelling suggestion, not a required Earth Studio setting.
Try this eight-second opening
The following timing is an example to adapt, not a platform requirement or a claim about ideal engagement.
| Time | Visual purpose | Editing note |
|---|---|---|
| 0–2 seconds | Establish the wider area | Keep any title brief. |
| 2–6 seconds | Approach the destination | Use one clear movement. |
| 6–8 seconds | Let the audience recognize the place | Hold before switching to personal footage. |
After the map, use a shot that makes the arrival feel intentional: a station entrance, the first street you walked down, or a view from the place where the story begins.
Avoid cutting immediately into several unrelated locations. That would undo the context the zoom just established.
Choose a render workflow before the final edit
Google's rendering documentation describes local image-sequence output. An image sequence is not yet a finished video file; import and encode it in a compatible editing application, using the intended frame rate.
Google also documents cloud video rendering and labels it experimental. Check its current availability in your account rather than assuming every project can use it. A local render and an encoding step may be necessary.
Render a short test before committing to the whole shot. Watch the exported result, not just the interactive preview. Look for missing frames, distracting motion, unexpected framing, and whether the end gives you enough time for the transition.
Keep attribution visible in the final version
Earth Studio's attribution documentation explains that credits include Google Earth and relevant imagery providers. The required provider text can vary with the imagery being shown.
Keep that attribution readable whenever the imagery appears. A vertical crop, title bar, or social-video overlay must not hide it. Check the delivered file after your final crop, not only the original render.
This is one reason to decide the target layout early. A shot composed for a wide frame may need to be rebuilt rather than aggressively cropped for a narrow one.
Fix common problems without adding more effects
The viewer cannot tell where the camera landed. End higher, add a clear destination title in the surrounding edit, or choose a next shot that establishes the setting.
The movement feels disorienting. Remove an unnecessary rotation and simplify the change in angle. Let location, not camera complexity, be the point.
The map takes over the film. Shorten the approach or use it only at the beginning of a new chapter. Not every photograph needs another zoom.
The shot looks polished but feels unrelated to the memory. Revisit the transition. The map should introduce the place where the next moment happened.
Make the destination lead into a story
A successful zoom does not need to be spectacular. It needs to make the next scene easier to understand.
For a separate workflow built around your photos, clips, and meaningful places, explore AlbumMap's travel video maker. Choose the approach around the finished story and the permissions attached to the material you use.
Helpful answers
Frequently asked questions
Is a camera zoom the same as a route animation?
No. A camera zoom changes the view of a location. A route animation shows movement along a journey. Choose based on the information the audience needs.
Can this workflow automatically turn photos into a memory film?
This tutorial covers the map shot, not photo collection or an assembled memory video. Build the surrounding story separately using your chosen editor or a memory-video workflow.
Can the map credits be moved to the end of the film?
Do not treat an end-credit slide as a replacement for the attribution required while the imagery is visible. Follow Google's current attribution instructions.
What should come after the zoom?
A personal detail: the first meal, a familiar face, or the scene that made the destination matter. The map explains where; the next moment explains why the audience should care.