Introduction
A map animation in PowerPoint can explain a journey without turning the presentation into a full video-editing project. Keep a map fixed, move a small marker between locations, and reveal the supporting information when it is needed.
This workflow is useful for a school presentation, a team travel recap, or a short personal explanation. The example below uses desktop PowerPoint on Windows. Controls and export choices can differ on Mac and in the web version, so check the documentation for the version you use.
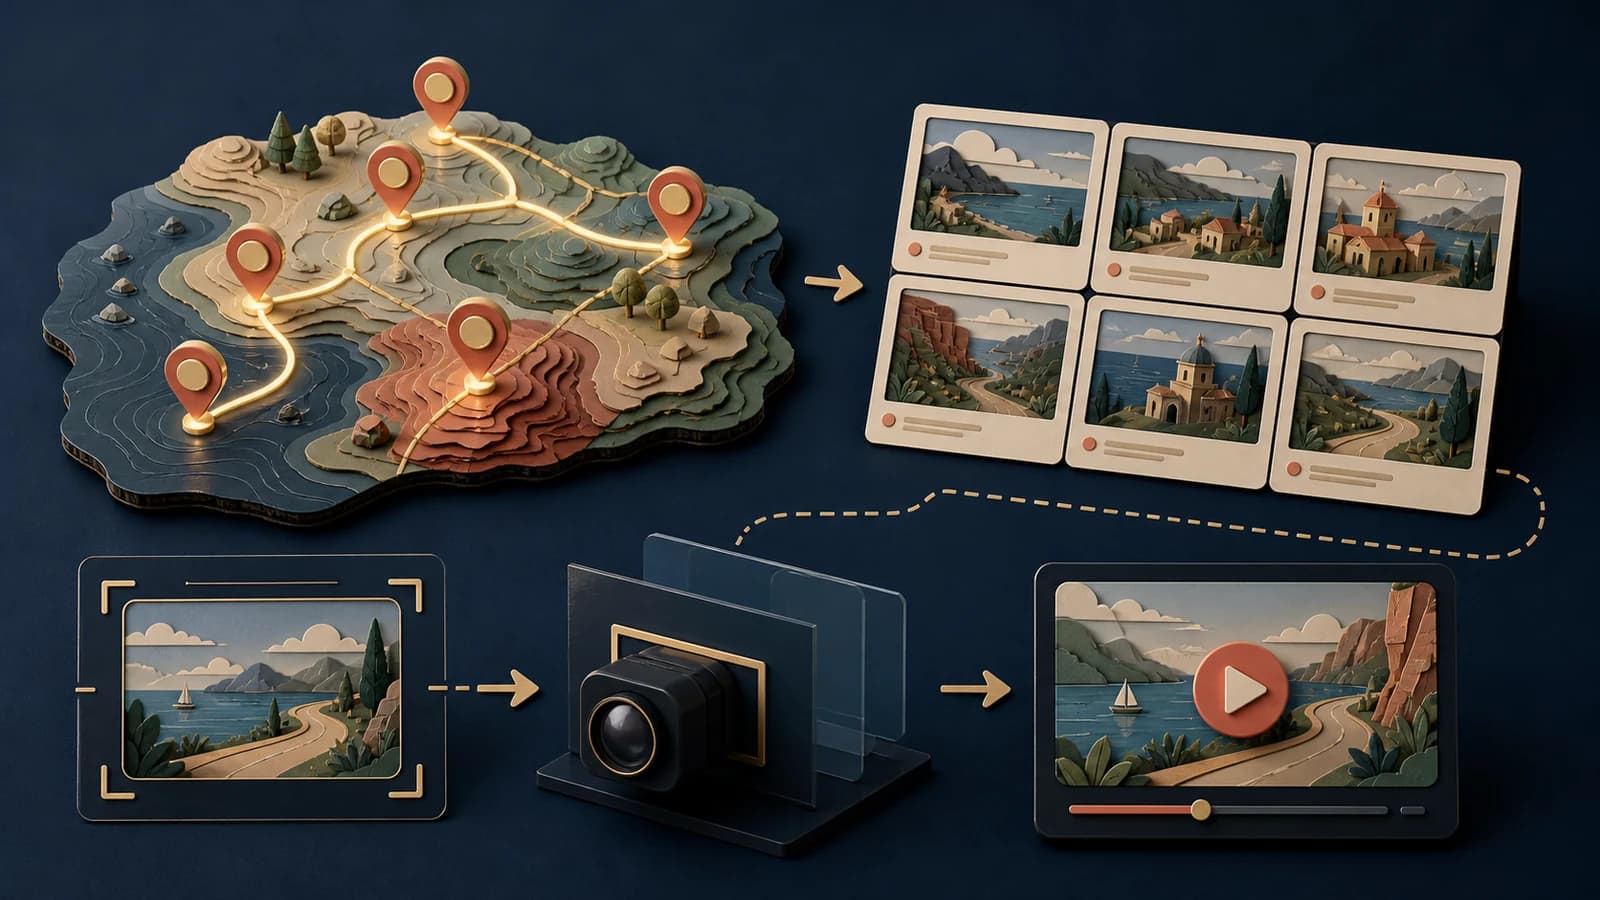
For a project that begins with photos and messages from several people rather than an existing slide deck, explore AlbumMap's map video workflow.
Plan one slide around one question
Begin with a question the map can answer: “How did the trip progress?” or “Where did our group come from?”
Those questions need different arrangements. A journey has an order. A group-origin map may have several independent points and no single route at all. Drawing one continuous line between everyone's hometown can accidentally imply that somebody travelled through all of them.
For the first attempt, choose a journey with three stops. Write a short label for each place and one sentence for the conclusion. Leave distances and travel times out unless you have a reliable reason to include them.
Prepare a clean map background
Insert an appropriate map image into the slide and size it before adding the markers. Use your own artwork or a source whose terms permit your intended use. Natural Earth provides public-domain map data, though some downloads need preparation before they become a usable image.
Use a regional view wide enough to contain the route. A world map makes a small local journey difficult to see. A street-level view can make a longer trip feel like an unexplained series of jumps.
Keep the background, labels, and moving marker as separate objects. Save a clean copy of the slide before adding motion. That gives you a useful starting point when a later revision changes the route.
Add three stops and one moving marker
Use small fixed dots for the stops and a different-looking marker for the traveller. Give each dot a label that remains readable when the slide is displayed at its actual size.
Position the moving marker at the first stop. Use its centre consistently when judging alignment. A large icon with an off-centre visual weight can appear to miss the destination even when the object's bounding box is technically aligned.
A line between the stops can help the audience anticipate the journey. Keep that line separate from the marker's animation. The line is visual context; the motion path determines where the marker moves.
Apply a custom motion path
Microsoft's motion-path instructions describe selecting an object, opening the Animations options, and choosing a motion path. Use Custom Path to draw your own movement and press Esc when the path is complete.
Apply the animation to the moving marker. Draw the first leg toward the next stop and preview it. Keep the motion simple until you can see that the beginning and endpoint match the map.
For a journey with pauses, separate slides can be easier to manage than a long chain of path effects. End the first slide at the second stop; begin the next slide with the marker already there. Keep the map's placement identical between those slides so the background does not jump.
This is a manually illustrated journey. PowerPoint is not verifying the road, rail, or flight geometry for you.
Make the timing work without clicks
A live presentation can wait for the presenter. A shared video cannot. Plan the automatic playback before exporting.
In the animation timing controls, check the start behaviour, duration, and any delay. Review the animation sequence as a whole rather than tuning only the marker. The labels, movement, and final hold need to make sense together.
As a storyboard exercise, try the following timing. Adjust it after reading the labels aloud; these are creative starting values, not technical requirements.
| Part | Example duration | Purpose |
|---|---|---|
| Starting location | 2 seconds | Give the audience a point of reference |
| First journey leg | 3 seconds | Show movement without rushing |
| Middle stop | 2 seconds | Explain why the stop matters |
| Second journey leg | 3 seconds | Complete the geographic change |
| Final view | 4 seconds | Leave time for the conclusion |
If you add narration, let its meaning control the pace. Avoid reaching the destination while the speaker is still describing the departure.
Add a supporting photo on the next slide
A map slide does not have to carry the whole story. Follow the arrival with a photo or a short clip from the destination.
Keep the place name consistent. If the map says “Campus,” the photo should not introduce an unexplained different name. A short subtitle can connect them: “Campus — our first week together.”
For a class project, use the second slide to explain the result of the journey. For a family recap, use it for a specific memory. The map establishes the movement; the next scene explains why anybody should care.
Avoid filling the map with several tiny photographs merely because the software allows more objects. Large, purposeful media is often easier to understand than a busy collage.
Export a video from the desktop presentation
Save the editable presentation first. Microsoft's video-export guide documents File → Export → Create a Video on Windows, with choices for output quality and recorded timings. Select the relevant timing option, create the video, and save an MPEG-4 output where available.
A presentation file and an exported video are different deliverables. Keep both. The presentation is useful for corrections; the video is useful for playback without exposing your editing layout.
Watch the exported file from beginning to end in a video player. Check whether narration is included as intended, whether slide changes occur at the right moment, and whether the final frame holds long enough.
Do not rely on a successful slideshow preview as proof that the exported video is correct.
Fix common map-animation problems
The marker jumps at the beginning. Compare its visible starting position with the motion path's starting point. Recheck alignment after moving or resizing the object.
The route and background stop matching. You may have changed the map without making the same adjustment to the overlaid objects. Return to the clean slide and rebuild a small sample before repairing the whole presentation.
The exported video feels rushed. Review both the animation duration and the time spent on each slide. A correct movement can still feel too fast when the destination disappears immediately afterward.
The marker moves, but no route line appears. A motion path is an instruction for movement, not a visible trail in the final video. Add a separate line when the audience needs one.
People cannot read the labels. Test on the intended display. Shorten the wording before making the map more complicated.
Keep the animation in service of the explanation
A good map slide answers one question clearly. Start with a fixed background and one readable movement. Add a photo or conclusion only after the geography makes sense.
For a more personal story built from the places and people behind the journey, create a travel memory video with AlbumMap.
Helpful answers
Frequently asked questions
Can PowerPoint make a travel map animation?
Yes. A map image with a moving object can illustrate a journey. The route is manually designed, so verify the geography and label schematic lines honestly.
Is the animation path visible in the exported video?
The editing guide is not the same as a drawn route. Use a separate visible line or shape when the video needs a trail behind the marker.
Do viewers need PowerPoint to watch the result?
Not when you share a compatible exported video rather than the editable deck. Microsoft's export guide explains that the video can be viewed without PowerPoint.
When is a dedicated map video maker more useful?
Consider one when location-linked photos, multiple contributors, or a larger memory story are the main task. The AlbumMap FAQ explains its collection and export workflow.